The best patio door insulation kit for most homeowners is a combination approach: adhesive foam or EPDM weatherstripping to close the actual air gaps, plus either a shrink-film interior kit for a cheap seasonal fix or a magnetic insulated panel (like an Indow-style compression insert) for a longer-term upgrade. Which one you actually need depends on your door type, your climate, and whether you're dealing with drafts, heat loss, noise, or all three. This guide walks you through the options, the real performance numbers, what things cost, and how to install them without wasting a Sunday.
Best patio door insulation kit: Buy, Install & Maintain Guide

Owen Delaney
9 Aug 2026
What this guide helps you decide
I put this together for homeowners who already have a patio door and aren't ready to replace it, but know something is wrong: there's a cold draft in January, the energy bill spikes, outside noise bleeds in, or the door just feels leaky. If you're on the fence about full replacement, the good news is that a well-chosen insulation kit can meaningfully close the gap in performance while you save up or plan. This guide will help you figure out which kit type matches your situation, what the actual thermal numbers mean, what to watch out for on coastal or extreme-cold installs, and how to work around built-in blinds or a portable A/C unit.
Quick picks by homeowner goal
If you just want a fast answer before diving into the details, here's how different kit types line up against the most common homeowner goals.
| Goal | Best kit type | Realistic result |
|---|---|---|
| Temporary draft control (rental, budget fix) | Shrink-film interior kit (3M, Duck Brand, Frost King) | Adds roughly R-1 to R-2; nearly invisible; one-season use |
| Seasonal energy savings (heating season) | Shrink-film OR cellular/thermal curtain | Shrink film can cut heat loss up to ~90% on single-pane; cellular shades add measurable R-value with no adhesive |
| Longer-term thermal upgrade | Magnetic compression insert / rigid acrylic panel | Near-airtight secondary glazing; ~20% energy savings (manufacturer data); lasts multiple seasons |
| Sound reduction | Magnetic insulated panel with air gap | Up to 10-15 STC point improvement over existing glazing (sealed secondary glazing data) |
| Coastal home / corrosion resistance | Silicone or EPDM weatherstrip + rigid acrylic insert (no metal frames) | EPDM/silicone resist salt, UV, and ozone far better than PVC or open-cell foam |
| Drafts at the door base only | Threshold sweep or door-bottom seal strip | Closes the largest single air gap on most sliding doors; low cost, high impact |
How to choose the right kit: the criteria that actually matter
R-value and U-factor: what the numbers mean for a patio door
U-factor measures how much heat flows through the entire door assembly per hour, per square foot, per degree of temperature difference. Lower is better. R-value is just the inverse (R = 1/U) and is the number you see on insulation batts and some kit packaging. A standard single-pane patio door might have a U-factor around 0.8 to 1.0, which is R-1 to R-1.25. A modern double-pane low-e door might hit U-0.25 to U-0.30, which is R-3.3 to R-4. When a shrink-film kit claims to add R-1 to R-2, that's meaningful on a single-pane door but less impactful on a door already rated U-0.30. Always look for NFRC-labeled values when comparing products. Manufacturer marketing phrases like 'increases efficiency by up to 90%' apply to single-pane glazing specifically and don't translate directly to double-pane or low-e doors.
Air-seal type: the gap is usually the bigger problem
Thermal resistance of the glass or film matters less than you'd think if air is leaking around the door frame or at the base. Air leakage is almost always the first problem to fix. A good compression-fit weatherstrip around the frame perimeter, plus a threshold sweep at the bottom, will outperform a fancy glazing kit on a poorly sealed door. Once those are addressed, adding a film layer or insert tackles the remaining conducted and radiated heat loss through the glass itself.
Material: EPDM vs. silicone vs. foam tape
EPDM (ethylene propylene diene monomer) rubber is the go-to for exterior door and window gaskets. It handles UV, ozone, and wide temperature swings well, with a typical service life of 10-plus years for quality formulations. Silicone costs more but has an even wider temperature range and lower compression set, meaning it stays pliable and springy longer. Standard open-cell foam tape is cheap and easy to apply but compresses flat in two to five years depending on UV and weather exposure. For anything exposed directly to outdoor conditions, or on a coastal home, skip the foam tape and spend the small premium on EPDM or silicone profiles.
Mounting method: how the kit attaches and how it comes off
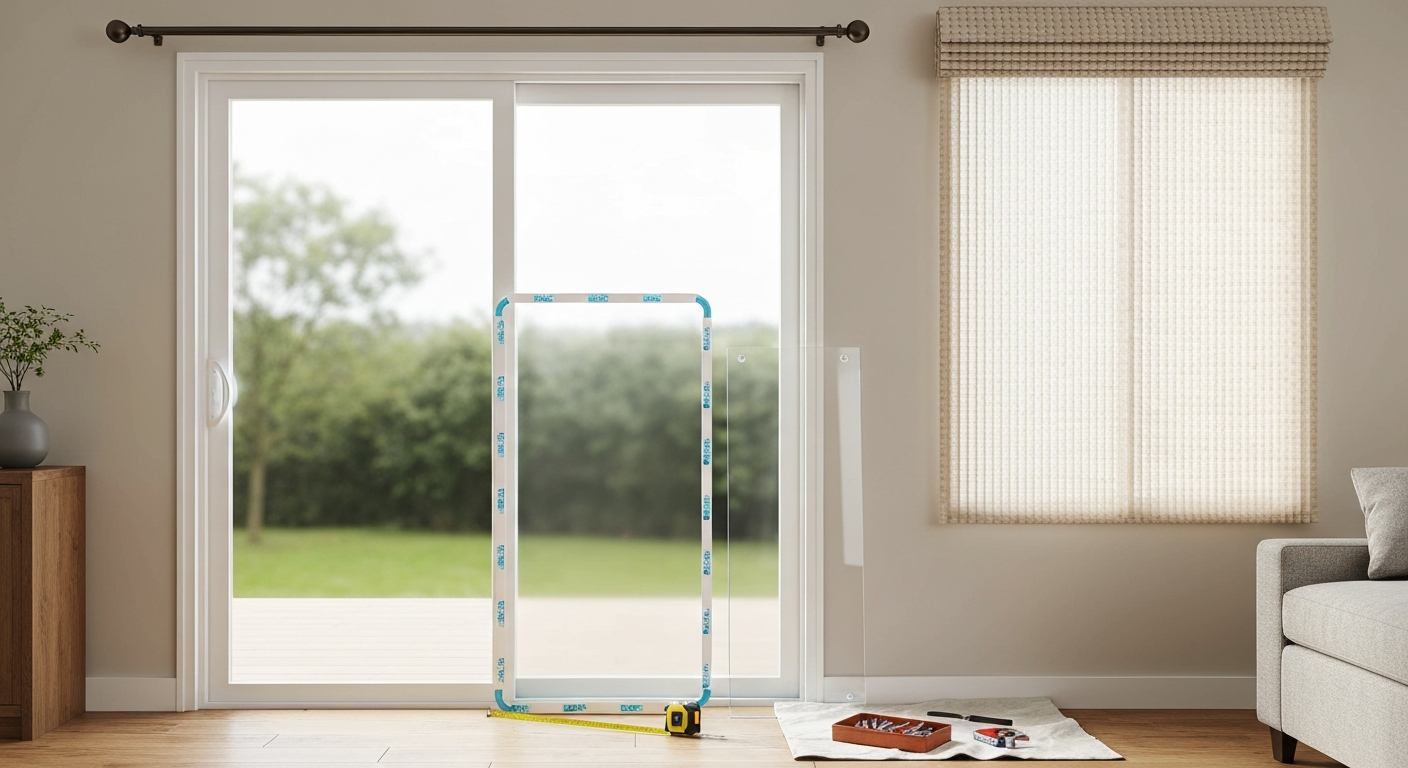
Shrink-film kits attach with double-sided tape around the window or door frame interior. The adhesive usually takes a little finish with it when removed after a season. Magnetic or compression-fit acrylic panels use either embedded magnetic strips that mate with a metal plate on the frame, or friction-fit silicone compression tubing that presses into the frame reveal without any fasteners or adhesives. The friction-fit (Indow-style) approach leaves zero permanent marks. Screw-mounted track systems exist for permanent interior storm panels but are rare on patio doors. For renters or anyone who doesn't want to commit, magnetic or compression-fit is the smart choice.
Energy-efficiency metrics and certifications: what to actually look for
ENERGY STAR sets maximum allowable U-factors for fenestration products by climate zone under its Version 7.0 specification. Those targets are for the door or window itself, not for aftermarket kits, but the numbers give you a useful benchmark. In the Northern climate zone, ENERGY STAR requires a U-factor of 0.20 or better for most residential windows and doors. In the South-Central zone the threshold is higher (U-0.30 or below). If your existing patio door has a U-factor well above those benchmarks, a retrofit kit can help close the gap, but it's worth knowing that even a good shrink-film kit adding R-1.5 won't bring a single-pane door to Northern-zone ENERGY STAR levels.
For curtain and shade products, look for ratings from the Attachments Energy Rating Council (AERC). The AERC provides third-party U-factor ratings for interior shading products, which is the only reliable way to compare one cellular shade brand against another. For anything labeled with an STC (Sound Transmission Class) for noise reduction, make sure the number comes from ASTM E90 lab testing, not the manufacturer's informal estimate. Standards bodies and technical references (ASHRAE, ASTM, NFRC) prescribe laboratory and modeling procedures for measuring fenestration thermal performance (U‑factor) and acoustic ratings (ASTM E90 for transmission loss, ASTM E413 for STC classification); designers and test labs use these standardized methods for comparable results blank" rel="noopener noreferrer">Standards bodies and technical references (ASHRAE, ASTM, NFRC) prescribe laboratory and modeling procedures for measuring fenestration thermal performance and acoustic ratings.. STC numbers from real testing are typically lower than marketing claims.
One realistic expectation to set: these kits improve the thermal performance of your existing door, they don't transform it. A well-installed shrink-film kit on a single-pane door is genuinely useful and can reduce heating-season heat loss noticeably. A magnetic acrylic insert with a proper air gap can deliver roughly 20% energy savings (per manufacturer data) and meaningful STC improvement. But neither replaces a modern low-e double-pane door if long-term efficiency is your priority. If that's the goal, the companion article on best patio doors for insulation covers what to look for in a replacement. For details on replacing rather than retrofitting, see the companion article on the best patio door for cold weather. For help deciding on a long-term replacement, see our guide to the best energy efficient patio doors.
Types of patio door insulation kits and how they work
Shrink-film interior kits
These are the classic 3M, Duck Brand, or Frost King kits you see at every hardware store in October. You tape a clear plastic film to the interior frame perimeter with double-sided tape, then use a hair dryer to shrink the film tight and nearly invisible. The result is a sealed air gap between the film and the glass that adds roughly R-1 to R-2 of thermal resistance. On a single-pane door that might already be close to R-1, this is a meaningful improvement. On a modern double-pane door it's less impactful but still useful for sealing air leakage at the frame. Cost is typically $10 to $25 for a kit that covers one large patio door panel. Lifespan is one heating season in practice: the tape adhesive and the film itself don't survive a second year cleanly. I've used these on older French doors in a rental house and they genuinely cut the cold-air feel at the glass in half, but the tape left faint marks on the painted trim that took some scrubbing.
Magnetic and compression-fit insulated panels
Rigid acrylic or polycarbonate panels sized to fit your specific door opening are the premium end of the DIY insulation market. Brands like Indow make compression-fit versions that press into the window or door frame reveal using a silicone compression tube around the panel perimeter, creating a near-airtight seal without adhesives or fasteners. Magnetic versions use magnetic strips bonded to the panel that attach to a thin metal plate you install on the frame once. These panels create a true secondary glazing layer with a sealed air gap, which is the same principle as a double-pane unit. Indow's published data shows about 20% average energy savings and noise reduction up to 70% (manufacturer claims based on customer data). Independent acoustic testing literature shows properly sealed secondary glazing typically adds 10 to 15 STC points. Cost for a custom-sized panel for a standard 72-by-80-inch patio door runs roughly $150 to $400 depending on acrylic thickness and brand. They can be removed seasonally and stored, and quality acrylic panels last many years.
Foam and adhesive weatherstrip seal kits
These are the roll-and-peel foam tape, V-strip (tension seal), bulb gaskets, and door sweep kits sold at any hardware store. They don't add glazing R-value but they close the actual air gaps where infiltration causes most of the comfort and energy problems on patio doors. A door bottom sweep on a sliding patio door is often the single highest-impact item you can add. V-strip works well along the sash meeting rail of a sliding door. Bulb/gasket profiles go around the perimeter of a door frame. Budget $10 to $40 for a full perimeter kit with a bottom sweep. EPDM or silicone profiles cost a little more than standard foam tape but last years longer, especially on south or west-facing doors with sun exposure. Skip PVC foam for any exterior-adjacent location.
Thermal and cellular curtains
Thermal curtains and cellular (honeycomb) shades work by trapping air in fabric or cell pockets between the room and the glass. Cellular shades rated by the AERC can add meaningful R-value: double-cell designs typically hit around R-3 to R-4 for the shade itself (though the total system benefit depends on how well the shade seals at the edges and sill). These are the most renter-friendly option since they require only a curtain rod or shade mounting hardware that installs without adhesives. They also don't interfere with door operation the way rigid panels can if not removed. The trade-off is that a curtain or shade only helps when it's closed, and unless it's sealed top, bottom, and sides, convection loops at the edges reduce the effective thermal benefit significantly. Look for cellular shades with side tracks or close-fitting side returns for the best performance.
Compatibility and special considerations
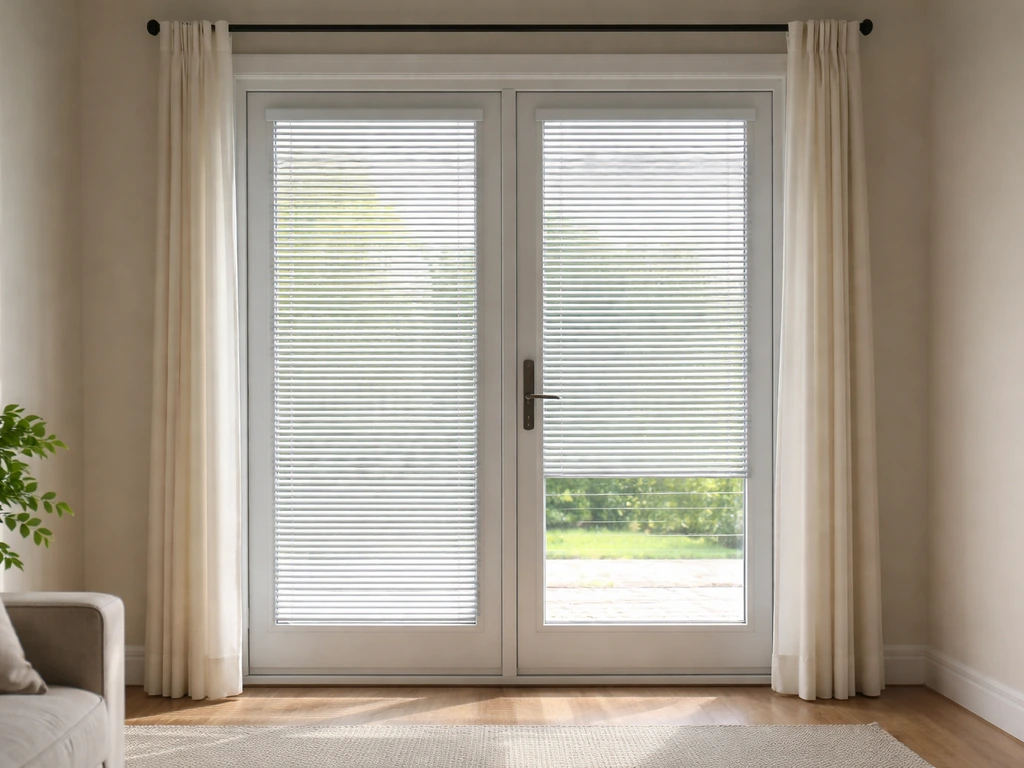
Doors with built-in blinds
Patio doors with blinds or shades between the glass panes are increasingly common, and they create a real compatibility issue for insulation kits. A shrink-film kit applied to the interior surface works fine since it doesn't interact with the between-glass system. A rigid compression-fit or magnetic panel also installs on the interior frame and doesn't affect the blind mechanism. The problem is that between-glass blinds, when closed, do add a modest shading benefit but don't add meaningful R-value to the door, and the sealed glazing unit still governs the thermal performance. If you're wondering whether built-in blinds meaningfully improve energy efficiency, the honest answer is: not much on their own. For a deeper look at whether patio doors with built-in blinds are energy efficient, see our article on are patio doors with built-in blinds energy efficient. Adding an interior film layer or cellular shade over the door still makes sense even with built-in blinds. Just make sure the frame depth on your door has enough room for a rigid panel if you go that route, since between-glass units sometimes reduce the interior frame reveal.
Sizing and measuring for kit compatibility
Shrink-film kits come in rolls or pre-cut sheets, typically sized for standard windows up to about 62 by 84 inches. A standard sliding patio door panel is 36 by 76 inches to 36 by 80 inches (one sliding panel, not the full rough opening). Many kits can be joined with tape for wider spans, but the seam reduces clarity and seal quality. For a 96-inch-wide sliding door with two panels, measure each panel individually and treat them separately. Compression-fit rigid panels are custom-cut to your measured interior frame reveal, so measure the width and height of the interior frame pocket at three points each and use the smallest measurement. Weatherstrip tape and profiles are sold by the foot: measure the full door perimeter, add the bottom sweep length, and buy 10% extra.
Portable A/C, venting, and screening with insulated patio doors
If you use a portable air conditioner vented through your patio door, insulation kits and sliding-door vent adapter kits coexist in an awkward way. If you need help choosing a unit, see our guide to the best portable air conditioner for patio door for options and venting tips. Sliding-door vent panels (the accordion-style plastic panels that fill the door opening with a pass-through for the exhaust hose) are designed to sit in the door track and seal the gap around the hose. Using one of these simultaneously with a shrink-film kit or rigid panel is effectively impossible: the film or panel has to come down when you need to vent the A/C, and reinstalling adhesive-based kits is not practical mid-season.
The practical approach for homes that need both cooling-season venting and heating-season insulation is to use separate seasonal solutions. A magnetic or compression-fit panel can be removed and reinserted cleanly when you need to swap to A/C mode, unlike a shrink-film kit that's single-use. For the cooling season itself, a door screen with a pass-through port or a dedicated sliding-door A/C vent panel handles venting. Then in October, remove the vent panel and reinstall the insulated insert. Weatherstrip seals around the door frame perimeter stay in place year-round and benefit both seasons.
One important note: if you have a sliding screen door, make sure any insulation kit or panel on the interior doesn't prevent the screen from sliding or create a gap that lets insects in when the door is cracked. Compression-fit panels install inside the door frame reveal (between the glass and the room), so they typically don't interfere with an exterior screen track. Shrink-film kits applied to the interior frame face are inside the screen position and are also fine. The conflict arises only when you're trying to operate the door panel with any insulation kit still in place, which none of them support.
Climate and door-type recommendations
Cold climates
In the Northern ENERGY STAR climate zone (think Minnesota, Michigan, the mountain West), the priority is maximum air sealing combined with the highest R-value glazing layer you can add. The combination that delivers the best heating-season result is: high-quality EPDM or silicone compression weatherstrip around the full frame perimeter, a threshold door sweep at the bottom, and a compression-fit rigid acrylic panel (or shrink-film if budget is the constraint) over the glass. The air gap created by a rigid panel with an inch or more of space between the panel and the glass gives you genuine secondary-glazing performance. Cellular shades with side tracks add additional benefit when closed at night. For very cold climates, condensation between the original glass and an interior storm panel is a real risk if the panel seal isn't tight: take the Building America warning seriously and check for moisture buildup in the first few cold weeks after installation.
Coastal homes
Salt air accelerates corrosion and UV degradation of polymer and metal components faster than most product specs assume. For coastal installs, every material choice matters. Use EPDM or silicone weatherstripping exclusively (not PVC, not open-cell foam). If you're going with a rigid panel system, choose acrylic or polycarbonate with no exposed aluminum or steel hardware, or ensure metal parts are anodized and coated. Avoid adhesive-only mounting systems where the bond might degrade from salt humidity. Check weatherstrip and threshold seals seasonally and plan to replace them every three to five years rather than the ten-plus years you'd expect inland. The best patio doors for coastal areas are also treated with corrosion-resistant hardware and frames, and the same material logic applies to any accessories you add.
Soundproofing needs
If noise is your primary driver, the approach shifts. Air sealing at the perimeter still matters (air gaps are noise paths too), but the biggest acoustic gains come from mass and decoupled air gap. A sealed rigid panel with a larger air gap between it and the original glass performs better acoustically than one mounted tight. Lab data on properly sealed secondary glazing shows STC improvements of 10 to 15 points, which is meaningful: it can take an older single-pane door from STC 25 to STC 35-40, which is the difference between clearly hearing conversation outside and hearing a muffled murmur. Heavy thermal curtains add some acoustic absorption at higher frequencies but don't improve STC ratings the way a rigid sealed panel does. If you're dealing with low-frequency traffic noise, a sealed secondary glazing panel is the only practical DIY approach that will help noticeably. For a deeper look at door options specifically rated for noise reduction, see our guide on the best soundproof patio doors.
Sliding patio doors
Sliding doors have two separate panel openings (one fixed, one operable), and the biggest air-seal priority is the bottom track and the meeting rail between the panels. The bottom track accumulates debris and the pile weatherstrip wears down over time: replacing the pile strip along the meeting rail stile is a high-impact, low-cost fix that most homeowners skip. For the glass area, treat each panel as a separate opening when sizing shrink-film or rigid panels. A rigid compression-fit panel works well on the fixed panel (which doesn't need to open) and can also be used on the operable panel if you're willing to remove it when you use the door.
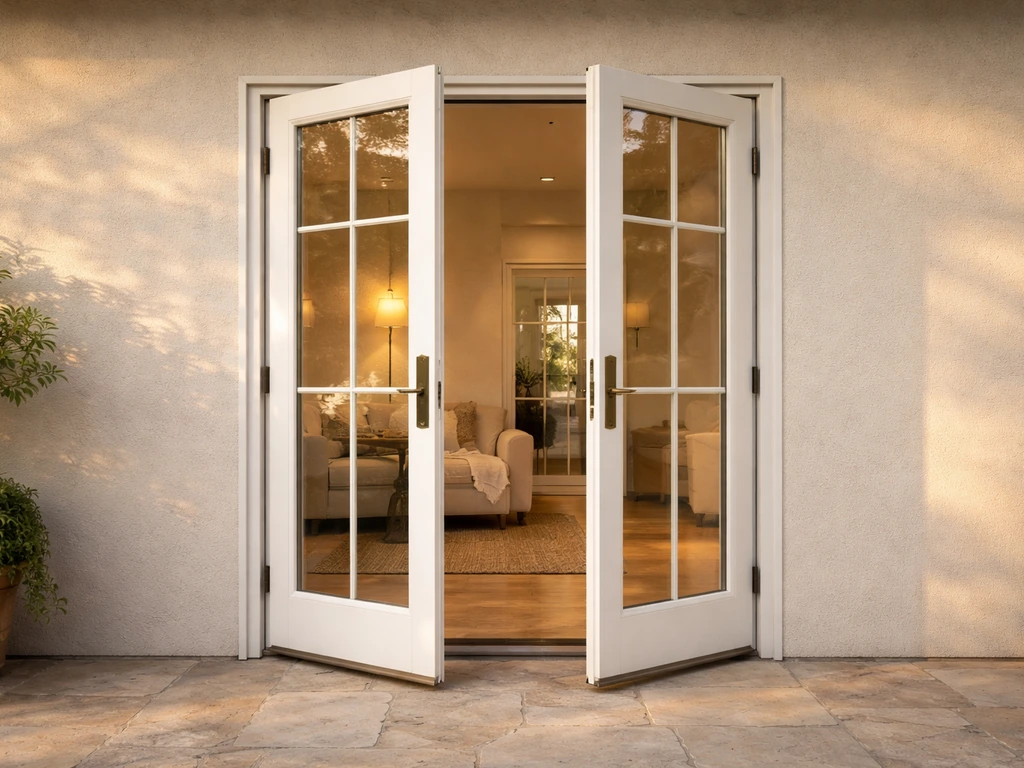
French patio doors
French doors open on hinges and typically have multiple glass lites (panes) per door leaf, sometimes with divided-lite grilles. The frame perimeter and the meeting stile between the two door leaves are the main air-leakage points. A compression astragal (the vertical seal between the two doors) wears out and is often the culprit for drafts on older French doors. Shrink-film kits can be applied to individual lite frames on a divided-lite door, though the multi-panel geometry makes it tedious. A thermal curtain hung close to the door and sealed at edges is often the simpler approach for French doors if you want to preserve the look. Compression-fit rigid panels can be custom cut to fit the full door opening but require removing them every time you want to use the door.
Bifold patio doors
Bifold (folding) patio doors have multiple door panels that fold and stack, with many inter-panel seals and a large perimeter when fully closed. The number of panel seams means there are more air-leakage paths per square foot than a standard sliding or French door. Weatherstripping each panel perimeter and the panel-to-panel compression seals is the priority. Rigid insulated panels are difficult to use on bifolds because removing them every time you use the door is impractical, and the folding geometry makes a spanning rigid panel impossible. Thermal curtains or a heavy insulated drape that covers the full bifold opening from above are the most practical glazing-layer options for bifolds. For a bifold in a cold climate, a well-sealed, draft-free bifold is more achievable through high-quality weatherstripping and proper threshold seals than through add-on glazing films.
Cost, tools, and time: what to budget
| Kit type | Typical cost (DIY) | Tools required | Install time | Lifespan |
|---|---|---|---|---|
| Shrink-film kit (one patio door panel) | $10-$25 | Hair dryer, scissors, clean cloth | 30-45 min | 1 heating season |
| Foam/adhesive weatherstrip perimeter kit | $10-$30 | Scissors or utility knife, clean surface | 45-90 min | 2-5 years (foam); 5-10+ years (EPDM) |
| Door bottom sweep / threshold seal | $15-$40 | Screwdriver or drill, hacksaw to trim | 20-30 min | 3-7 years |
| Cellular shade (standard sliding door width) | $50-$200 | Drill, level, measuring tape | 45-60 min | 5-10+ years |
| Magnetic/compression-fit acrylic panel (custom) | $150-$400 | Measuring tape only for ordering; no install tools | 10-20 min per panel | 10+ years with care |
| Thermal curtain (standard size) | $30-$120 | Curtain rod and brackets | 30-45 min | 3-7 years depending on fabric |
For most homeowners doing a complete upgrade (weatherstripping plus a glazing layer plus a threshold sweep), budget $50 to $150 for a DIY kit approach, or $250 to $500 if you include a quality compression-fit rigid panel. Professional installation of secondary glazing panels or custom weatherstripping runs higher, typically $200 to $600 for a single patio door, but is rarely necessary for the products described here since they're all designed for homeowner installation.
Installation tips and common mistakes
- Clean and dry the frame surface thoroughly before applying any tape or adhesive weatherstrip. Most adhesion failures trace back to a dusty or slightly damp surface, especially in autumn when frames are starting to show condensation.
- For shrink-film kits, apply the double-sided tape to the flat face of the frame molding (not the edge), keep it taught as you press the film on, and don't rush the hair-dryer shrink step: slow, even passes from the center outward prevent wrinkling.
- When measuring for a compression-fit panel, measure the inside dimension of the frame reveal at top, middle, and bottom for width, and left, center, and right for height. Use the smallest measurement in each direction. Order to that dimension or the panel won't fit.
- Install weatherstripping starting at the top of the door frame first, then the sides, then address the bottom last with a threshold sweep sized to the door width. This order lets you check compression before committing the bottom seal.
- Check for interstitial condensation between a rigid panel and the original glass in the first cold snap after installation. A small amount of fogging that clears by midday is normal; persistent dripping means the panel perimeter isn't sealed tightly enough.
- For sliding doors, clean the bottom track and replace the pile weatherstrip at the meeting rail stile before adding any glazing kit. No amount of film or panel helps if the door is leaking air at the sash edges.
- Silicone-based adhesives and weatherstrips don't paint well. If your frame is painted, use EPDM with a compatible adhesive backing, not silicone tape, to avoid long-term adhesion and finish problems.
Maintenance, troubleshooting, and when to upgrade
Most kit failures are gradual. Foam tape compresses and stops sealing without obvious visible signs: if you feel drafts returning on a door you sealed two years ago, the weatherstrip is almost always the culprit. A quick test is to close the door on a thin piece of paper and pull: if it slides out without resistance, the compression seal is gone and it's time to replace the strip. Shrink-film kits that have wrinkled or pulled away from the tape at corners need to be replaced entirely: partial re-taping rarely seals well.
For rigid acrylic panels, UV exposure (especially on south-facing doors) can cause yellowing and micro-crazing over several years. Wipe panels with a damp cloth and mild soap only: solvent-based cleaners scratch acrylic. Store panels flat off-season, not standing vertically against a wall where they can warp from pressure. If the compression silicone tubing on a friction-fit panel starts to show cracks or loses its spring, replacement tubing is available from the manufacturer and is worth doing before the panel starts leaking air at the edges.
If you find yourself replacing weatherstripping every two seasons or the drafts keep coming back despite kit upgrades, that's usually a signal the door itself needs attention: frame warping, failed sash hardware, or a glazing seal failure on the insulated glass unit. At that point, looking at the best energy efficient patio doors and the options for cold-climate replacements becomes more cost-effective than continuing to patch the existing door.
Kit types side by side: which one fits your situation
| Kit type | Best for | Not ideal for | Price range | Reusable? |
|---|---|---|---|---|
| Shrink-film | Single-pane doors, renters, quick seasonal fix | Repeated opening/closing, behind built-in blinds with no clearance | $10-$25 | No (single season) |
| Magnetic / compression panel | Thermal + acoustic upgrade, multi-season use, fixed panel of sliding door | Bifold doors, doors you open daily without wanting to remove the panel | $150-$400 | Yes, many years |
| EPDM/silicone weatherstrip | All door types as a first step; coastal; cold climates | Glazing heat loss (this only seals gaps, not glass R-value) | $10-$30 | Yes (replace every 5-10 yrs) |
| Cellular shade | Daily-use doors where a removable kit is impractical; aesthetic integration | Maximum acoustic performance; coastal UV exposure without rated fabric | $50-$200 | Yes |
| Thermal curtain | Budget-friendly seasonal coverage; bifold doors; renters | Gaps in the coverage area; doors with no overhead clearance for rod | $30-$120 | Yes |
| Threshold sweep | Any door as a first fix for bottom-gap drafts | Doors with uneven or warped thresholds needing frame repair first | $15-$40 | Yes (replace every 3-7 yrs) |
Your next steps
Start by doing a draft check on your door this week: close it and run your hand around the perimeter on a windy day, and check the bottom threshold. If you feel air movement, weatherstripping and a door sweep come before anything else. Once the air gaps are handled, decide whether you want a seasonal glazing layer (shrink-film, curtain) or a multi-year upgrade (compression-fit panel, cellular shade with side tracks). For step-by-step strategies on how to make patio doors more energy efficient, see our detailed guide. Match the material to your climate, your door style, and your tolerance for removing and reinstalling the kit when you use the door. If your door is older and performing poorly despite kit upgrades, use the R-value and U-factor benchmarks in this guide to evaluate whether a replacement door is the more cost-effective long-term choice. For another relevant comparison, see best patio doors for insulation.
- Do the draft check first: identify whether you're dealing with air infiltration, glass heat loss, or both before buying any kit.
- Start with weatherstripping and a threshold sweep on any door type before adding a glazing layer.
- Choose EPDM or silicone over foam tape for anything exposed to sun, salt air, or temperature extremes.
- Use a compression-fit rigid panel on the fixed panel of a sliding door for the best thermal and acoustic return with minimal daily inconvenience.
- For bifold and frequently used French doors, a sealed cellular shade or thermal curtain is more practical than a rigid glazing panel.
- If you're in a cold climate or coastal zone, look at the companion articles on best patio doors for cold weather and best patio doors for coastal areas to understand when replacement makes more sense than continued retrofitting.
FAQ
What factors should I use to compare patio door insulation kits?
Compare air-seal method (shrink film, magnetic/insert, compression-fit, adhesives), thermal metrics (U‑factor/R‑value where available; lower U = better; R ≈ 1/U), material durability (EPDM, silicone, hard panels, PET/Acrylic), weather and corrosion resistance for your climate, mounting method (non‑penetrating vs. mechanical), optical/visibility impacts, sound reduction if needed, ease of seasonal removal, and manufacturer instructions/ratings (look for NFRC/ENERGY STAR data for full fenestration products when applicable).
How do U‑factor and R‑value apply to patio door insulation kits?
U‑factor (heat transfer through the whole assembly) is the primary fenestration metric; lower U means less heat loss. R‑value measures thermal resistance of materials and is the inverse of U (R ≈ 1/U). Retrofit kits often report added R for the attachment (e.g., shrink film adds roughly R‑1 to R‑2 to a single pane), while certified products or replacement doors will carry NFRC/ENERGY STAR U‑factors for climate guidance. Use NFRC-labeled values when comparing permanent replacements; for retrofit kits, compare manufacturers’ test data or third‑party reports where available.
Which insulation kit types are available and how do they differ?
Main types: 1) Shrink‑film interior kits: low cost, seasonal, add modest R (~R‑1 to R‑2), easy DIY, limited reusability. 2) Magnetic or rigid insert panels (secondary glazing): higher cost, near‑airtight seals, good thermal and acoustic improvement, removable and reusable. 3) Foam/adhesive weatherstrips and door sweeps: target air leaks at perimeter; low cost and long‑lived if good materials (EPDM/silicone). 4) Thermal curtains/cellular shades: interior fabric or honeycomb units that add insulation and solar control; rated products can significantly reduce heat loss. Tradeoffs: cost vs. durability vs. performance and impact on views/operation.
Which options are best for cold climates?
Prioritize airtight secondary glazing (rigid inserts or well‑sealed magnetic panels) plus high‑quality perimeter weatherstripping and threshold seal. Secondary glazing lowers U substantially and reduces drafts; thermal cellular shades add night insulation. Shrink film is a low‑cost seasonal supplement but is less durable and performs less than a sealed insert.
What should coastal homeowners look for?
Choose corrosion‑resistant materials: stainless or coated magnets and clips; seals and gaskets made from EPDM or silicone (UV and salt‑resistant). Avoid untreated metal fasteners and low‑cost adhesives that degrade from salt spray. Check manufacturer guidance for outdoor exposure if panels are used on exterior tracks or hardware.
How do I choose for soundproofing needs?
Rigid, sealed secondary glazing or air‑space inserts typically give the largest acoustic gains; properly sealed secondary windows can raise STC significantly compared with thin single glazing. Thicker rigid panels and a continuous perimeter seal perform better than thin shrink film. Combine with heavy drapes for additional interior absorption.