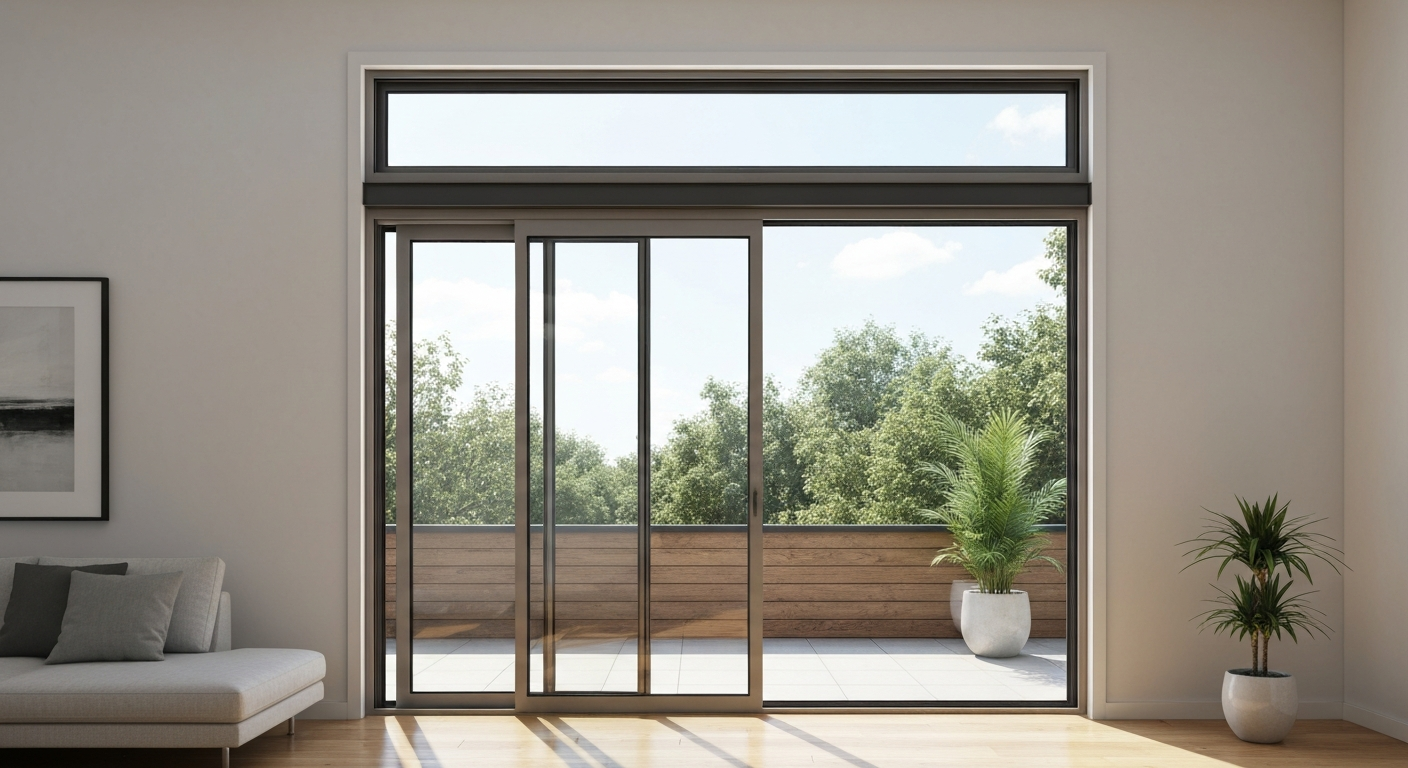
A patio door with a top window is simply a standard sliding, French, or bifold patio door paired with a fixed or operable window mounted directly above it, separated by a horizontal framing member. That upper window goes by several names: transom, transom light, or fixed top light. Manufacturers like Pella, Andersen, and Marvin all offer factory-mulled configurations where the transom and door ship as one coordinated unit. The practical payoff is meaningful: you get more natural light without widening the rough opening, and the room feels taller without the cost of a full floor-to-ceiling glass wall.
Patio door with top window: Guide to sizes, styles, covers

Owen Delaney
16 Jul 2026
What exactly is a top window on a patio door
A transom window is a window placed above a door, separated by a horizontal crosspiece called the transom bar. In U.S. fenestration terminology, blank" rel="noopener noreferrer">the words transom, transom light, and fixed top light) are used interchangeably by architects and manufacturers. What they all describe is the same thing: a glazed unit that sits above the door panel and shares its framing. It is different from a clerestory window, which is a high band of glazing set at or near the roofline of a wall rather than directly over a door.
Most patio door transoms you will find at a dealer are fixed, meaning they do not open. Some manufacturers offer operable transoms in an awning or hopper configuration, where the sash tilts out or in for a small amount of ventilation. Pella, Andersen, and Marvin all list both variants in their product lines, and they publish separate spec sheets for each. If ventilation matters to you, ask specifically whether the transom in the unit you are considering is operable or fixed before you order.
Types of top windows and where they sit
Fixed transom vs operable transom
A fixed transom is sealed glass in a stationary frame. It adds light and visual height but zero ventilation. An operable transom (awning type opens outward from the bottom; hopper type opens inward from the top) gives you a small amount of airflow. Operable transoms cost more, add weatherstripping that eventually needs replacement, and are less common over sliding patio doors because the mechanical complexity conflicts with the clean sightlines most people want. For most homeowners, a fixed transom is the right call.
Single top light vs continuous top light
A single top light sits above one door panel or one door pair. A continuous top light (sometimes called a mulled top light) runs the full width of a multi-panel system, such as a four-panel sliding door or a wide French door pair with sidelights. Manufacturers like Marvin document continuous top-light configurations in their Modern Sliding Door technical specs, and they require specific mulling hardware to keep the entire unit rigid. If you are pricing a wide multi-panel system, confirm whether the continuous transom is included in the base price or quoted separately as a mulled add-on.
Shapes
Rectangular transoms are by far the most common and the most affordable. You can also find arched or half-round transoms, typically in wood or fiberglass, for a traditional architectural look. Shaped transoms add cost both in the glazing unit itself and in the custom framing required. Unless you are restoring a period home or matching an existing arched opening, a flat rectangular transom will be easier to source, cheaper to replace, and simpler to cover with window treatments.
The real benefits and honest trade-offs
I have measured light levels in rooms before and after a transom was added, and the difference is real. A transom as narrow as 14 inches tall can bounce light much deeper into a room than you would expect because the light enters high and hits the ceiling before spreading. That said, a top window is not a free upgrade, and there are genuine trade-offs you should understand before you spend money.
| Factor | With Top Window | Without Top Window |
|---|---|---|
| Natural light | Significantly more, especially midday | Limited to door glass only |
| Perceived ceiling height | Room feels taller | Standard appearance |
| Privacy | Good (transom is above eye level) | Depends on door glass type |
| Ventilation | None (fixed) or minimal (operable) | Handled by door panels only |
| Energy performance | Adds glazing area, raises heat gain/loss risk if not spec'd carefully | Easier to achieve tight U-factor targets |
| Cost | Adds $300–$1,500+ to unit cost depending on size and material | Lower upfront |
| Curtain/covering complexity | Two zones to cover: door and transom | Door treatment only |
| Structural requirement | May require header upsizing in bearing wall | Standard header often sufficient |
The privacy point is worth dwelling on. Because a transom sits above typical standing eye level (roughly 60 to 66 inches), it rarely creates a privacy problem the way full-length glass panels do. However, neighbors on elevated lots or second-story windows can look through a transom, so frosted or obscure glass is an option worth asking your dealer about. On the energy side, every square inch of glass you add is a potential weak point in your thermal envelope. Specify Low-E glass with an appropriate solar heat gain coefficient (SHGC) for your climate: lower SHGC (around 0.25–0.30) for hot climates, higher SHGC (around 0.40–0.50) for cold climates where you want passive solar gain.
How top windows work with each patio door style
Sliding patio doors
Sliding patio doors and fixed transoms are a natural pairing. The door panels slide horizontally and never swing into the transom zone, so the two units can be factory-mulled cleanly. Andersen's installation guides cover exactly how the transom anchors to the head of the sliding door frame, including drainage provisions (the transom sill void should not be fully filled so water can drain out rather than pool against the glazing). Marvin documents the same mulling interface in its Modern Sliding Door installation instructions. The result is a single rough-opening unit that installs in one step.
French (hinged double) doors
French patio doors pair beautifully with transoms from a visual standpoint, but there is a mechanical wrinkle: the swinging door panels create a conflict zone near the head of the frame. Pella's Architectural Design Manual specifically addresses swing clearance between the hinged door head and the transom mullion, and it notes that weatherstripping coordination at the door head is critical to prevent air infiltration between the door and the transom frame. If you are pairing a French door with a transom, make sure your installer understands this detail and uses the manufacturer's specified mullion assembly rather than a site-built solution.
Bifold patio doors
Bifold (folding) patio doors can accommodate a transom, but the engineering is more complex. When bifold panels fold and stack, they create a thick panel stack at the edge of the opening. A continuous transom above a bifold system needs to be independently supported so it does not flex when the folding panels are operated. Most major bifold systems handle this with a structural head track, and the transom is typically a separate unit installed above the door frame rather than factory-mulled to it. Expect to coordinate with a structural engineer or the manufacturer's technical team for anything wider than about 12 feet.
| Door Style | Transom Compatibility | Factory Mulled? | Key Installation Note |
|---|---|---|---|
| Sliding patio door | Excellent | Yes, standard offering from Andersen, Pella, Marvin | Confirm drainage provision at transom sill |
| French (hinged) door | Good | Yes, but check swing clearance spec | Weatherstripping at door head requires precise fit |
| Bifold door | Possible, more complex | Rarely; usually site-coordinated | Independent transom support needed for wider systems |
| Multi-slide (pocket) door | Good with continuous top light | Yes, Marvin Modern Sliding supports this | Mulling hardware must be spec'd per door width |
How to measure for a replacement patio door with a top window
Measuring for a replacement unit with a transom is more involved than measuring a standard door because you have two glazed zones to account for and a potential framing issue above. Pella distinguishes three measurement scenarios: replacement (existing sash and frame stay, new unit inserts), retrofit or pocket install (existing frame stays, new sash inserts into it), and full-frame or new rough opening (everything comes out). For most homeowners replacing an existing patio door and adding a transom for the first time, you are almost certainly looking at a full-frame replacement because the existing header likely was not sized for the combined height of door plus transom.
- Measure the rough opening width: measure between the jack studs (trimmer studs) at the top, middle, and bottom of the opening. Use the smallest of the three measurements. Record to the nearest 1/8 inch.
- Measure the rough opening height: measure from the subfloor (or finished floor if replacing in place) to the underside of the header. Measure at left, center, and right. Use the smallest measurement.
- Check the existing header height: if you are adding a transom where none existed, you need to know whether the current header can accommodate the combined rough-opening height. A standard 6-foot-8-inch door unit is roughly 82 inches of rough opening height. Adding a 14-inch transom brings you to approximately 96 inches, which typically requires a new or larger header per IRC prescriptive tables (R602.7).
- Measure the door rough opening separately from the transom rough opening: some manufacturers supply the transom as a separate mulled unit with its own framing. Confirm with your dealer whether the unit ships as one combined rough opening or two stacked rough openings.
- Check the wall depth (frame depth): measure the depth of your wall framing (typically 4-9/16 inches for 2x4 walls with 1/2-inch drywall, or 6-9/16 inches for 2x6 walls). This determines which extension jamb option you need.
- Verify levelness and squareness: use a 4-foot level on the sill and a framing square at each corner. Note any out-of-plumb or out-of-level conditions on your measurement sheet for the installer.
- Record existing trim conditions: note whether brick mold, stucco, or siding butts against the existing frame. This affects whether you need a flush-flange or nail-fin frame and how the new unit will be flashed.
- Allow for installation tolerances: Andersen specifies 1/4-inch clearance at head and sides, and 1/2-inch at the sill for brick installations. Your rough opening should be sized to allow shimming and leveling within those tolerances, with fasteners no more than 34 inches on center around the frame.
A practical tip from my own experience: bring those measurements to at least two dealers rather than one. Sizing tables vary by product line, and a measurement that fits a standard unit in one manufacturer's catalog may require a custom size from another. Custom units add lead time (typically 6 to 12 weeks) and cost.
Common sizes: what fits most homes
Standard patio door widths run from 60 inches (5 feet) to 96 inches (8 feet) in two-panel configurations. Heights are most commonly 80 inches (6 feet 8 inches), with taller options at 84 inches and 96 inches depending on the product line. Transoms typically run from about 14 inches to 25 inches tall and match the width of the door unit they sit above. Pella's Architectural Design Manual lists transom minimums around 26 inches wide by 14 inches tall, with maximums up to roughly 75 inches wide by 25 inches tall for certain series. Andersen and Milgard publish similar grids in their respective technical brochures, and sizes can vary by region and product line.
| Door Width (nominal) | Door Height (nominal) | Typical Transom Height | Combined Unit Height (approx) | Common Configuration |
|---|---|---|---|---|
| 60" (5'0") | 80" (6'8") | 14"–18" | 94"–98" | 2-panel sliding or French door |
| 72" (6'0") | 80" (6'8") | 14"–18" | 94"–98" | 2-panel sliding or French door |
| 72" (6'0") | 96" (8'0") | 14"–25" | 110"–121" | 2-panel sliding, taller wall |
| 96" (8'0") | 80" (6'8") | 14"–18" | 94"–98" | 4-panel sliding or French door pair |
| 96" (8'0") | 96" (8'0") | 18"–25" | 114"–121" | 4-panel sliding, larger opening |
| 144" (12'0") | 96" (8'0") | 18"–25" | 114"–121" | Multi-slide or bifold, large opening |
How to read this table: the door width and height are the nominal finished unit dimensions, not the rough opening. Your rough opening will be larger (usually 1/2 inch to 1 inch wider and taller) to allow for shimming. The combined unit height is the approximate total including the transom and the mulling bar between them, but not finish trim. Always verify against the manufacturer's published rough-opening table for the specific product series you are ordering.
What it will cost: realistic price ranges
Costs vary significantly by material, glass package, brand, and whether your rough opening needs to be modified. The numbers below are approximate 2025-2026 ranges for the contiguous U.S. market. Labor rates in coastal metros will be at the high end or above these ranges. Always get at least two quotes that itemize material, labor, and any structural work separately.
| Component | Low End | Mid Range | High End | Notes |
|---|---|---|---|---|
| Vinyl sliding door + fixed transom (factory mulled) | $800 | $1,500 | $2,500 | Builder-grade to mid-tier; e.g., Milgard or similar |
| Fiberglass sliding door + fixed transom | $2,000 | $3,500 | $6,000+ | Pella Impervia, Marvin Elevate, etc. |
| Wood or wood-clad French door + transom | $2,500 | $5,000 | $10,000+ | Andersen 400 Series, Pella Architect Series |
| Aluminum multi-slide + continuous top light | $4,000 | $8,000 | $20,000+ | Marvin Modern, NanaWall, large openings |
| Installation labor (standard swap, no framing) | $400 | $800 | $1,500 | Assumes existing rough opening works |
| Header replacement / reframing | $500 | $1,200 | $3,000+ | Required when adding transom to existing opening |
| Operable (awning) transom upgrade | $200 | $600 | $1,200 | Add-on cost over fixed transom |
| Custom shaped (arched) transom | $500 | $1,500 | $4,000+ | Wood or fiberglass; requires custom framing |
The single biggest hidden cost I have seen homeowners miss is the header. If your home has a standard 6-foot-8-inch patio door and you want to add a 16-inch transom on top, that new combined opening height is around 97 to 98 inches. The existing header was almost certainly sized for the shorter opening. Per IRC prescriptive framing tables (R602.7), a wider or taller opening in a bearing wall requires a larger header, and if the load condition falls outside those tables, you need an engineered header. See Door & Window Headers: Framing Guidance, Journal of Light Construction (JLC) for practical header sizing guidance and notes on when engineered headers or reframing are required blank" rel="noopener noreferrer">Door & Window Headers: Framing Guidance — Journal of Light Construction (JLC). Budget for it rather than be surprised when the framer opens the wall.
Choosing your frame material
Frame material affects durability, maintenance, energy performance, and how well the transom and door frame look as a matched unit. Here is an honest breakdown of the four main options.
Vinyl
Vinyl is the most affordable and the lowest-maintenance option. It does not need painting, resists moisture, and handles temperature swings reasonably well. The downside is that it can warp or bow in extreme heat, and the frame profiles are thicker than wood or aluminum, which slightly reduces your glass-to-frame ratio. For a straightforward sliding door with a fixed transom, vinyl is often the best value, especially if you are focused on energy performance and low upkeep.
Wood
Wood frames offer the best interior aesthetics and can be painted or stained to match any interior. They also have naturally good thermal performance because wood is a poor conductor of heat. The trade-off is maintenance: wood requires periodic painting or staining on the exterior, and if water infiltration occurs (common at the transom mullion junction), rot can develop quickly. Most manufacturers address this with exterior aluminum or fiberglass cladding, giving you a wood interior and a weather-resistant exterior. Andersen 400 Series and Pella Architect Series are examples of this approach.
Fiberglass
Fiberglass is the high-performance pick for homeowners who want wood-like aesthetics without the maintenance commitment. It expands and contracts less than vinyl or wood with temperature changes, which matters at the transom joint where differential movement can open up gaps in weatherstripping and sealant over time. Fiberglass also holds paint better than vinyl. It costs more than vinyl, typically $1,000 to $2,000 more for a door-plus-transom unit, but the durability and low long-term maintenance cost often justify it in harsh climates.
Aluminum
Aluminum is the choice for large, modern openings, particularly multi-slide and bifold systems. It allows the slimmest frame profiles, maximizing glass area, which is especially noticeable in a continuous top-light configuration across a wide opening. The drawback is thermal conductivity: aluminum conducts heat and cold efficiently, which is bad for your energy bill unless the frame uses a thermal break (an insulating barrier inside the frame separating the interior and exterior aluminum). Always confirm thermal-break construction when specifying aluminum frames, and check the NFRC label for U-factor.
| Material | Maintenance | Thermal Performance | Cost (relative) | Best For |
|---|---|---|---|---|
| Vinyl | Very low (no painting) | Good (low conductor) | $ | Budget-conscious buyers, standard sliding doors |
| Wood / wood-clad | Moderate to high (exterior painting) | Good (natural insulator) | $$$ | Traditional homes, interior aesthetics a priority |
| Fiberglass | Low (holds paint, stable) | Excellent (low conductor, stable) | $$$ | Harsh climates, long-term low maintenance |
| Aluminum (thermal break) | Low (powder coat finish) | Moderate (requires thermal break) | $$$$ | Large openings, modern design, bifold/multi-slide |
Glazing and energy options for the top window
Because a transom sits high on the wall and often faces the sun at a favorable angle, glazing choices matter more than you might expect. Standard double-pane Low-E glass is the baseline for most patio door transoms. For hot climates (roughly IECC climate zones 1 through 3), prioritize a low SHGC around 0.25 to 0.30 to block solar heat gain through the transom. For cold climates (zones 5 through 7), a higher SHGC in the 0.40 to 0.50 range can contribute useful passive solar heat in winter. Triple-pane glazing is available as an upgrade on fiberglass and some vinyl lines and improves the U-factor significantly, which matters if the transom faces north or is shaded and gets little solar benefit to offset heat loss. Obscure or frosted glass is worth considering if your neighbor's second story has a line of sight through the transom.
Covering options for the door and the top window
Adding a transom complicates your window treatment situation because you now have two distinct zones: the door panels below and the fixed glass above. Most homeowners focus their curtain or shade purchase on the door and leave the transom uncovered, which works fine for privacy since the transom is above eye level. But if you want to block morning sun that comes in high through the transom, or if you simply want a unified look, you have a few options.
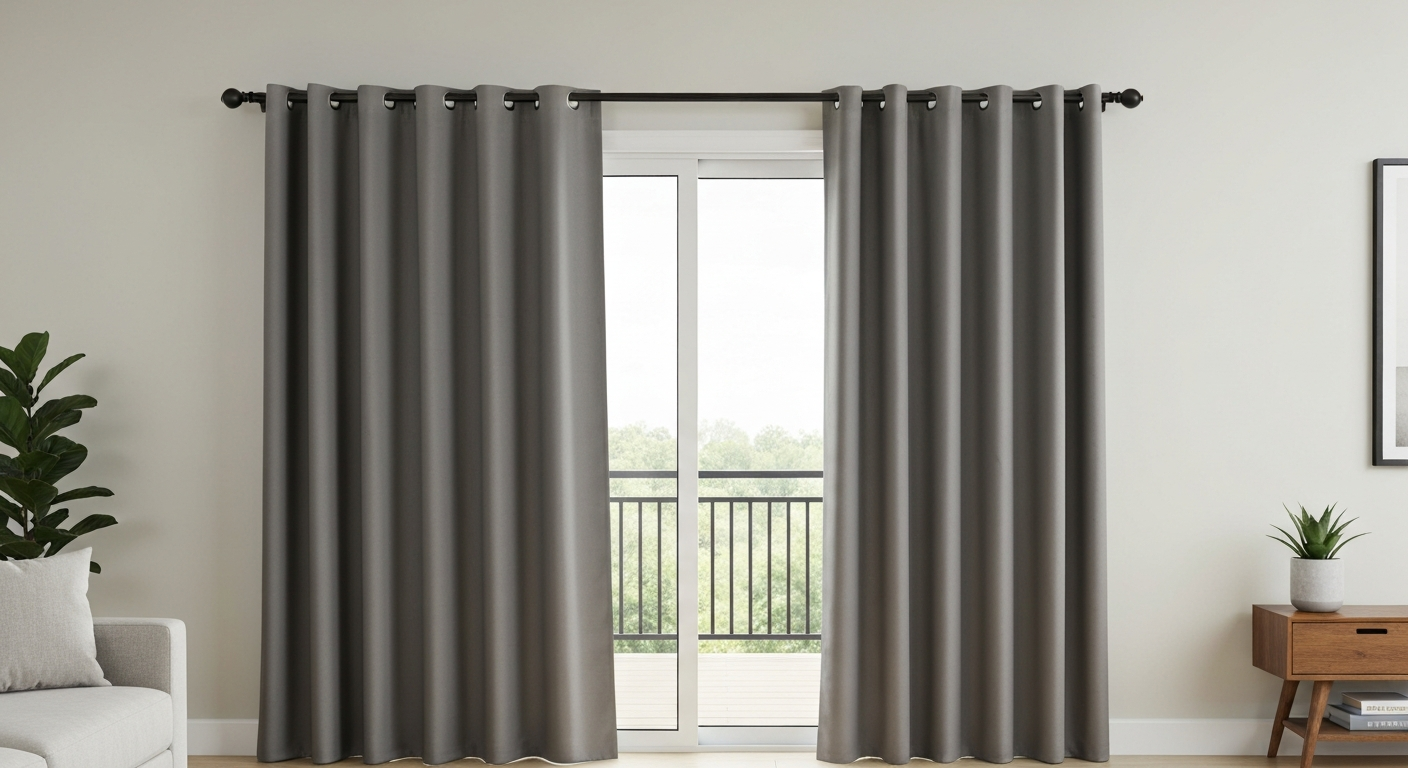
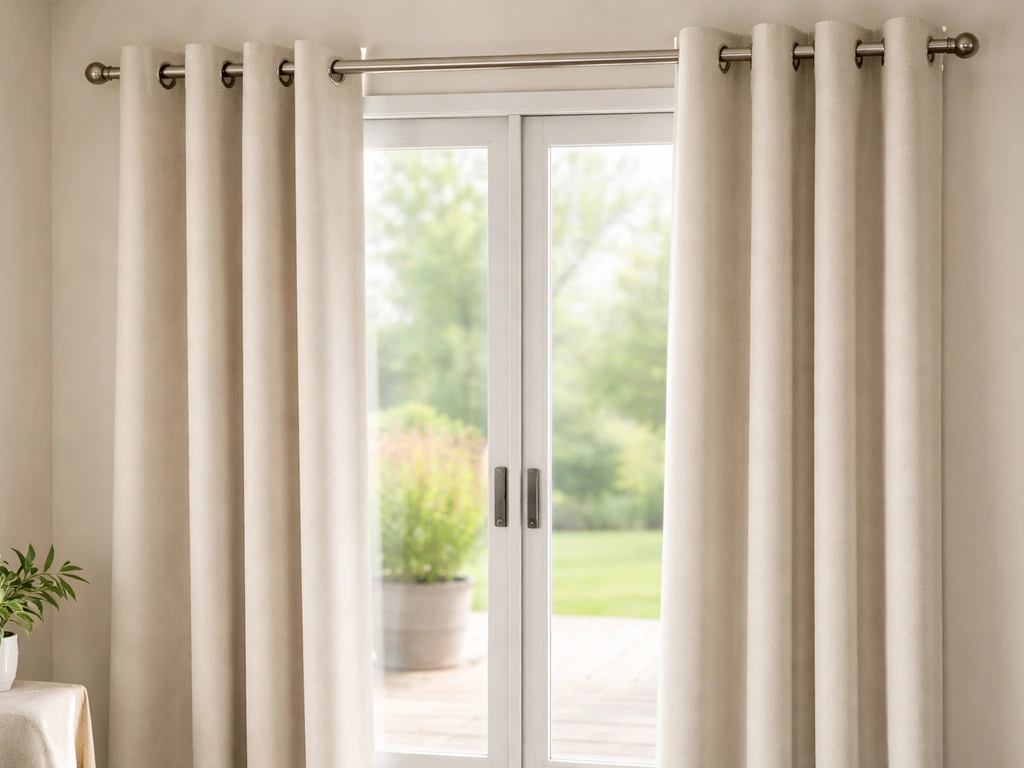
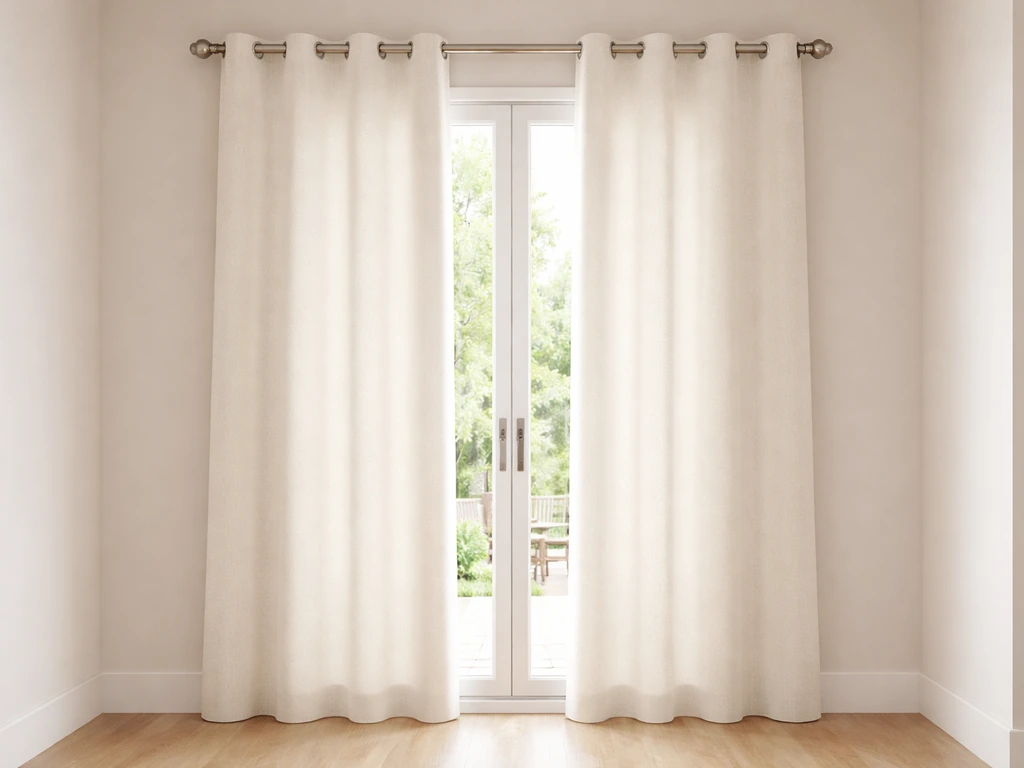
For the door itself, floor-length curtain panels are the most common and practical choice. Grommet-top panels are widely used on sliding and French patio doors because the grommets slide easily along a rod and the panels stack neatly when the door is open. Tab-top panels have a similar look but the tabs do not glide as smoothly on a rod, which can be annoying if you are opening and closing the door frequently. Insulated or thermal-lined curtain panels (often sold as blackout or thermal blackout panels) add a meaningful layer of heat retention in winter and heat blocking in summer, which is worth considering given that patio doors are typically the largest glass area in a room. For an affordable, ready-made option that combines insulation and easy movement with grommet tops, consider Wayfair Basics thermal blackout grommet sliding patio door curtain panels.
On whether curtains should touch the floor: for patio door panels specifically, curtains that just kiss the floor or hang about half an inch above it look intentional and clean, and they avoid the tripping hazard that puddle-length curtains create near a door that sees daily traffic. For more guidance on the ideal curtain length and safety considerations for doors, see should patio door curtains touch the floor. This is especially true with grommet-top or tab-top styles where the panel slides back and forth with the door. If you prefer tab-top panels, look for tab top patio door curtains specifically designed to slide smoothly with a door panel. See our guide to grommet top insulated patio door curtains for options that slide easily with grommet headers while improving thermal performance. Measure from the rod to the floor carefully, and choose rod pocket or grommet panels sized to that measurement.
For the transom itself, a few practical options exist. A custom cellular shade or roller shade mounted directly to the transom frame gives independent light control for the upper zone. Some homeowners use a wide, short curtain panel on a decorative rod mounted just above the transom, essentially treating the transom as a separate small window. If you want a unified look, extra-tall curtain panels (108 inches or longer) can cover both the transom and the door below it when hung high enough, though they will need to be pulled well clear of the door panels when the door is in use.
Security considerations
Fixed transoms add almost no security risk because they do not open. An operable transom is a different story: an awning transom that tilts open can be accessed from outside if it is not locked properly, and on a patio door where the glass is within reach of an intruder, that matters. If you specify an operable transom, make sure it has a keyed lock or a pin lock rather than just a latch. For the door itself, multipoint locking systems (common on French doors and available as upgrades on better sliding doors) are a significant improvement over the single-point foot bolt that most builder-grade sliding doors ship with.
Maintenance checklist for patio doors with top windows
The transom joint (where the transom frame meets the door frame at the mulling bar) is the most common failure point in a combined unit. Water infiltrates, the sealant cracks, and if you have a wood frame, rot starts there before it shows anywhere else. Here is a practical annual maintenance checklist.
- Inspect and clean the transom sill: clear any debris from the drainage gap between the transom sill and door frame top. Do not caulk this gap solid (it is intentional for drainage per Andersen's installation specs).
- Check the exterior sealant/caulk at all frame perimeters: re-caulk any cracks at head, sides, and sill with a paintable polyurethane or silicone-hybrid sealant rated for exterior use.
- Clean and inspect weep holes on the door sill: weep holes allow condensation and any infiltrated water to drain out. Keep them clear of dirt and debris.
- Lubricate sliding door rollers and track: a dry silicone spray on the track and rollers (not WD-40, which attracts dirt) twice a year keeps sliding panels operating smoothly and reduces stress on the frame.
- Inspect weatherstripping at the door head and any operable transom seals: replace any torn, compressed, or missing weatherstripping promptly.
- For wood frames: check painted or stained surfaces on the exterior for any peeling or bare wood, especially at the transom mullion joint. Touch up immediately to prevent moisture penetration.
- Check the glazing seals (spacer) on the transom glass: fogging between panes means the insulating seal has failed and the unit needs to be replaced. This is not a DIY fix.
- Test door locks and hardware: verify that locking hardware operates smoothly and that multipoint lock bolts engage fully.
Buying and installation checklist
Before you finalize an order or sign a contract with an installer, run through this list. I have seen homeowners skip items here and pay for it later with delays, cost overruns, or a unit that does not fit.
- Confirm your rough opening measurements (width, height, wall depth) and check them against the manufacturer's published rough-opening table for the specific product series.
- Determine whether the existing header is adequate for the combined door-plus-transom opening height. If adding a transom to an existing opening, budget for header replacement.
- Choose fixed or operable transom and confirm which is included in the quoted unit.
- Specify your glazing package: Low-E coating, SHGC rating appropriate for your climate zone, and whether triple pane is available and worth the upgrade.
- Confirm frame material and finish (interior and exterior) and verify that the transom frame matches the door frame exactly (same profile, same color).
- Ask whether the unit ships as a factory-mulled single rough-opening assembly or as two separate units requiring site mulling.
- Verify the installer's experience with transom installations specifically, and ask whether they follow AAMA/ASTM E2112 installation practices.
- Get the structural header situation in writing: if the framing contractor and window installer are different parties, clarify who is responsible for framing readiness before the window is delivered.
- Confirm lead time: standard configurations are typically 4 to 8 weeks; custom sizes or special glazing can run 10 to 14 weeks.
- Review the warranty separately for the door unit, the transom unit, and the mulling/installation: manufacturer warranties on glass and frames typically run 10 to 20 years, but installation workmanship warranties from contractors are often just 1 to 2 years.
- Plan your window treatments before the door is installed, not after: measure for curtain rod placement and determine whether you want a separate shade treatment for the transom.
A patio door with a top window is one of the more impactful upgrades you can make to a living room or kitchen that opens to the backyard. The combination of extra light, architectural height, and clean sightlines is hard to replicate with any other single project. The key is getting the measurements right, understanding what the framing situation requires, and picking a material and glazing package that matches your climate and maintenance tolerance. Get those fundamentals sorted before you fall in love with a particular style, and you will end up with a unit that performs well and looks great for decades.
FAQ
What is a patio door top window (transom / fixed top light)?
A top window—commonly called a transom, transom light, or fixed top light—is a window installed above a door or door unit, usually separated by a horizontal member (the transom). Transoms can be fixed (non‑operable) or operable (awning/hopper style) and are used to add daylight, ventilation (if operable), and architectural proportion without increasing the full‑height door size.
What common sizes do transoms come in and where can I find size tables?
Common transom sizes vary by manufacturer and product line. Typical finished transom heights range from about 12"–30" and widths match the door or mull width (single doors ~28"–36", sliding door sections ~24"–48" per panel; full unit widths commonly 60"–144"+). Many patio doors are offered in finished heights of ~80" (6'8") up to 96" (8') or taller when combined with a transom. For specific standard and series limits consult manufacturer size tables (Andersen, Pella, Marvin, Milgard) and the Patio Door Size Guide pages (for example, Marvin’s Patio Door Size Guide). Manufacturers publish minimum/maximum transom dimensions per product line—always check the spec sheet for the exact series you plan to buy.
How do I measure for a replacement transom and patio door?
Measurement depends on project type: replacement (sash/frame present), retrofit/insert, or full‑frame/new rough opening. Basic steps: 1) Determine project type (replacement vs full‑frame). 2) Measure finished opening width and height in three places (top, mid, bottom for width; left, center, right for height) and record smallest dimension. 3) For transom, measure the distance from the top of the door head to the underside of the header/ceiling—record clear opening and any trim depth. 4) Measure frame depth from interior face to exterior face to confirm unit/installation depth. 5) Note sill condition, thickness of interior trim, and whether existing flashing/trim will remain. 6) Photograph the exterior, interior, and rough opening including header area and note whether wall is bearing. Follow manufacturer instructions for replacement vs retrofit measurements—see Pella’s “How to Measure Patio Doors” and Andersen installation notes for tolerance/shim details. If the opening is in a bearing wall, verify header size against IRC header tables or consult a structural pro.
What are the installation tolerance and header considerations I should know?
Key points: - Follow manufacturer installation tolerances (shim spacing, fastener spacing, and clearance gaps). Andersen and others specify shim and fastener placement and minimum clearance/gaps for flashing and sealant. - Exterior openings in load‑bearing walls require headers sized per the IRC (prescriptive tables) or engineered headers; replacing or enlarging openings may require reframing the header. - If you remove a full‑height door and add a transom, confirm the existing header is sized for the new span/loads; a contractor or structural engineer may be required. - Use ASTM E2112 / AAMA installation best practices (flashing, drainage plane) for long‑term weather performance.
How do transoms integrate with sliding, French (hinged), and bifold doors?
Sliding (gliding/multi‑slide): - Transoms are commonly mulled above sliding/patio doors as a fixed top light. Mulling and drainage details are critical—manufacturers provide templates; do not block transom drainage paths. - Multi‑panel systems may use continuous top lights or segmented transoms above each panel. French/hinged doors: - Transoms are often paired above single/double swing doors to increase daylight while maintaining standard door height. Ensure head clearance for swing and coordinate weather‑stripping between door head and transom frame. Bifold/stacking doors: - Transoms are less common but used architecturally in some systems; careful attention to track/clearance and head framing is necessary. In all cases, use the same manufacturer’s mulling and installation instructions or an approved shop drawing to ensure structural support and water management.
What materials and glazing options should I consider for a transom over a patio door?
Materials: - Frames: vinyl, wood, fiberglass, aluminum, clad (wood with exterior cladding). Choose based on budget, durability, appearance, and thermal performance. Glazing/energy options: - Single vs double vs triple glazing: double (insulated glass units or IGUs) is standard; triple adds insulation but costs more. - Low‑E coatings: select Low‑E (and solar‑control Low‑E for hot climates) to reduce heat gain/loss. - Gas fills (argon, krypton) increase insulation in IGUs. - Warm edge spacers reduce edge heat loss. - Low iron or tinted glass for clarity/solar control. For transoms above doors, use insulated IGUs matched to the main unit and a proper glazing stop; fixed transoms are commonly IGUs with thermal glazing packages to meet code/comfort goals.