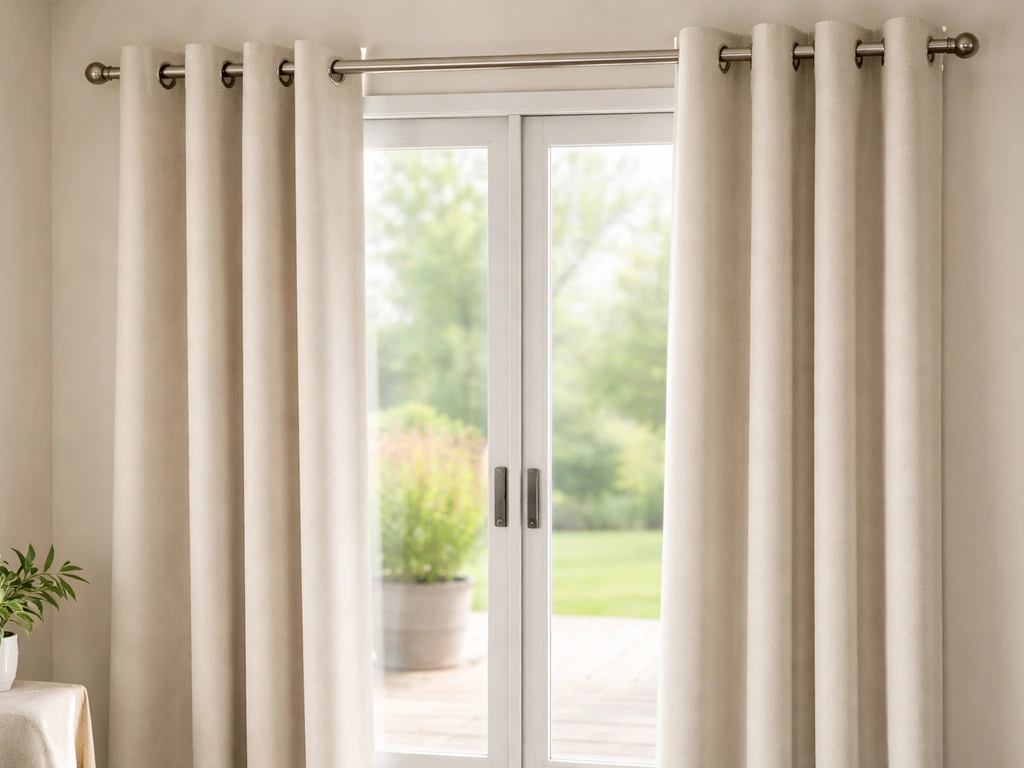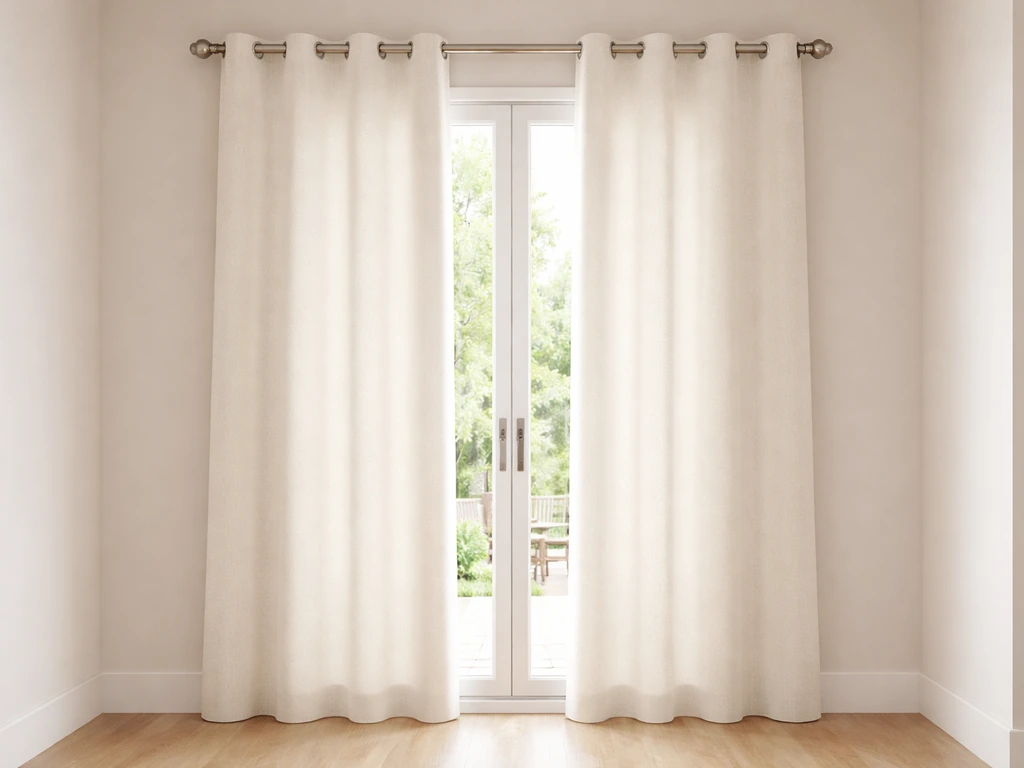
If you have a standard sliding patio door and you want a single wide panel that covers the whole opening, blocks the sun, and doesn't require a contractor to hang, the Wayfair Basics Thermal Blackout Grommet Sliding Patio Door Curtain Panel (SKU WFBS1602) is a genuinely solid option. It ships as one 100-inch-wide by 84-inch-tall polyester panel, it has a 4.6-star rating from over 7,000 buyers, and it retails at a price that makes competing with mid-range brands difficult. That said, it isn't perfect for every door or every household, and getting the sizing right before you order will save you a return trip.
Wayfair Basics Thermal Blackout Grommet Sliding Patio Door Panel Review

Owen Delaney
12 Jul 2026
Who this guide is for
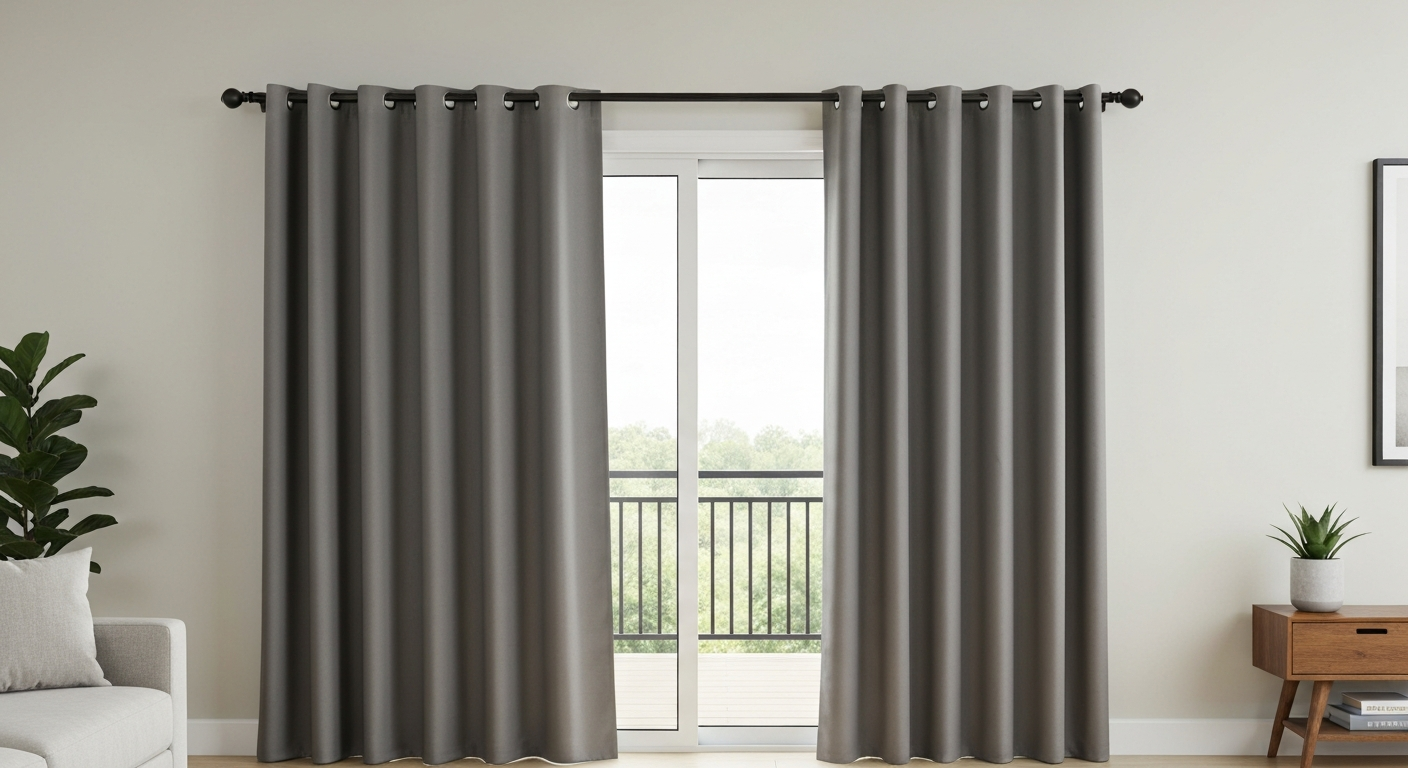
This article is aimed at homeowners who are staring at a sliding patio door and trying to figure out whether this specific Wayfair Basics panel will actually fit, block enough light, and keep drafts out without costing a fortune. I'll walk you through the product specs honestly, explain what 'thermal blackout' really means in practice, show you how to measure your door correctly (including what to do if you have a transom window above it), and give you a straight comparison against tab-top panels and competing brands. By the end, you'll know whether to click 'Add to Cart' or look elsewhere.
Product overview: Wayfair Basics Thermal Blackout Grommet Panel at a glance
The WFBS1602 is designed specifically for sliding patio doors, which is why it comes as a single extra-wide panel rather than a pair. Most standard curtain panels run 50 to 54 inches wide, but this one comes in at 100 inches wide, giving you enough fabric to cover a typical 6-foot (72-inch) sliding door with room to spare for fullness and stack-back. The panel is 84 inches tall, which lands it squarely at standard floor-length for an 8-foot ceiling. Here's a quick summary of the key specs.
| Spec | Detail |
|---|---|
| SKU | WFBS1602 |
| Panel size | 100" W x 84" H (single panel) |
| Material | Polyester |
| Weight | 3 lb |
| Light filtration | Blackout |
| Grommet inner diameter | 2" |
| Maximum rod diameter | 1.5" |
| Care | Machine washable, iron safe |
| Certification | NFPA 701 (fire resistance) |
| Rating | 4.6 stars / 7,227 reviews |
| Country of origin | China |
The NFPA 701 certification is worth noting, especially if you're in a region where fire-safety codes apply to window treatments in living spaces. The included installation PDF (linked from the product page on Wayfair's asset server) covers basic rod-mounting steps, though experienced DIYers won't need it.
Materials and construction: what 'thermal blackout' actually means
The term 'blackout' on curtain packaging refers to light-blocking performance, not a specific construction standard. In practice, most blackout curtains achieve their opacity through one of two methods: a tightly woven foam or latex coating bonded to the back of the fabric, or a triple-weave construction that sandwiches a dense middle layer between face and lining fabrics. This Wayfair Basics panel uses a coated polyester construction. That's common at this price point and it works well when the panel is new, but it does mean the coating can crack or flake over many years of washing if you use high heat.
'Thermal' in curtain marketing typically means the fabric (or its backing) adds some resistance to heat transfer through the glass. The U.S. Department of Energy recognizes that window treatments can reduce heat gain in summer and slow heat loss in winter, but the effect depends heavily on how well the curtain seals at the sides and bottom. A curtain that hangs loosely away from the wall lets convection currents circulate freely, and the thermal benefit drops off significantly. The Wayfair Basics panel is 100 inches wide on a door that might be 72 to 96 inches wide, so if you mount the rod generously beyond the frame, the side overlap can be meaningful, but don't expect it to replace weatherstripping or a proper door seal.
How well does it actually block light and insulate?
Consumer Reports tests blackout curtains using controlled light-source setups and measures how much light passes through the fabric itself. For lab-grade stray-light and blackout testing, see Imatest, Blackout Curtain Fixtures / Info Sheet for objective test-fixture designs Imatest — Blackout Curtain Fixtures / Info Sheet. The bigger real-world problem with any curtain, though, is edge bleed: light leaking around the sides, top, or between grommets. I've tested panels using a simple flashlight-in-a-dark-room method that Consumer Reports recommends for consumers, and it consistently shows that the fabric of coated polyester blackout curtains like this one blocks light through the weave almost completely. The leakage comes at the edges.
For thermal performance, an IR thermometer or a basic infrared camera aimed at the glass area behind the curtain versus an uncovered window gives you a before-and-after read. In practice, a heavy blackout panel like this one can reduce the surface temperature differential measurably in direct sun, because it intercepts solar radiation before it hits the room. The Department of Energy notes that medium-colored drapes with white plastic backings can reduce heat gain by 33 percent, and a full blackout panel with a light-colored back will perform comparably or better. That said, the panel gains heat itself during peak sun hours, so ventilation above and below the curtain matters if you want to move that heat back out.
Based on the 7,000-plus Wayfair reviews, the majority of buyers report excellent light blocking for bedrooms and media rooms. A smaller segment notes minor light seepage at the grommet seam lines or at the outer edges if the rod isn't extended well past the frame. Color consistency is another flag that comes up in reviews, with a handful of buyers noting that colors don't always match what they see on screen, which is a fabric-buying reality rather than a defect.
Grommet-top design: what works and what to watch
The grommets on this panel have a 2-inch inner diameter and are rated for a maximum rod diameter of 1.5 inches. That's a slightly looser fit than some grommet panels (many budget panels list a 1.57-inch inner diameter), which is actually helpful for a patio door setup because it lets the panel slide more easily on the rod when you need to push it open. For a sliding door specifically, you want the panel to stack back against the wall cleanly so it doesn't block the door opening or interfere with the screen. For more on choosing the right header and hardware for sliding doors, see our guide to patio door curtains grommet top for practical buying and installation tips.
Pros of grommet tops for patio doors
- Clean, modern look with evenly spaced folds
- Easy to slide by hand, no rings to catch or skip
- Compatible with standard 1-inch and 1.25-inch decorative rods, which are widely available
- The 2" inner diameter accommodates most standard curtain rod sizes up to 1.5" without forcing
- Rings/hooks not required, reducing hardware cost
Cons of grommet tops for patio doors
- Fixed grommet positions create specific fold spacing that you can't adjust
- On a single 100" panel, you'll have multiple grommets along the top, and minor light leaks can appear between folds if the panel doesn't hang tightly against the wall at the sides
- Not compatible with traverse rods or cord-operated tracks, which some homeowners prefer for large heavy panels
- A center-support bracket on the rod can catch the grommets if not recessed or offset with a bypass bracket
- Grommet panels hang about 1–2 inches below the rod, so factor that into your drop measurement
On rod compatibility: the 2-inch grommet works on any rod up to 1.5 inches in diameter. Most standard decorative curtain rods run 0.75 inch to 1.25 inches in diameter, so you have plenty of choices. If you're mounting over a wide patio door and need a center support bracket to prevent rod sag, use a bypass bracket or a support that recesses behind the rod face so the grommets can slide past without catching. This is a common headache that comes up in Reddit home-improvement threads, and it's avoidable with the right bracket.
Grommet vs. tab top: which style is right for your patio door?
Grommet-top and tab-top panels are the two most common header styles for wide patio door curtains, and they behave quite differently. Tab tops use fabric loops sewn directly to the panel header. They thread onto the rod and hang with a more relaxed, casual drape. They're often easier to make blackout-tight at the top because there's no metal hardware creating small gaps, but they're much harder to slide along the rod since the fabric friction is higher than metal-on-metal.
| Feature | Grommet Top | Tab Top |
|---|---|---|
| Ease of sliding on rod | Easy (metal on metal) | Harder (fabric on metal) |
| Light leak at header | Minor gaps possible between grommets | Usually tighter seal at top |
| Rod compatibility | Rods up to 1.5" diameter | Most standard rods |
| Aesthetic | Modern, structured folds | Casual, relaxed drape |
| Adjustability | Fixed fold spacing | Loops can be spaced by hand |
| Best for | Frequently opened/closed panels | Panels moved rarely |
| Hardware cost | Rod only needed | Rod only needed |
For a sliding patio door that you open and close multiple times a day, grommet top wins on practicality. The metal-on-metal slide is noticeably smoother, especially with a 100-inch, 3-pound panel. Tab-top panels work better in situations where the curtain stays parked to one side most of the time and only moves occasionally. If you're drawn to the tab-top look, it's worth comparing purpose-built tab-top patio door panels, since they're designed with the wider header in mind. The choice also affects how well the panel blocks light at the top, so if blackout performance is your primary need, think carefully about which header style closes more cleanly against your particular rod and wall.
How to measure your sliding patio door for curtains
Measuring for a patio door curtain is different from measuring for a standard window, mainly because you need to account for stack-back space (where the curtain parks when the door is open), clearance from the screen, and whether you have a transom window above the door frame. The Home Depot's How to Measure Curtains, The Home Depot guide recommends measuring from the rod (typically 4–6" above the frame), sizing panels 1.5–2× the window width for proper fullness, and measuring rod length to account for stack-back and bypass operation How to Measure Curtains — The Home Depot. Here's how I approach it on any patio door job.
- Measure the door frame width (glass-to-glass, outside edge to outside edge of the frame). This is your baseline door width.
- Add 8–12 inches on each side for rod extension past the frame. This gives the curtain somewhere to stack when the door is open and improves light blocking at the edges. For a 72" door, your rod should be at least 88–96" wide.
- Decide on rod placement height. Standard advice from Home Depot and similar retailer guides is to mount the rod 4–6 inches above the top of the door frame. If you have a transom window directly above the door, mount the rod above the transom, not between the door and the transom, so the curtain covers both when closed.
- Measure from the bottom of the rod (where the curtain will hang) to the floor. This is your drop measurement. Subtract 0.5–1 inch if you want the curtain to just kiss the floor, or add 1–3 inches if you want a slight puddle. For a clean break, aim for 0.25–0.5 inch clearance above the floor.
- Account for grommet offset. Grommet panels hang 1–2 inches below the rod itself, so if your rod is at 86 inches from the floor, the panel top will sit at roughly 84–85 inches. The panel's 84-inch drop fits this well for standard 8-foot ceilings.
- Check screen clearance. Your curtain rod needs to sit proud of the door frame far enough that the panel, when fully opened, clears the screen track. A rod that projects 3–4 inches from the wall using standard brackets usually achieves this, but measure your specific screen track depth before ordering brackets.
- Note any center door mullion or handle hardware that the curtain will need to clear when moving across the door.
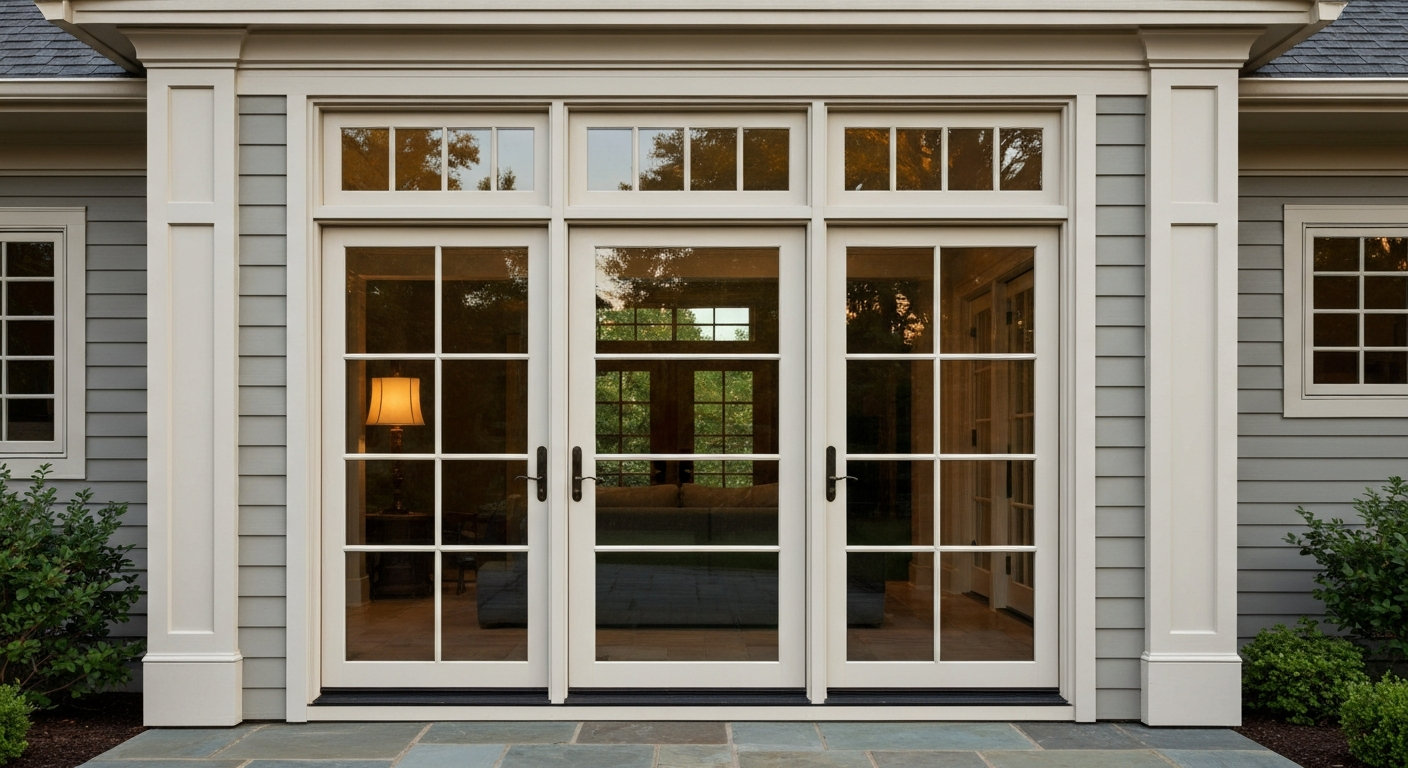
If you have a top transom window above the patio door (a narrow horizontal window set into the wall directly above the door frame), the approach changes slightly. Mount the rod above the transom so a single panel covers the entire assembly. This often pushes the rod height to 90 inches or more from the floor, which means the 84-inch panel may leave a gap at the bottom. In that situation you'd either need a longer custom panel or accept that the curtain will sit an inch or two above the floor. For more on how to handle patio doors with top windows, that's a topic that comes up frequently when homeowners are choosing both hardware and panel length. For specific guidance on measuring and mounting curtains when you have a patio door with top window, see the dedicated patio door with top window guide.
Sample measurements for common patio door sizes
Standard sliding patio doors come in a few common configurations. Pella and other major manufacturers list typical heights of 80 inches and 96 inches, with widths ranging from 60 inches (5-foot, two-panel) to 144 inches (12-foot, multi-panel). Here's how the 100x84 Wayfair Basics panel maps onto the most common sizes.
| Door Width | Door Height | Rod Length Needed | Panel Width Needed | Panels Required | 100x84 Panel Fits? | Notes |
|---|---|---|---|---|---|---|
| 60" (5 ft) | 80" | 76–84" | 76–84" | 1 | Yes, with excess width | Stack-back on one side; rod extended 8" per side |
| 72" (6 ft) | 80" | 88–96" | 88–96" | 1 | Yes, fits well | Classic fit; 100" panel provides ~14" fullness + stack |
| 96" (8 ft) | 80" | 112–120" | 112–120" | 2 | No — need 2 panels | Two 100" panels give 200" total; adequate coverage |
| 72" (6 ft) | 96" | 88–96" | 88–96" | 1 | Width yes, height short | 84" panel leaves ~12" gap if rod at frame top; add height or mount lower |
| 96" (8 ft) | 96" | 112–120" | 112–120" | 2 | Width no, height short | Need 2 panels and consider longer panels or rod placement |
| 60" (5 ft) + transom | 80" + 12" transom | 76–84" | 76–84" | 1 | Width yes, height short | Mount rod above transom (~94"); 84" panel may gap at floor |
The most common scenario where this panel works perfectly out of the box is a standard 6-foot (72-inch) sliding patio door with an 80-inch height and an 8-foot ceiling. That's the sweet spot this product was clearly designed for. If your door is 8 feet wide or taller than 80 inches, plan to either use two panels or choose a different size. Whether curtains should touch the floor is a question worth thinking through carefully for patio doors specifically, because too much fabric pooling on the floor can catch on the screen track or the door threshold when the panel is pushed to the side.
Mounting and installation tips
Installation is genuinely DIY-friendly. The product page links to an installation PDF, and the process is straightforward: mount your brackets, thread the grommets onto the rod, and hang it. A few practical tips from experience that the basic instructions don't always emphasize:
- Use wall anchors if you're not drilling into a stud. A 3-pound panel on a 96-inch rod creates real leverage on the brackets, and drywall screws alone will eventually pull out.
- If you have a center-support bracket, use a bypass style that sits behind the rod plane so the grommets can slide past without snagging.
- Mount the rod so the panel, when stacked open, clears the screen door track entirely. Extend the rod at least 10–12 inches past the door frame on the stack side.
- For a single panel on a 6-foot door, decide which side you want the panel to park on (typically the fixed panel side, not the sliding side), and position the rod brackets accordingly.
- After hanging, steam or lightly iron the panel to drop out any fold creases from shipping. The product is iron-safe, but use a low-temperature setting on polyester.
Compatibility with your patio door screen
This is the question I see most often from homeowners who've ordered a wide grommet panel: will it interfere with the screen? The short answer is that it depends on your bracket projection. If the rod brackets project 3 to 4 inches from the wall, the panel will hang clear of the screen track on most standard doors. If the brackets are too shallow and the rod sits close to the wall, the panel fabric can rest against the screen track and either drag on it or prevent the screen from sliding fully. Before buying brackets, measure the depth of your screen track housing and add at least 1 inch of clearance. A traverse rod or ceiling-mounted track eliminates this problem entirely by keeping all hardware above or behind the door plane, and it also allows for cord or wand operation if you'd rather not grab the fabric every time.
Care and maintenance
Wayfair's product listing says machine washable and iron safe, which covers the basics. For a polyester blackout panel with a thermal coating, I'd add a few conservative steps to protect the coating long-term: wash on a gentle or delicate cycle in cold water, and tumble dry on low heat or no heat. High-heat drying is the fastest way to crack or delaminate a foam backing coating. If the panel wrinkles after washing, a low-temperature iron or a garment steamer is safer than a hot iron pressed directly onto the back coating. Spot cleaning between washes is the best approach for a door panel that accumulates dust more than dirt, and a quick vacuum with a soft brush attachment every few weeks keeps it looking fresh without the wear of repeated machine washing.
How it compares to competing brands
The 100x84 single-panel blackout format has become a recognizable category, and you have real options across a wide price range. Here's how the Wayfair Basics panel stacks up against the most commonly compared alternatives.
| Brand / Product | Size | Approx. Price (single panel) | Light Filtration | Notable Differences |
|---|---|---|---|---|
| Wayfair Basics WFBS1602 | 100" x 84" | $35–$50 | Blackout | NFPA 701 certified; 4.6 stars / 7,200+ reviews; 2" grommet |
| Deconovo 100x84 Blackout | 100" x 84" | $24–$40 | Blackout | Lower price point; narrower grommet options; fewer color choices |
| Sun Zero / Eclipse Conrad | varies | $48–$100 | Blackout / Room Darkening | Better brand consistency; wider style range; heavier fabric in some SKUs |
| Custom panels (any fabric) | Made to measure | $80–$200+ | Varies | Exact fit; higher cost; lead time required; professional install often needed |
The Wayfair Basics panel sits in a practical middle ground. It's not as cheap as a bare-bones Deconovo on Walmart, but it has the review volume and brand backing to feel like a lower-risk purchase. Sun Zero and Eclipse panels tend to use heavier fabric and have better color consistency in my experience, but you're paying a meaningful premium. If your budget is tight and the door size is standard, the Wayfair Basics is a reasonable first choice. If color accuracy matters a lot for your space, it's worth ordering a sample swatch or buying from a retailer with a free returns policy.
Buyer's checklist: DIY or hire a pro?
Hanging a single curtain panel is almost always a DIY job. The main reason to call a pro is if your wall construction makes bracket mounting genuinely difficult (for example, if you're mounting into tile, stone, or a finished concrete wall) or if you're running a motorized traverse track that requires wiring. For a standard drywall or wood-framed wall with a decorative rod, this is a one-person job with a drill, a level, and about 30 minutes. Run through this checklist before you order.
- Measure your door width and confirm one 100" panel gives enough fullness for your specific width (aim for at least 1.5x coverage).
- Measure your ceiling height and confirm the 84" drop gives you the floor clearance you want, accounting for the 1–2" grommet offset below the rod.
- Check whether you have a transom window above the door and whether you need a longer panel or a rod mounted above the transom.
- Verify your wall type for bracket mounting (drywall, stud, concrete, or tile) and buy the appropriate anchors.
- Measure your screen track depth and confirm your planned brackets project far enough to clear the screen when the panel is fully open.
- Decide on rod diameter (must be 1.5" or less for this panel's grommets) and whether you need a center bypass bracket for spans over 72".
- Confirm the color in person if possible, or order from a retailer with a free return policy.
- If using two panels for a wider door, order both at once from the same batch to minimize dye-lot variation.
If all eight of those boxes check out cleanly, you're ready to order and install this yourself in an afternoon. If you hit a complication on the wall type, the transom situation, or the screen clearance, solve those questions before the panel arrives rather than after. Getting the hardware right before the curtain shows up is the single biggest time-saver in any window treatment project.
FAQ
What primary product information should I collect from the manufacturer/retailer before evaluating the Wayfair Basics Thermal Blackout Grommet Sliding Patio Door Curtain Panel?
Collect the exact SKU/spec sheet (WFBS1602), panel dimensions (100" W × 84" H), material (polyester), grommet outer/inner diameter and maximum rod diameter (listed 2" grommet, max rod 1.5"), single-panel weight (~3 lb), stated light-filtration (Blackout), origin/certifications (e.g., NFPA 701 noted on Wayfair Canada), washing/care instructions (machine washable, iron safe), installation/assembly PDF, and retailer data (average rating, total review count and timestamps). Use the Wayfair US/Canada product pages and the Wayfair-hosted installation PDF as the canonical sources.
Which authoritative external technical sources should be consulted to frame thermal and energy-performance claims?
Use Department of Energy (Energy.gov) guidance on window technologies and energy impacts to frame how curtains influence U-factor/heat loss and to select appropriate metrics. Supplement with Consumer Reports lab-testing methodology examples for assessing thermal and light-blocking performance, and refer to manufacturer/architectural door docs (e.g., Pella sliding-door specs) for typical door sizes and transom configurations used in sizing recommendations.
What consumer- and lab-style tests are required to quantify blackout performance accurately?
Conduct a layered testing approach: 1) Qualitative flashlight/room-darkness test (photograph light leaks at seams/edges and through grommets). 2) Quantitative lux measurements with a calibrated light meter under controlled source (measure lux behind curtain vs exposed baseline). 3) Imaging: high-resolution photos in visible-light and IR thermography to reveal stray light/edge leaks. 4) Repeat tests for full-panel, stacked, and offset positions to capture bypass/center overlap behavior. Document test geometry (source distance/angle), camera/lux meter settings, and time of day for repeatability.
What thermal/insulation performance tests should be run, and what metrics are practical for a consumer-facing evaluation?
Use practical in-home tests and simple lab approximations: 1) IR-camera time-series thermography measuring curtain surface and adjacent frame temperatures pre/post controlled temperature change (heater or cold box). 2) Spot infrared thermometer measurements at fixed points over time. 3) Room air-temperature delta test: measure room temperature near door/curtain and compare to baseline with a standardized heat source for a fixed interval. 4) Estimate U-factor impact qualitatively using Energy.gov guidance. Report results as temperature deltas (°F/°C), IR images, and percent reduction in measured heat flux proxies rather than absolute U-factor unless lab-grade apparatus is available.
How should I test fit, sizing, and operating compatibility for sliding patio doors (including transoms)?
Prepare representative door scenarios (common sizes from manufacturer docs: 80" and 96" heights; widths: 5'–12' panels). For each: 1) Verify whether a 100"×84" single panel covers typical widths and heights—give sample recommended panel counts and overlap/fullness (1.5–2× window width guidance). 2) Measure stack-back requirements: test rod/track placement 4–6" above frame and required clearance for floor/threshold. 3) Test with a top transom: recommend mounting above the transom or between transom and header depending on height—measure required rod-to-ceiling clearance. 4) Operability test: mount and operate sliding door with curtain installed to ensure no interference with door, screen, or center/panel supports.
What mounting and hardware compatibility checks should be performed (grommet vs tab top and track/rod options)?
Check rod diameter fit with grommet inner diameter (Wayfair lists max rod 1.5" for this 2" grommet). Test on common hardware: decorative rods, traverse rods (cord/wand), ceiling-mounted tracks, panel-track systems, and floor guides. Evaluate smoothness of slide, catching on brackets/supports, and whether grommet causes bulking at bypass points. For tab-top alternatives, note stack/back aesthetics, and test how easily panels convert or pair with clip rings or adapters. Also test floor guides or weights to keep curtain aligned with sliding screen operation.