A retractable bug screen for your patio door gives you open-air ventilation without the mosquitoes, and it disappears into a housing when you don't need it. The trick is getting the right style for your door type, measuring to the nearest 1/16 inch so it actually fits, and budgeting realistically: a quality DIY unit runs $275–$475 depending on single or double door, while a professionally motorized system can hit $6,000–$20,000 for a full patio enclosure. Most homeowners buying a screen for a standard sliding or French patio door land firmly in the lower range and install it themselves in an afternoon.
Retractable Bug Screens for Patio: Fit, Install, Cost Guide

Owen Delaney
21 May 2026
When retractable bug screens work best for patio doors
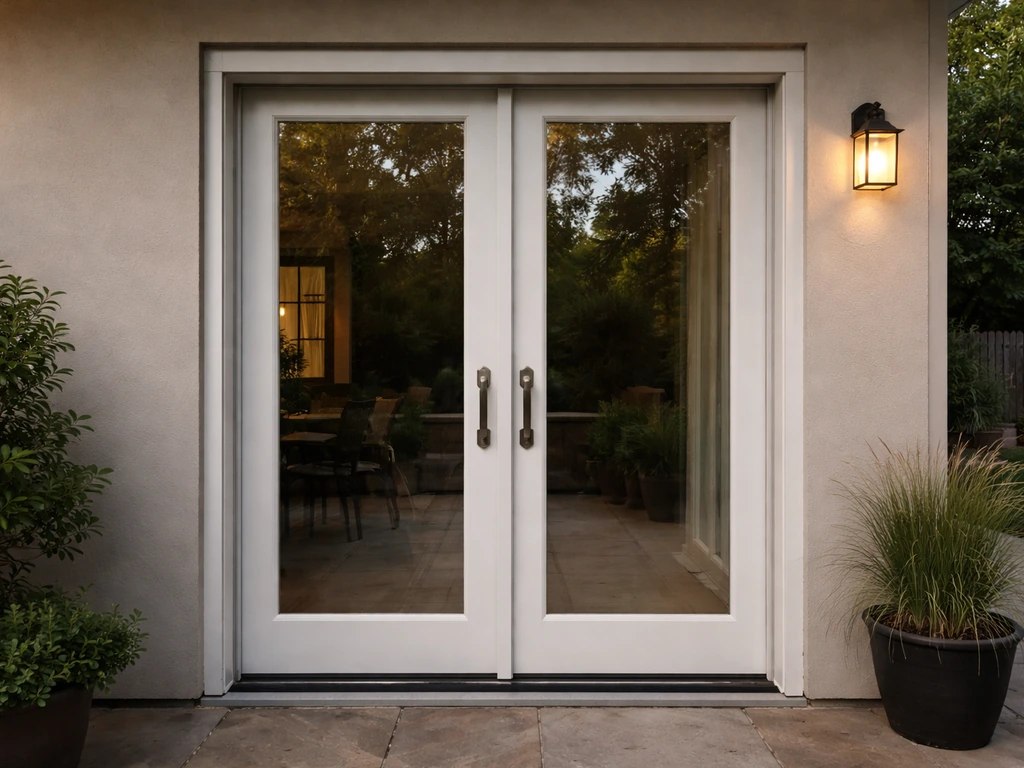
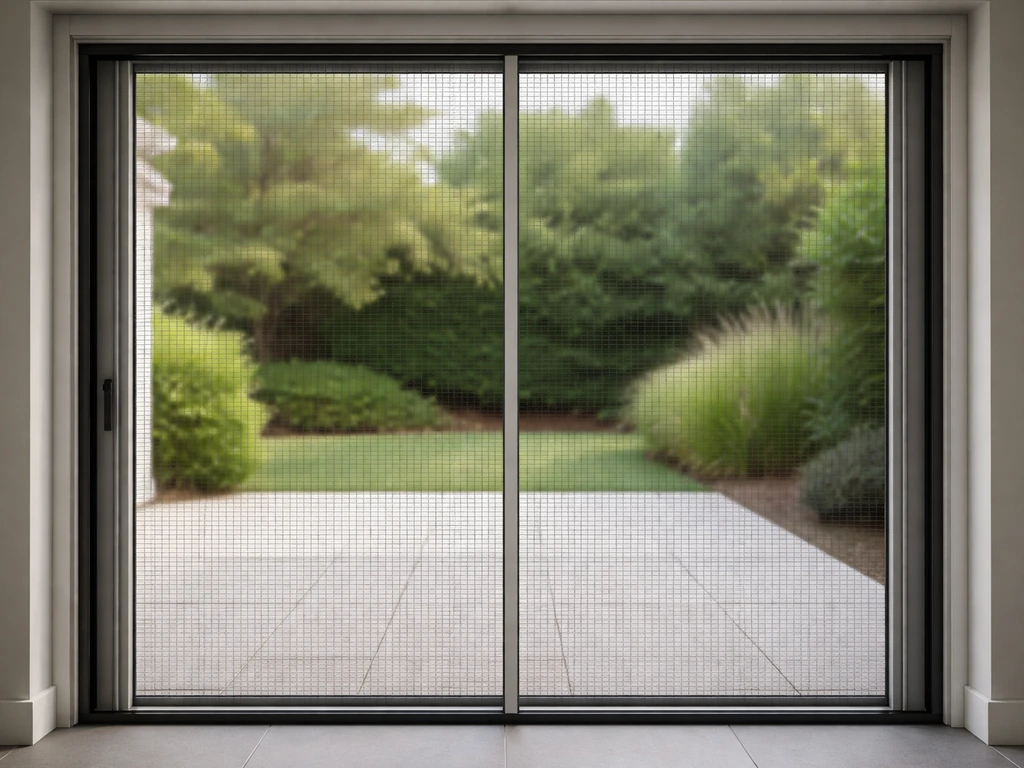
Retractable screens shine in situations where you want the screen to be invisible when it's not in use. A fixed screen on a sliding patio door is always there, always getting bumped, always collecting pet hair. A retractable unit rolls back into a cassette housing mounted to the door frame, so when the door is open and the weather is great, you see nothing. When bugs are bad, you pull it across and latch it.
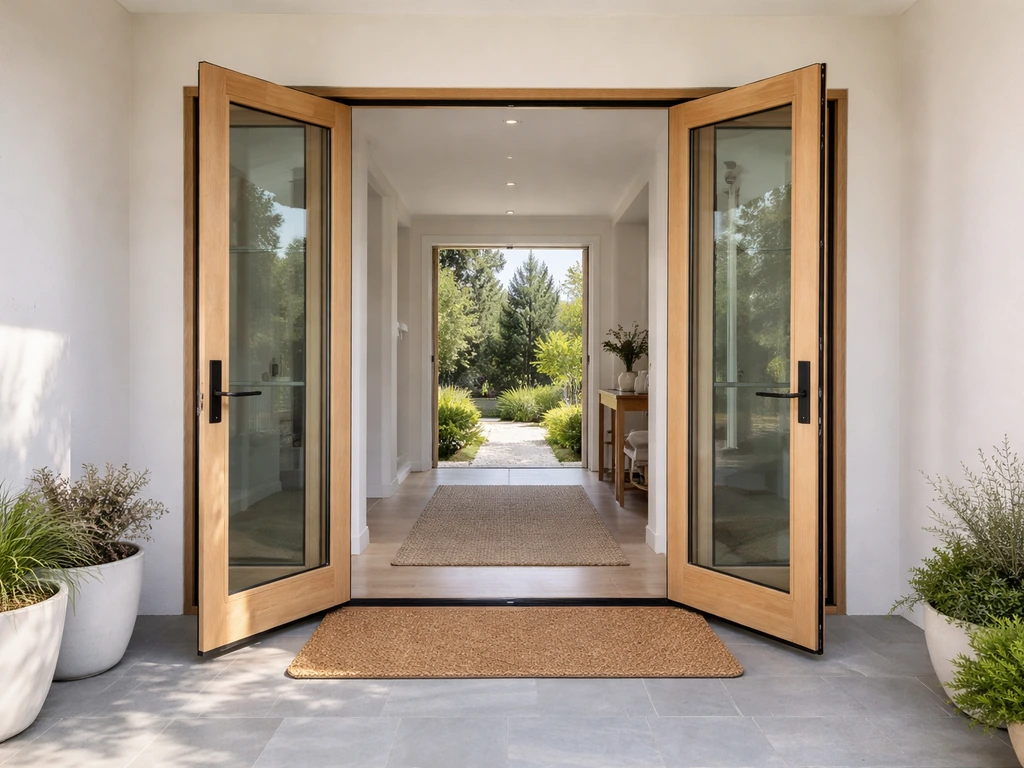
They work especially well for French patio doors, which have no built-in screen track and no obvious place to mount a conventional screen. A single-panel retractable screen mounts to one door's frame and sweeps across the opening when needed. For wide sliding patio doors, double-pack retractable systems or opposing single screens cover the full span. If you're dealing with a bi-fold or multi-panel door, a motorized system is usually the more practical route since the opening width makes manual options awkward. A manual retractable patio screen is a great choice when you want easy, cost-effective bug control without leaving a fixed screen in place.
One honest caveat: retractable screens are not security screens. Andersen explicitly notes their insect screens are intended for insect control only, not force resistance. If someone runs into the mesh or a dog charges through it, you're likely looking at a replacement. They're also not a great fit if you have very young children or large, excitable pets who'll treat the screen as an obstacle. For calmer households in bug-heavy climates, though, they're genuinely hard to beat.
Sizing choices and measurements for patio bug screen models
This is where most DIY installs go wrong. Measuring for a retractable screen is not the same as measuring the door itself. You're measuring the door frame's mounting surface, and you need to account for clearance on every side.
Follow Casper's measurement approach as a reliable baseline: measure the door frame mounting surface to the nearest 1/16 inch. Measure height on the hinged side of the door, and measure width at both the top and bottom of the frame. Use the smaller of the two width measurements. Then check your clearance: you need at least 1 inch of depth on the hinged side of the frame, and at least 15/16 inch on all other sides. If your frame doesn't offer that clearance, the screen housing won't sit flush and the screen won't operate correctly.
Standard patio doors are typically 80 to 81 inches tall, and that's what most off-the-shelf retractable screens are built for. Taller doors (96 to 97 inches) require a tall configuration, which costs more. Double French door or wide sliding openings need either a double-pack unit or two single screens mounted on opposing sides. Before you order, also confirm whether you're mounting on the interior or exterior of the frame, since some systems are designed specifically for one or the other.
| Door Configuration | Screen Setup | Typical Frame Height |
|---|---|---|
| Single French or hinged patio door | Single retractable screen | 80–81" or 96–97" |
| Double French doors | Double-pack or two singles | 80–81" or 96–97" |
| Standard sliding patio door | Single or double, mounts to frame | 80–81" |
| Wide bi-fold or multi-panel | Motorized or custom multi-panel | Varies by opening |
Types and styles: roller mesh, side-track, and screen-in-frame
Not all retractable bug screens work the same way. The three main styles you'll encounter for patio door applications each have a different mechanism and a different ideal use case.
Roller (cassette) retractable screens
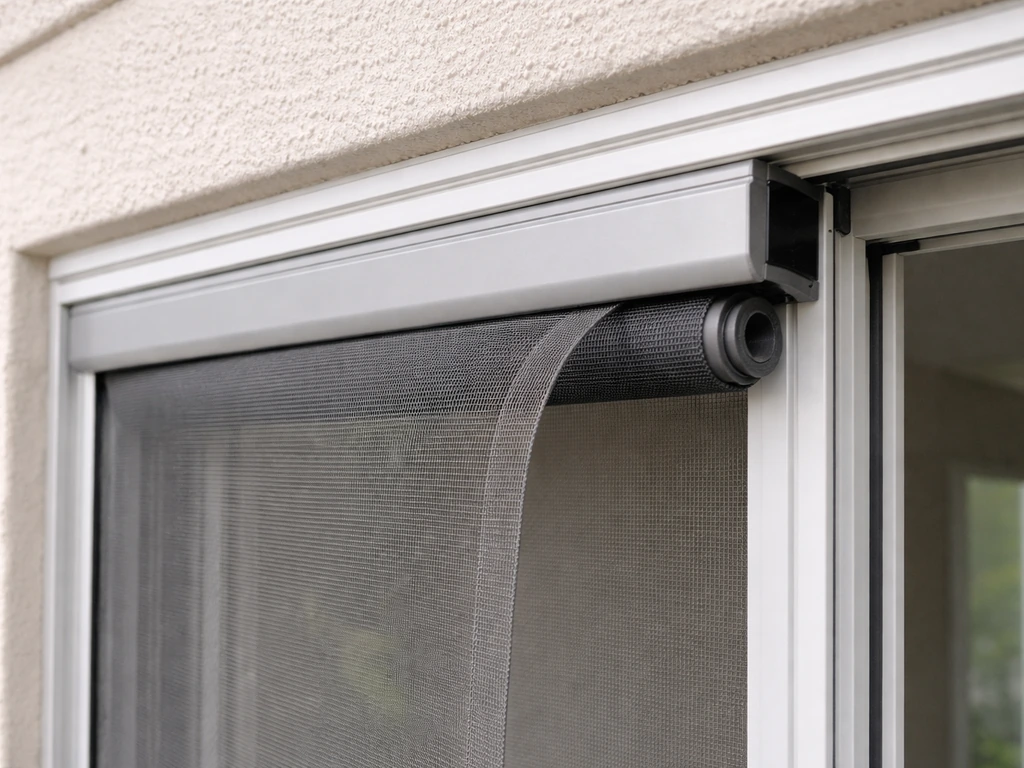
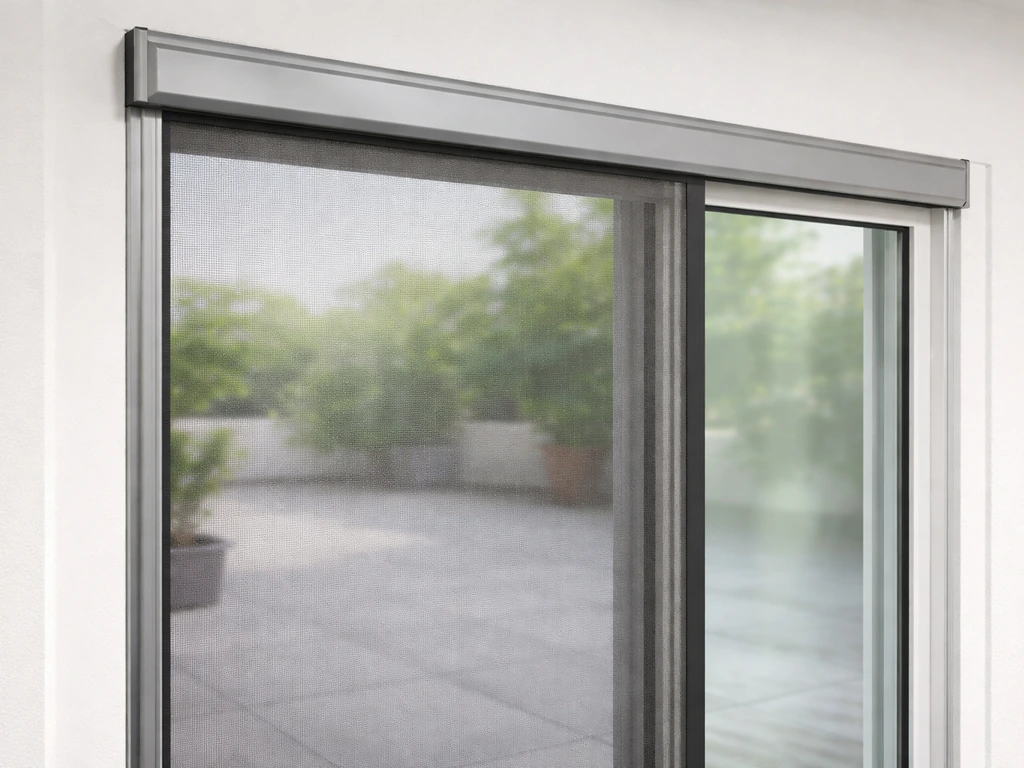
This is the most common type for patio doors. The mesh rolls up into a compact cassette housing mounted to the door frame. When you pull the screen across, it travels along a bottom track and a top guide channel. Larson's Brisa and Casper's Disappearing Screen are good examples. The cassette mounts vertically on one side of the door, and the screen sweeps horizontally across the opening. These are well-suited to sliding patio doors and French doors, and they disappear completely when retracted.
Side-track retractable screens
Side-track systems use two vertical track channels (one on each side of the door frame) and the mesh pulls down from a top-mounted housing, or pulls across from a side-mounted cassette with deeper side tracks to keep the screen tensioned. These are more common on larger patio openings and bi-fold door applications. The extra side tension keeps the mesh taut over wider spans, reducing flapping in a breeze.
Screen-in-frame (panel insert) systems
These are framed screen panels that slot into the door opening rather than rolling out from a cassette. Technically retractable in the sense that you remove them seasonally rather than having a fixed screen, but they don't offer the same pull-and-latch convenience. They're a lower-cost option and work fine if you only need screening during a defined bug season and don't mind storing the panel. Mirage's 1750 series is a true roller retractable that works across French and sliding patio door applications, and it's worth the step up in convenience for most homeowners.
Cost factors and budgeting (DIY vs. pro install)
Hardware cost is the easiest part to nail down. A Larson Brisa single pack (standard height, 80–81 inches) lists at around $275. If you're wondering how much retractable screens for a patio cost, a single standard-height unit typically starts around $275 for hardware. The tall version (96–97 inches) is $318. A Brisa double pack for French doors runs about $424 at standard height, $467 for tall. These are list prices, so you may find them slightly lower at home improvement stores or slightly higher through installers who mark up hardware.
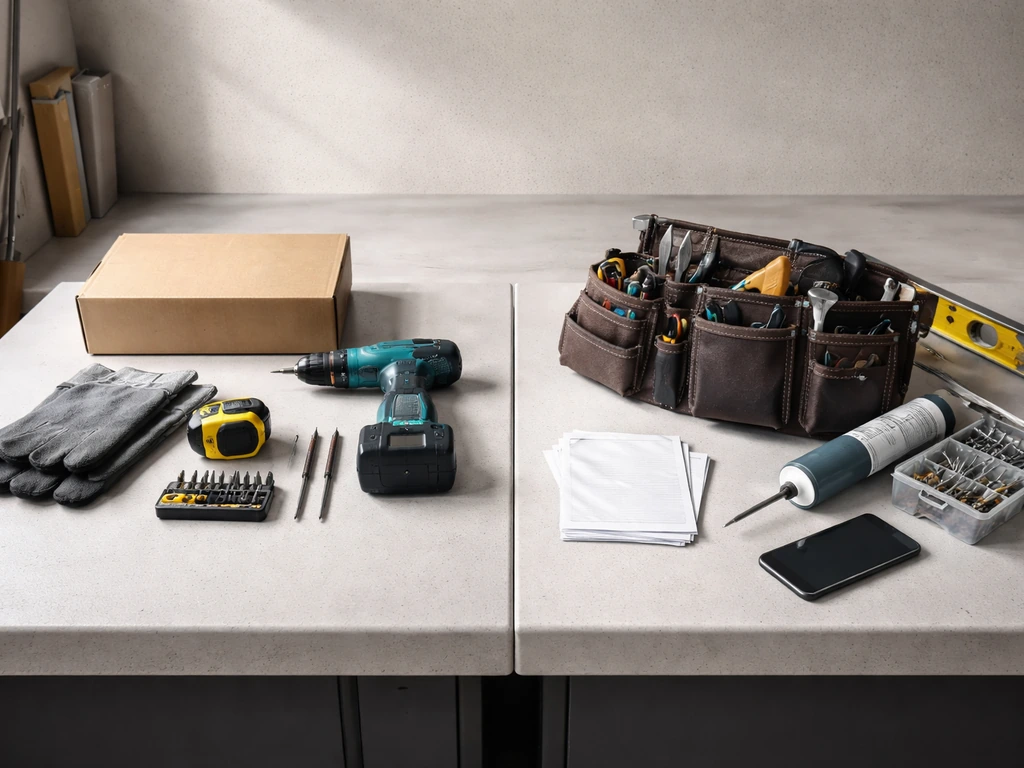
Installation cost depends entirely on whether you're doing it yourself or hiring out. A cordless drill is genuinely the only tool you need for most cassette-style retractable screens like the Casper. If you're comfortable with basic framing measurements and a drill, a DIY install takes two to three hours for a single door, maybe four hours for a double. Labor cost savings here are real: professional installation of a single retractable screen door typically adds $100–$300 in labor on top of hardware, depending on your market.
If you're looking at motorized retractable screens for a larger patio enclosure (not just the door, but the full patio surround), the numbers climb fast. A 12x12 foot motorized screen enclosure averages $6,000–$10,000 installed, and a 20x20 space can reach $10,000–$20,000. That's a different product category from a patio door screen, but worth knowing if you're comparing full patio coverage options.
One warranty-related cost consideration: Casper offers a limited lifetime warranty on the frame and parts for the original purchaser, but the mesh is only covered for 3 years. The warranty also specifically requires installation according to instructions, and for full warranty coverage, a Certified Casper Screens Installer. If you DIY and something goes wrong, you could be working without warranty support on the mesh. For most homeowners, DIY is still the right call financially, but go in knowing this.
| Scenario | Estimated Cost Range |
|---|---|
| Single retractable screen door (DIY, standard height) | $275–$320 |
| Double retractable screen pack (DIY, standard height) | $424–$470 |
| Single screen with professional installation | $375–$620 |
| Motorized patio enclosure screen (12x12) | $6,000–$10,000 |
| Motorized patio enclosure screen (20x20) | $10,000–$20,000 |
Installation steps and common setup mistakes
Most cassette retractable screens follow the same basic installation sequence. Here's the general process based on how Casper and Larson approach it:
- Measure the door frame mounting surface to the nearest 1/16 inch, checking both top and bottom widths and measuring height on the hinged side.
- Verify your clearance: 1 inch on the hinged side, 15/16 inch on the remaining three sides. If you don't have it, the screen won't sit correctly.
- Mount the cassette housing to the door frame on the hinged side. This is where you'll use your cordless drill and the provided screws through the end cap areas. Make sure the housing is plumb before fully tightening.
- Insert the top track into the housing channel and secure it with screws into the top of the frame. The top track needs to be level or the screen will drift when it travels.
- Install the bottom track across the threshold or bottom of the door frame opening.
- Thread the screen out from the cassette, attach the pull bar, and run it into the top and bottom tracks. Test the retraction tension before finalizing anything.
- Latch or attach any provided handle hardware and test the full sweep and retraction several times.
The most common mistakes I see: not checking clearance before ordering (the screen arrives and physically can't mount flush to the frame), mounting the cassette off-plumb so the screen binds on the way across, and over-tightening the top track screws so the screen can't travel freely. Larson's troubleshooting guide specifically calls out cassette binding as a top issue, usually caused by the cassette being shifted or too tightly seated. If the screen starts binding after install, the first thing to check is whether the cassette has shifted or the top track has torqued.
Also: measure twice, order once. Retractable screens are sized to your frame measurement, not to the door itself. Ordering based on door size rather than frame mounting surface is the most expensive beginner mistake.
Maintenance, cleaning, and longevity tips
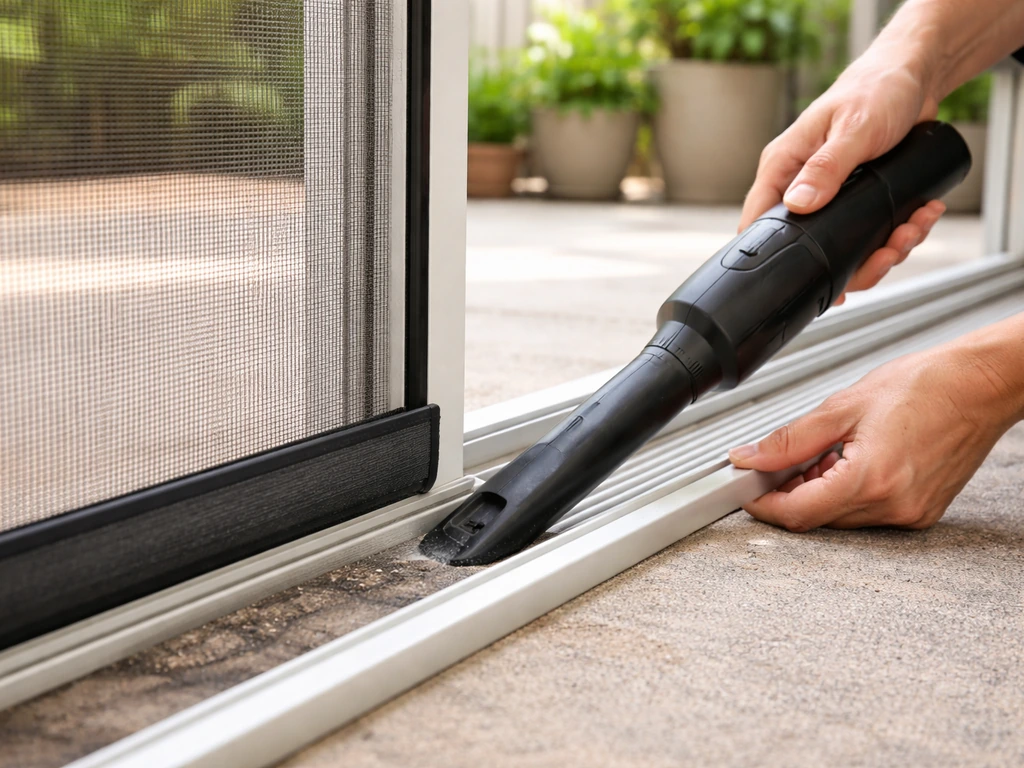
Retractable screens need more regular attention than a fixed screen because debris and pet hair collect in the bottom track and can cause the screen to bind or retract unevenly. The payoff for keeping up with it is a screen that lasts a decade or more without needing replacement.
For routine cleaning, vacuum the bottom track regularly. Pet hair and dirt are the biggest culprits for binding. For deeper annual maintenance, clean the tracks, housing, and mesh with warm soapy water, rinse thoroughly to remove all soap residue, and let everything dry before lubricating. Both Mirage and Andersen recommend this annual process, though they differ on lubricant type.
On lubricant: Andersen is explicit that you should not use oil-based cleaners or lubricants on insect screen tracks. Use a non-oil-based spray lubricant designed for sliding door tracks. Mirage recommends a good-quality silicone spray. Casper's maintenance guidance similarly calls for vacuuming the bottom track and using mild soapy water on the mesh. Silicone spray is the safe choice across all brands. If you're in a high-traffic or dusty area (near a dirt driveway, a busy street, or you have multiple dogs), increase cleaning frequency to every couple of months rather than once a year.
- Vacuum the bottom track every month in normal conditions, more often with pets or dust.
- Annual deep clean: warm soapy water on tracks, housing, and mesh. Rinse all soap residue completely.
- Lubricate tracks after cleaning with silicone spray only. No oil-based products.
- Inspect the cassette alignment at least once a year. If the screen binds or doesn't retract smoothly, check whether the cassette has shifted.
- Don't let the screen retract with debris in the track. It drags material into the cassette and damages the mesh over time.
- Keep pets and young children away from a deployed screen. Impact damage is specifically excluded from most manufacturer warranties.
Casper's warranty explicitly excludes damage from people, animals, or objects running or falling into the mesh. A three-year mesh warranty sounds generous until you realize it won't cover the most common way mesh gets damaged. Treat the deployed screen as a delicate barrier, not a pet door.
Choosing the right screen for your patio door type and climate
The right screen depends on three things: your door configuration, your local bug pressure, and how much wind your patio sees. Here's how to think through each.
Door type
Sliding patio doors work best with a single horizontal-sweep cassette screen like the Larson Brisa, which is designed specifically for sliding door frames. French patio doors pair well with either a single retractable screen on each door (which open independently) or a double-pack that sweeps across both when both are open. If you're dealing with a bi-fold or multi-panel door, look at motorized side-track systems since the opening width makes manual cassette screens impractical.
Bug pressure and mesh type
Standard fiberglass mesh handles mosquitoes, gnats, and flies without issue. If you're in an area with no-see-ums (very fine midges common in coastal and swampy climates), look specifically for screens labeled with a finer mesh count, typically 20x20 or higher rather than the standard 18x16. The finer mesh slightly reduces airflow, but if you're in Florida or coastal Georgia in July, you already know the tradeoff is worth it.
Wind and climate conditions
If your patio faces into prevailing winds or you live in a gusty climate, a horizontal cassette screen will flap and strain under wind pressure. In those situations, a side-track system with tension cables does a better job of keeping the mesh taut. Motorized screens with zip-track or tension-track systems are the most wind-resistant option, which is part of why they dominate the Florida and Gulf Coast market despite the higher price.
If you're also evaluating whether a manual or motorized approach makes sense for your overall patio setup, or comparing screen costs across different configurations, the pricing math changes significantly based on whether you're screening just the door opening or the entire patio area. The door-specific retractable screen products covered here are the most affordable starting point, and most homeowners find they solve 90% of the bug problem for a fraction of the cost of a full enclosure.
Your next steps
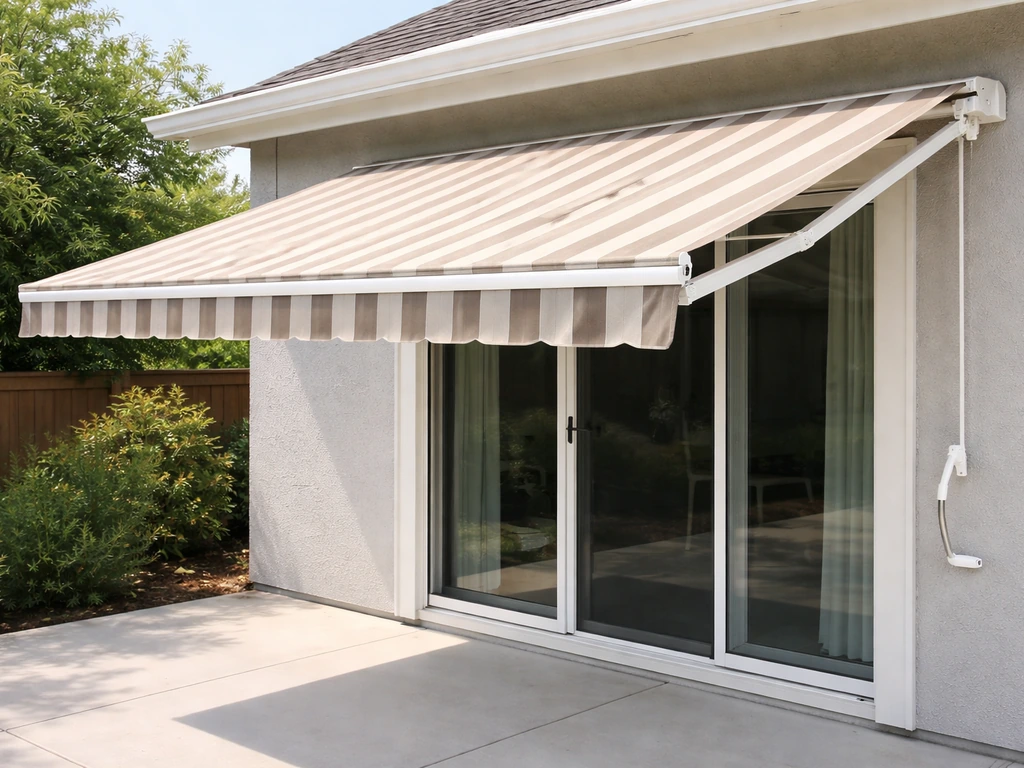
Start by measuring your door frame mounting surface today: width at top and bottom, height on the hinged side, all to the nearest 1/16 inch. Confirm your clearance (1 inch hinged side, 15/16 inch all others). Use those numbers to shop for a single or double cassette retractable screen that matches your door configuration. For most standard patio doors, a Larson Brisa or comparable unit in the $275–$470 range is the right starting point. Grab a cordless drill, set aside a Saturday morning, and you'll have it installed before lunch. Then set a calendar reminder for annual cleaning, keep silicone spray on hand, and keep pets away from the deployed mesh. That's genuinely all it takes to get ten-plus years of smooth, bug-free patio ventilation. If you are also swapping hardware, note that patio door handles are not always universal, so confirm the model and compatibility before you buy. Manual patio screens are a great option if you want reliable bug control without the extra complexity and cost of motorization. A manual retractable patio awning can provide similar shade benefits while keeping the rest of the space open and bug-protected.
FAQ
Can I install retractable bug screens for a patio if my door frame is slightly out of square?
Yes, but you need the clearance and track alignment. Retractable screens are designed to mount to a specific frame surface, so if your patio door is not square or the frame has warped trim, you can end up with a cassette that won’t sit flush or a screen that binds. The fix is to dry-fit the cassette and check it is plumb and level before driving all screws.
What’s the most common measurement mistake that ruins a retractable screen order?
Measure and order by the screen’s mounting surface, not the visible door slab. Even if the door opening looks the right size, the kit must match the frame’s mounting dimensions (and the required depth clearance). If you order based on the door height or width, the housing often arrives too large or won’t mount flush, making it unusable or forcing awkward shimming.
How should I store a retractable bug screen during the off-season to prevent binding?
You generally need to keep it deployed clean and level, then store it with the screen fully retracted. For seasonal storage, follow the manufacturer’s guidance, but as a rule you should avoid storing the screen while wet or full of debris, and you should never leave it half-deployed in a way that can catch wind. If the system uses oil-based cleaners, stop them, since residue can attract more grime and affect movement.
My retractable screen binds after install, what should I troubleshoot first?
If the mesh binds on rollout or rollback, start with the mechanical basics first: check whether the cassette shifted, confirm the top track screws were not over-tightened, and verify the cassette is seated without twisting. Then inspect the bottom track for hair or grit buildup. Most “new install” issues are alignment or debris, not a defective mesh.
Are retractable bug screens for patio doors a good option for security?
Typically no, insect screens are not designed as security screens. The mesh can be damaged if pushed, stepped on, or charged into, and the system is engineered for insect control and airflow. If you need real barrier performance, look for a security-rated door or a different product category rather than relying on a standard retractable bug screen.
Will a retractable screen hold up to dogs or small children?
They can be a poor choice for high-energy pets or toddlers because the mesh is fragile under impact, and it is easy to damage when the screen is deployed. If you still want one, use a pet-management approach, like training and keeping access controlled, and do not let animals play with the screen while it is out.
What mesh choice should I look for if no-see-ums are the main problem?
If your area has no-see-ums or very fine biting midges, look for a finer mesh specification (often labeled around 20x20 or higher) rather than assuming “standard” fiberglass mesh is enough. Expect a small tradeoff in airflow, but the improvement in bite protection can be significant in coastal and swampy climates.
Will a retractable patio bug screen work in a gusty area?
Yes, wind can change which system is best. A horizontal cassette screen can flap under gusts, especially when the patio faces prevailing winds. Side-track systems with added tension and some motorized designs hold the mesh tighter, reducing strain and movement over time.
Do retractable bug screens mount on the interior or exterior, and does it matter?
Before buying, confirm whether the kit is meant for interior or exterior frame mounting. Some systems are built around the cassette housing orientation and will not sit correctly if installed on the wrong side of the frame, which can also affect how the screen latches and travels.
When is it worth upgrading from a manual to a motorized retractable patio screen?
Motorized options are often worth it when the opening is wide, the door configuration is multi-panel or bi-fold, or you want reduced effort in frequent use. For a single standard door opening, manual cassette screens are usually the practical choice because they install quickly and cost far less, but for wide spans the extra tension and drive system can prevent flapping.
What routine maintenance prevents binding, and how often should I do it?
Plan for ongoing track cleanup, even if the screen moves smoothly. Most binding issues come from debris and pet hair in the bottom track, so set a routine vacuuming schedule (more often if you live near a driveway, construction dust, or multiple pets). Annual deep cleaning with warm soapy water and thorough drying before any lubricant helps keep the action consistent.
Will the warranty cover a mesh tear from an accident or pet damage?
If the mesh is damaged due to people, animals, or impact, warranties often won’t cover it, and mesh coverage may be limited in time. Also watch for requirements that you install according to instructions, because DIY installation can affect eligibility depending on the brand and warranty terms.