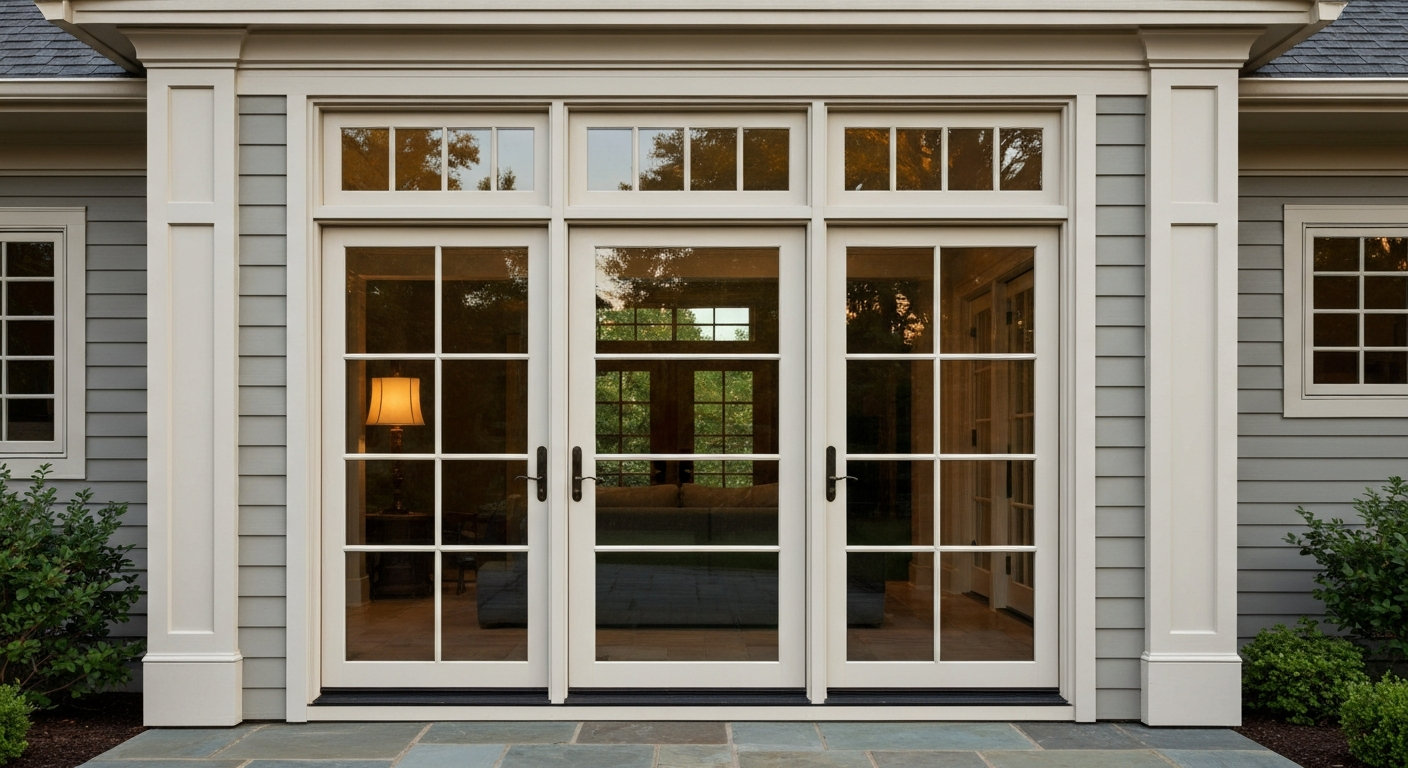
Yes, you can paint uPVC patio doors, but it only goes well if you use the right primer, prep the surface properly, and go in with realistic expectations about how long the finish will last. uPVC does not accept paint the way wood or metal does. Its surface is slick, non-porous, and expands and contracts significantly with temperature changes (uPVC has a thermal expansion coefficient of roughly 50×10⁻⁶/°C, which is much higher than wood or steel). That means a standard wall paint will peel off within a season. Use a purpose-made adhesion primer and a flexible topcoat, though, and you can get a finish that holds up for five to ten years outdoors, which is genuinely useful if your doors are structurally sound but just look dated.
Can You Paint uPVC Patio Doors? Complete Guide for Homeowners
Owen Delaney
20 Jul 2026
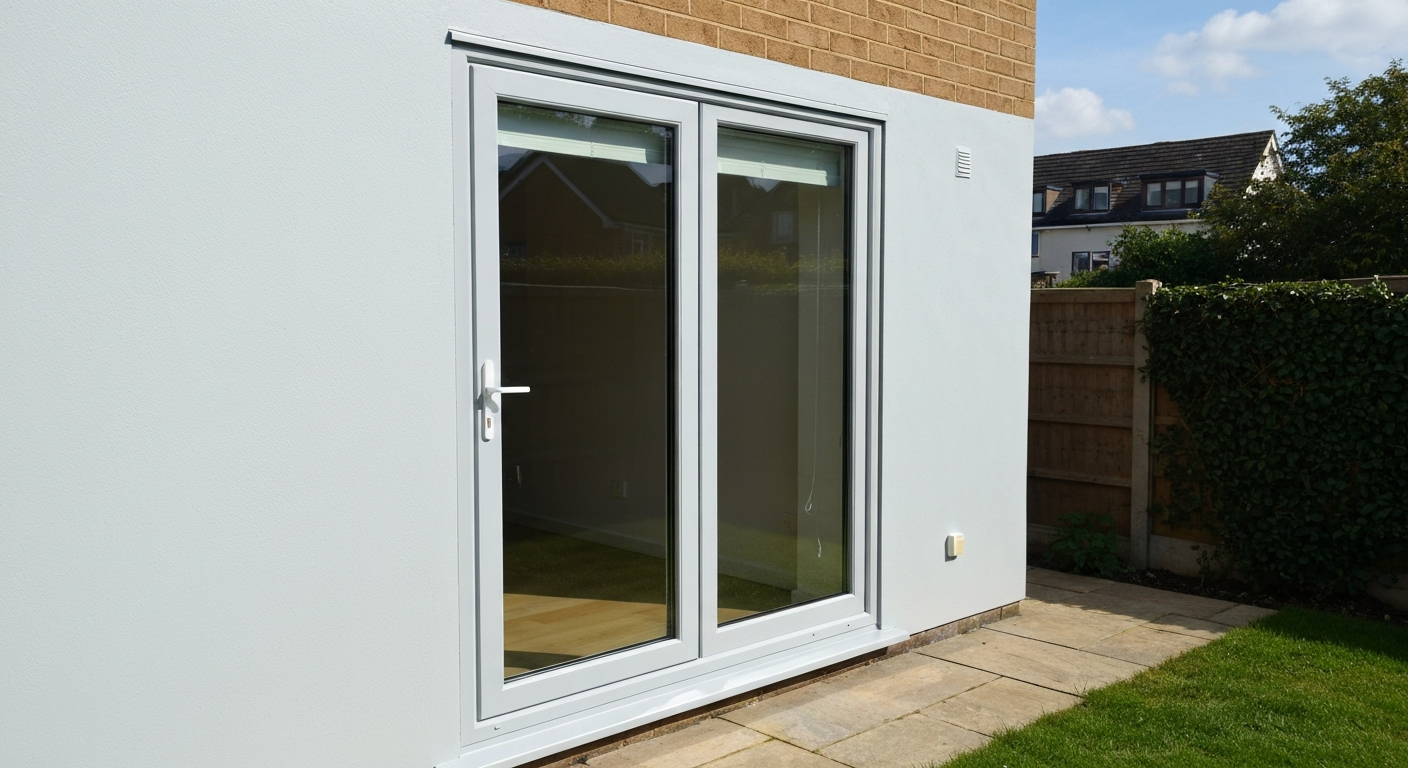
How painting uPVC actually works, adhesion, limitations, and what you'll really get
Paint does not chemically bond to uPVC the way it bonds to porous substrates. What makes it work is a specialist adhesion primer that mechanically and chemically keys into the top layer of the plastic. The primer creates a receptive film for the topcoat to grip. Without it, you are essentially painting over a greased surface, the paint may look fine for a few weeks and then start lifting at the edges, especially around the handles, frame corners, and weather seals.
There are a few hard limits worth knowing before you start. Dark colours absorb significantly more heat than the original white or cream, and that extra thermal load accelerates expansion and contraction cycles in the frame. Most installer guidance and manufacturer technical notes specifically warn against painting uPVC in very dark shades (particularly black) because the increased surface temperature can cause the profile to bow or warp over time, especially on south-facing doors in full sun. Mid-tones and lighter colours are far safer choices. You should also know that uPVC with a factory foil laminate (a wood-grain or coloured film already bonded to the frame) is not a good candidate for repainting, the foil surface behaves differently from bare extruded uPVC, and adhesion is much less reliable.
Realistic outcomes: a properly prepped and primed uPVC patio door can look genuinely good after painting. The colour will be consistent and, if you use a quality exterior topcoat, reasonably resistant to UV fade. What it will not be is indistinguishable from a factory-coloured or foil-wrapped frame. Look closely and you will see brush or roller texture unless you spray. Over several years, you may see some microcracking at flex points. That is normal for a painted plastic substrate, not a sign of a botched job.
Warranties, contracts, and legal considerations
This is the part most people skip over and then regret. Painting uPVC doors will almost certainly void your original manufacturer or installer warranty. Industry installer networks are explicit about this: if your doors came with a 10-year guarantee from a double-glazing company, painting the frames yourself is likely to terminate that guarantee entirely. Before you do anything, dig out your installation paperwork and read the warranty conditions. If you are within the guarantee period, contact the installer first, some will repaint or replace discoloured frames under warranty if you can show the colour change is a manufacturing defect rather than weathering.
If you are a leaseholder, you may also need written permission from your freeholder or managing agent before altering the external appearance of your property. Most residential leases treat external doors as part of the building's common fabric, and painting them a different colour counts as an alteration. This applies in both the UK and many strata/body-corporate arrangements in Australia and other markets. Getting permission in writing before you start protects you if there is a dispute later.
If you live in a conservation area or a listed building (in the UK context), permitted development rules may require you to keep external joinery in its existing colour or material finish. Check with your local planning authority before committing to a colour change. It is a small admin step that can save a significant headache.
How long will a painted uPVC finish actually last?
Done properly, a professionally applied painted uPVC finish, using a bonding primer and a quality exterior acrylic or modified alkyd topcoat, can last between five and ten years before it needs a full refresh. A decent DIY job with good prep and the right products typically runs three to seven years before you start seeing meaningful peeling or chalking. Cut corners on prep or use the wrong primer and you may be back to square one in twelve to eighteen months.
Several factors shorten that lifespan. South or west-facing doors that bake in afternoon sun will degrade faster than sheltered or north-facing ones. High-humidity climates, coastal salt air, and significant temperature swings all stress the coating. Doors that get heavy daily use, a sliding patio door that moves on its track constantly, will show wear at the edges and handle zones earlier than a rarely opened French door. Lighter colours consistently outlast dark ones on uPVC because they run cooler.
Paint, replace, or something else? How to decide
Painting makes sense in a specific set of circumstances. If your doors are mechanically sound, the seals are good, the hardware works, the glazing unit is not misted or cracked, but the colour looks tired, faded, or just wrong for a renovation you have done on the rest of the house, painting is a genuinely cost-effective fix. New uPVC patio doors can cost anywhere from £800 to £3,000 or more installed, depending on style and size. A full DIY repaint including primer, topcoat, prep materials, and tools runs roughly £60 to £150 for a standard two-panel patio door. A professional uPVC spray finish from a specialist company typically costs £200 to £500 for the same door. The maths strongly favour painting when the underlying door is fine.
On the other hand, painting is the wrong answer if the frames are cracked, the sealed glazing units are failed (misty glass), the threshold seal is letting in draughts, or the door is misaligned and difficult to close. In those cases you are putting a cosmetic fix over a structural problem. Repair or replacement is the right call. If the doors are more than fifteen to twenty years old and have multiple issues, replacement usually makes more financial sense over a five-year horizon, especially given modern improvements in thermal performance.
- Paint if: frames are structurally sound, seals and glass are intact, you just want a colour change, budget is limited, or you are preparing to sell and want a quick visual refresh.
- Repair if: hardware is failing, seals are worn, or the door is misaligned but otherwise in good condition — fix those issues before painting.
- Replace if: glazing units are misted, frames are cracked or warped, thermal performance is poor, or the door is over fifteen years old with multiple compounding issues.
- Consult installer warranty before doing anything — warranty may cover a colour or finish defect without you needing to paint at all.
Painting vs. the alternatives: replacement, vinyl wrap, and cladding
It is worth comparing painting to the other options available for updating the look of uPVC patio doors, because painting is not always the best answer, it depends on what you are trying to achieve and how long you want the result to last.
| Option | Typical cost (standard patio door) | Expected lifespan | DIY-friendly? | Voids warranty? | Best for |
|---|---|---|---|---|---|
| DIY painting | £60–£150 materials | 3–7 years | Yes, with prep | Usually yes | Budget refresh, good underlying door |
| Professional spray finish | £200–£500 | 5–10 years | No | Usually yes | Best DIY-like result without replacement |
| Vinyl wrap / film | £150–£400 fitted | 5–8 years | Possible but difficult | May void warranty | Colour change without paint, wood-effect options |
| uPVC cladding / trim | £100–£300 materials | 15–20+ years | Moderate | Check terms | Permanent look change, hides frame damage |
| Full replacement | £800–£3,000+ installed | 20–30 years | No | N/A (new warranty) | Failed seals, structural issues, energy upgrade |
Vinyl wrap (a self-adhesive film applied over the frame) is worth considering if you want a wood-effect finish or a colour that is genuinely difficult to achieve with paint. The films are pre-finished and do not require curing time. Their weakness is that they can lift at edges and corners if not fitted well, particularly around the more complex geometry of a patio door with a low-threshold track. Professional fitting makes a big difference here. Cladding, fitting a new uPVC or composite cover over the existing frame, is more invasive but produces the most durable long-term result short of full replacement, and it can hide minor surface damage that paint would highlight.
Tools, materials, and safety checklist before you start
Isopropyl alcohol (IPA), which you will use as a degreaser, is highly flammable. Its safety data sheet is unambiguous: use it in a well-ventilated space, keep away from ignition sources (no smoking, no pilot lights), and wear nitrile gloves and eye protection. The same ventilation requirement applies when spraying paint or using solvent-based adhesion promoters. If you are working inside a conservatory or enclosed space, open every door and window and let fresh air flow before you start and throughout. Dispose of IPA-soaked rags in a sealed metal bin or outside, they should not be left bunched up indoors.
- PPE: nitrile gloves, safety glasses or goggles, N95/FFP2 respirator for spraying or solvent use
- Cleaning: sugar soap or TSP substitute solution, clean cloths or sponges, bucket
- Degreasing: isopropyl alcohol (70–99%), lint-free cloths
- Abrasion: 400-grit wet-and-dry sandpaper or Scotch-Brite maroon scuffing pad
- Masking: low-tack painters tape (Frog Tape or similar), plastic sheeting or dust sheets to protect glazing, tracks, and hardware
- Primer application: quality 2-inch synthetic brush, small foam roller (4-inch), or HVLP spray gun for larger areas
- Topcoat application: same brush/roller setup, or aerosol for spot work
- Drying/timing: clean dry cloths, timer, thermometer to check ambient temperature (most primers require 35–90°F / 1.7–32.2°C)
- Adhesion check: cross-cut tape test (ASTM D3359 / ISO 2409) — a piece of strong tape pressed firmly over a scored grid on the primer film, then pulled off; if paint lifts, prep and re-prime before topcoating
- Disposal: sealed bags or containers for IPA rags, empty aerosols, and used sandpaper — check local hazardous waste rules
Choosing the right paint and adhesion primer
The primer is the most important product decision you will make. Standard masonry or wood primers will not work on uPVC, the chemistry is wrong and adhesion will fail. You need a dedicated plastic adhesion primer or bonding primer that is specifically listed as suitable for PVC, uPVC, or vinyl substrates.
What to look for in a primer
The product's technical data sheet (TDS) should explicitly list uPVC, PVC, or rigid vinyl as an approved substrate. The INSL-X STIX Waterborne Bonding Primer (SXA-110) is one of the most widely specified products in this category, its TDS lists PVC and vinyl directly, specifies a dry film thickness of 1.6–2.1 mils (40–53 microns), touch-dry time of around 30 minutes, and a recoat window of 3–4 hours. Application temperature range is 35–90°F (1.7–32.2°C), so do not apply on a frost morning or in peak summer heat on a south-facing door. Dulux Trade's range includes a 'Primer for Difficult Surfaces' and a Precision Maximum Strength Adhesion Primer, both of which are formulated for plastics and are widely available in the UK. Zinsser (part of Rust-Oleum) also publish explicit guidance on painting PVC and uPVC and produce compatible primers in their range. Rust-Oleum's Specialty Plastic Primer and adhesion promoters are another reliable option, particularly useful in aerosol form for spot priming or small jobs.
The primer chemistry you want is typically a modified acrylic or chlorinated polyolefin-modified binder, these are what actually keys into the plastic surface rather than just sitting on top of it. The label will not always say 'chlorinated polyolefin' in plain English, but the TDS will list approved substrates. If PVC or uPVC is not on that list, do not use it regardless of what the tin says on the front.
Topcoat selection
For exterior uPVC patio doors, you want a flexible, UV-resistant exterior topcoat. A water-based exterior acrylic with good UV stability is the standard recommendation. Dulux Weathershield in the UK is a commonly used option and is paired with compatible primers in Dulux's own finishing schedules. Avoid brittle alkyd enamels as a topcoat on uPVC: they harden with age and will crack at flex points as the frame expands and contracts. The paint you choose should have a stated film flexibility or be listed as suitable for flexible or plastic substrates. Two coats of topcoat is the minimum for exterior durability, three coats on heavily exposed or south-facing doors is better. Krylon Fusion for Plastic aerosols are marketed as bonding directly to PVC without a separate primer step and can work well for touch-ups or very small areas, but for a full patio door I would still recommend a dedicated primer underneath any topcoat for the best long-term adhesion. Whichever product you choose, the best paint for patio doors specifically deserves its own detailed review, there are meaningful differences in UV resistance, flexibility, and finish quality between brands.
Step-by-step: how to paint your uPVC patio door
Step 1: Clean the surface thoroughly
Start with a sugar soap or TSP substitute wash (phosphate-free versions use sodium metasilicate or sodium sesquicarbonate-based formulations and work well for paint prep). Mix per the manufacturer's instructions, scrub the entire frame, and rinse clean with fresh water. Leave it to dry completely, at least two hours in warm conditions, longer in cold or damp weather. This removes general dirt, mould, and surface oils. New uPVC frames can have mould-release agents from the extrusion process still present on the surface, which is a major cause of primer failure on recently installed doors, so this step is non-negotiable even on doors that look clean. Manufacturer guidance (see How to paint plastic and PVC, Zinsser (how‑to guidance)) emphasises removing mould‑release agents and thoroughly degreasing and scuff‑sanding new or extruded uPVC before priming How to paint plastic and PVC — Zinsser (how‑to guidance).
Step 2: Degrease with IPA
Once the frame is clean and dry, wipe it down with isopropyl alcohol on a lint-free cloth. Work in sections and use a fresh part of the cloth as it picks up contamination. IPA removes any residual grease, plasticiser migration (the slight surface oiliness older uPVC can develop), and cleaning product residue. Do this in a ventilated area and keep away from naked flames. Allow the IPA to fully evaporate before moving on, it is fast-drying, usually a few minutes.
Step 3: Scuff-sand the surface
Use 400-grit wet-and-dry paper or a maroon Scotch-Brite scuffing pad to lightly abrade the entire surface. You are not trying to sand through the uPVC, just dulling the sheen and creating microscopic mechanical key for the primer to grip. Work in a consistent direction along the profile. Wipe off the dust with a tack cloth or a fresh IPA-dampened lint-free cloth, then let it dry.
Step 4: Mask off the glass, hardware, and tracks
Use low-tack tape (Frog Tape or equivalent) along the glass edge, around handles, hinges, letter plates, and any rubber seals. Cover the patio door track and threshold with plastic sheeting, paint in the track will cause operational problems with sliding doors. Take your time here: rushed masking produces a poor edge that takes longer to clean up than it would have to do properly.
Step 5: Apply the adhesion primer
Apply one coat of your chosen plastic adhesion primer. For a standard patio door frame, a 2-inch synthetic brush works well in the recesses and detail areas, with a 4-inch foam mini-roller for flat face panels. If you are doing multiple doors or want a factory-smooth finish, a HVLP spray gun produces significantly better results, spray in thin, overlapping passes to avoid runs. Follow the TDS for your specific primer regarding film thickness. For INSL-X STIX, the target is 40–53 microns wet film, which is thin, do not glob it on. Check the ambient temperature is within the stated application range. Allow the full recoat time stated on the TDS (3–4 hours for STIX at room temperature) before topcoating. Do not rush this.
Step 6: Adhesion check
Once the primer is dry, do a quick cross-cut tape test on an inconspicuous area (this follows the ASTM D3359 / ISO 2409 method). Score a small grid of cuts through the primer with a knife, press a strip of strong tape firmly over the grid, and pull it off sharply. If the primer stays on the door with no lifting, you are good to topcoat. If it peels away in squares, the surface was not clean or scuffed enough, strip back, re-prep, and re-prime. This test takes five minutes and can save you from topcoating over a primer that will fail.
Step 7: Apply topcoat
Apply two coats of exterior-grade flexible topcoat, following the recoat interval on the product TDS. Each coat should be thin and even, thicker coats take longer to cure fully and are more prone to runs and cracking. Allow the first coat to reach the correct recoat window before applying the second. For brush-applied finishes, lay off in the direction of the profile for the best appearance. Total dry time before the door is back in service will typically be 24–48 hours for light use, but full cure (where the coating reaches its maximum hardness and flexibility) can take 7–14 days depending on temperature.
Troubleshooting common problems
- Peeling or flaking paint: almost always means the primer did not adhere — go back to the IPA degrease and scuff-sand stage, and check you used a primer listed for PVC/uPVC.
- Runs or sags: applied too thickly; sand back once dry with 400-grit and re-apply thinner coats.
- Uneven sheen or patchy coverage: typically from applying over a damp surface or in cold conditions below the primer/paint's stated temperature minimum — allow proper conditions and apply a fresh even coat.
- Paint lifting at edges or corners: frame flex points are being stressed; ensure topcoat is flexible/exterior-rated and not a rigid enamel.
- Colour looks lighter than expected: uPVC topcoats often need three coats for full opacity, especially over white uPVC when switching to a mid-tone colour — apply a third coat.
DIY vs. calling a professional
For one or two doors, this is a manageable DIY job if you are comfortable with careful surface prep and patient enough to follow drying times. Budget three to four hours for prep and masking, plus application time and waiting between coats, realistically spread over two days. The biggest risk in DIY is rushing the preparation, specifically the cleaning, degreasing, and scuffing steps. Those three steps are what separates a finish that lasts five years from one that peels in eighteen months.
For a whole house worth of uPVC (multiple patio doors, windows, and frames), professional uPVC spray specialists are worth serious consideration. They use HVLP or airless spray equipment, apply coatings in controlled thin passes, and typically offer a 5-year guarantee on their work. Costs range from roughly £200 to £500 per door unit to upwards of £1,000 to £2,000 for a full property. The finish quality from a professional spray is noticeably better than brush-and-roller, and the guarantee shifts the risk of adhesion failure away from you.
Maintenance after painting, keeping the finish in good shape
A painted uPVC surface is not maintenance-free. Clean it gently twice a year with a mild detergent and soft cloth, avoid abrasive cleaners or scouring pads, which will cut through the topcoat. Do not use bleach-based cleaners on the painted areas, as they can affect the colour and break down the binder over time. Keep an eye on the frame-to-glass sealant line and any caulked joints, as these are where moisture infiltration behind the coating is most likely to start. Touch up small chips or scratches as soon as you notice them, left untreated, they become lifting edges that spread. After five years or so, a light scuff and a fresh topcoat (without needing to fully strip back to primer if the adhesion is still good) can extend the life of the finish considerably.
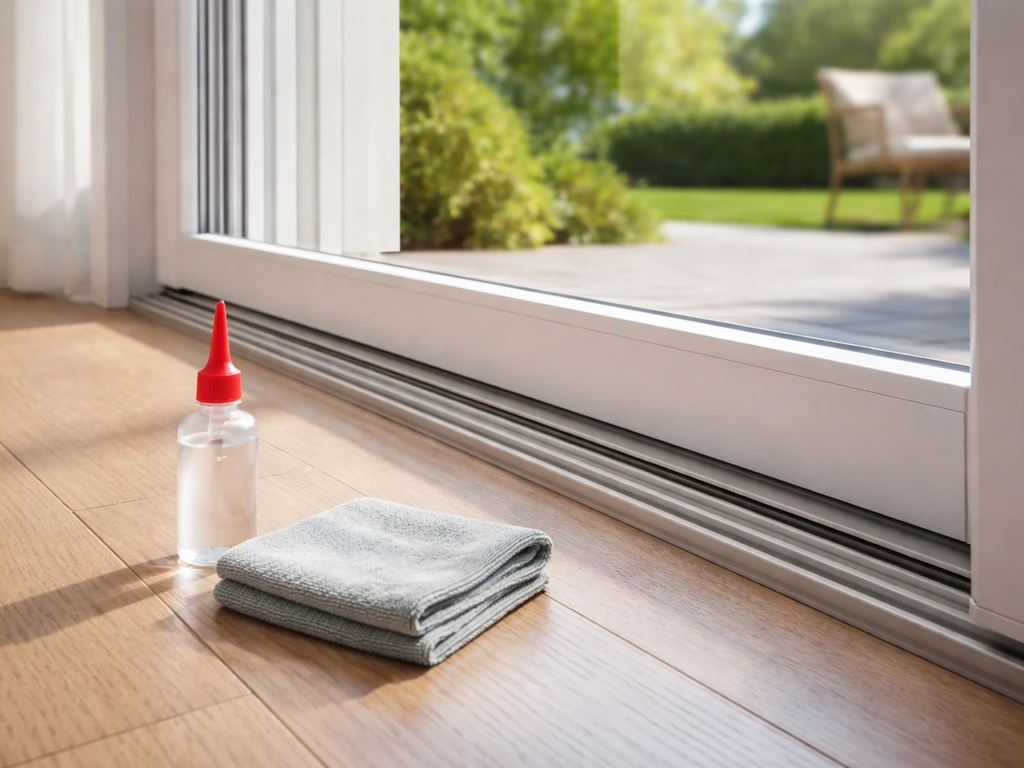
While you are maintaining the door finish, it is also a good time to check the hardware and track. Well-lubricated sliding or French door mechanisms operate with less stress on the frame, which reduces the flexing that challenges painted surfaces at hinge points and corner joints. For advice on choosing the best lubricant for patio doors, see our guide to lubricants that keep tracks and rollers moving smoothly. The glass panels on patio doors also accumulate a specific type of grime, particularly on coastal or urban properties, that benefits from the right cleaning approach, distinct from what you would use on the painted frame itself.
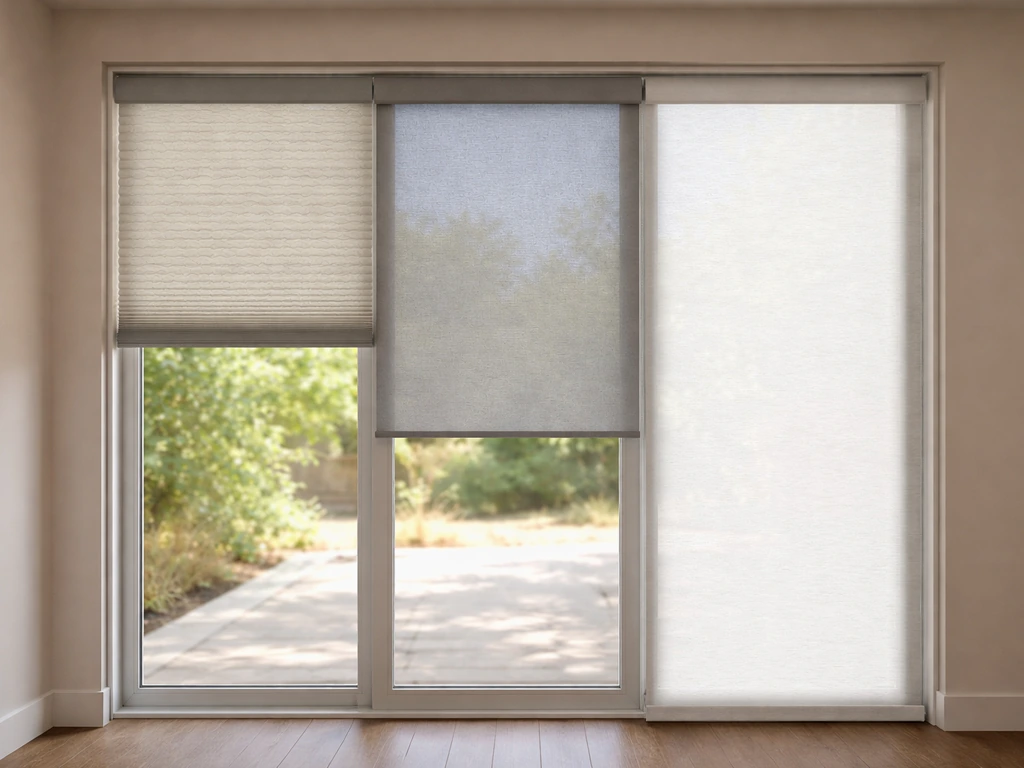
If you are updating the doors and want to improve the overall look of the space while you are at it, shades and coverings are a natural next step after a frame refresh, they complete the aesthetic without requiring structural changes. If you need help choosing coverings, see our guide to the best shades for patio doors. Taken together, a paint job, a hardware service, and new coverings can make a ten-year-old patio door feel like a recent installation for a few hundred pounds.
FAQ
Can you paint uPVC patio doors?
Yes. uPVC (unplasticised PVC) patio doors can be painted successfully, but only if you follow the correct preparation, use adhesion primers or specialty plastic primers, and choose flexible exterior topcoats. Success depends on cleaning, degreasing, light abrasion (or mechanical etching), using a primer specified for PVC/vinyl, and applying compatible topcoats within the manufacturer’s recommended recoat windows.
When is it appropriate to paint uPVC instead of replacing the patio door?
Painting is appropriate to refresh appearance, change colour, hide weathering, or match new trims when the uPVC frame and glazing are structurally sound, seals and hardware work, and there are no warranties that forbid alteration. Replace the door when frames are cracked/warped, seals or insulation have failed, security or thermal performance is poor, or the cost/benefit favours replacement (e.g., major functional problems). Use replacement if the owner/installer warranty explicitly prohibits painting.
What legal, warranty, or contractor concerns should homeowners check before painting uPVC?
Check the original manufacturer and installer warranty or guarantee for clauses forbidding painting or unauthorised modifications. Painting can void some guarantees if it conceals defects or if the warranty requires factory colours. If the property is leasehold, a listed building, or under a covenant, confirm any restrictions. If unsure, get written confirmation from the manufacturer/installer before proceeding.
Which primers and paints are recommended for uPVC patio doors?
Use a bonding/plastic primer formulated for PVC/vinyl. Examples: INSL‑X STIX® Waterborne Bonding Primer (SXA‑110) and equivalent plastic adhesion primers from Zinsser, Rust‑Oleum or Dulux Trade 'Primer for Difficult Surfaces'. For topcoats use high‑quality exterior acrylic or polyurethane paints rated for exterior trim that are flexible and UV‑stable. Aerosol options (e.g., Krylon Fusion for Plastic) exist for small areas or trims but test for durability on full frames.
What should I look for on product technical data sheets (TDS)?
Check substrate compatibility (explicitly lists PVC/vinyl), recommended wet/dry film thickness (WFT/DFT), recoat window and touch‑dry times, recommended application methods, temperature/humidity limits, and adhesion test guidance. Follow the TDS for mixing, thinning and flash times. For example, INSL‑X STIX SXA‑110 lists recoat 3–4 hours and a recommended DFT.
How do I prepare uPVC patio doors before painting (step‑by‑step)?
1) Remove or mask hardware, locks, handles, weatherstrips and glass (or protect glass with tape). 2) Clean frames thoroughly with a TSP‑substitute or sugar‑soap solution to remove dirt, oils and mould; rinse and dry. 3) Degrease by wiping with isopropyl alcohol (IPA) or solvent recommended on TDS; use PPE and ventilate. 4) Lightly abrade all surfaces with fine abrasive (240–320 grit) or use a scuff pad/abrasive pad to create a keyed surface. 5) Remove dust with a tack cloth and final wipe with IPA. 6) Test adhesion on an inconspicuous area and allow a full cure per TDS.