Tab top patio door curtains are fabric panels with sewn fabric loops along the top edge that thread directly onto a curtain rod. They hang in casual, evenly spaced folds, look great on French and hinged patio doors, and cost noticeably less than pleated or tracked systems. The trade-off is friction: those loops grip the rod, so sliding them open and closed on a heavy insulated panel or a busy bypass door takes real effort. If your patio door is a standard 6 ft or 8 ft sliding unit that gets opened a dozen times a day, you'll probably want to reconsider. But for a French door, a rarely-used back door, or a space where you prioritize looks over frequent operation, tab tops are a genuinely solid choice.
Tab Top Patio Door Curtains: Guide to Measure, Install, Buy

Owen Delaney
12 Aug 2026
What tab-top patio door curtains actually are
A tab-top panel is constructed with a flat fabric header across the top edge, from which a series of fabric loops (the tabs) extend upward. Each loop is typically 3 to 4 inches tall and sewn at both ends to the header, creating an opening that the curtain rod passes through. The finished top edge sits below the rod, and the tabs themselves sit above it, meaning the decorative top of the rod is visible between each loop. This gives the curtain a slightly relaxed, casual aesthetic compared to the cleaner, more tailored look of grommets or pleats.
For patio doors specifically, the construction details matter more than they do for a bedroom window. Patio door openings are wide, typically 60, 72, or 96 inches, so the panels need to be long (usually 84 to 96 inches or more for an 80-inch tall door) and often heavier than standard window curtains. Tab tops distribute that weight across multiple contact points on the rod, which helps, but the loops still create meaningful drag when you pull the panel. If a thermal lining or blackout layer is added, that drag increases significantly. Some thermal and blackout tab-top panels sold in big-box stores include a stitched stiffener along the header to keep the loops from collapsing or bunching unevenly under the extra weight.
Tab top vs. grommet, rod-pocket, pinch-pleat, and track systems
Every heading style involves a real trade-off between ease of operation, visual style, cost, and how well it works with patio-door-specific constraints like clearance, stack depth, and frequent sliding. Here is an honest breakdown across the five main options you'll encounter.
| Heading Style | Operation Ease | Best Door Type | Fullness Needed | Key Drawback |
|---|---|---|---|---|
| Tab Top | Low–Medium (friction on rod) | French, hinged, infrequently used doors | 1.5×–2× | Loops grip rod; hard to slide with heavy/insulated fabric |
| Grommet / Eyelet | Medium–High (metal rings glide well) | Sliding, French, light daily use | 1.5×–2× | Requires larger rod (1"+ diameter); rings visible from inside |
| Rod Pocket | Low (fabric sleeve bunches) | Stationary panels, sheers | 2×–2.5× | Very hard to open/close; best left fixed open or closed |
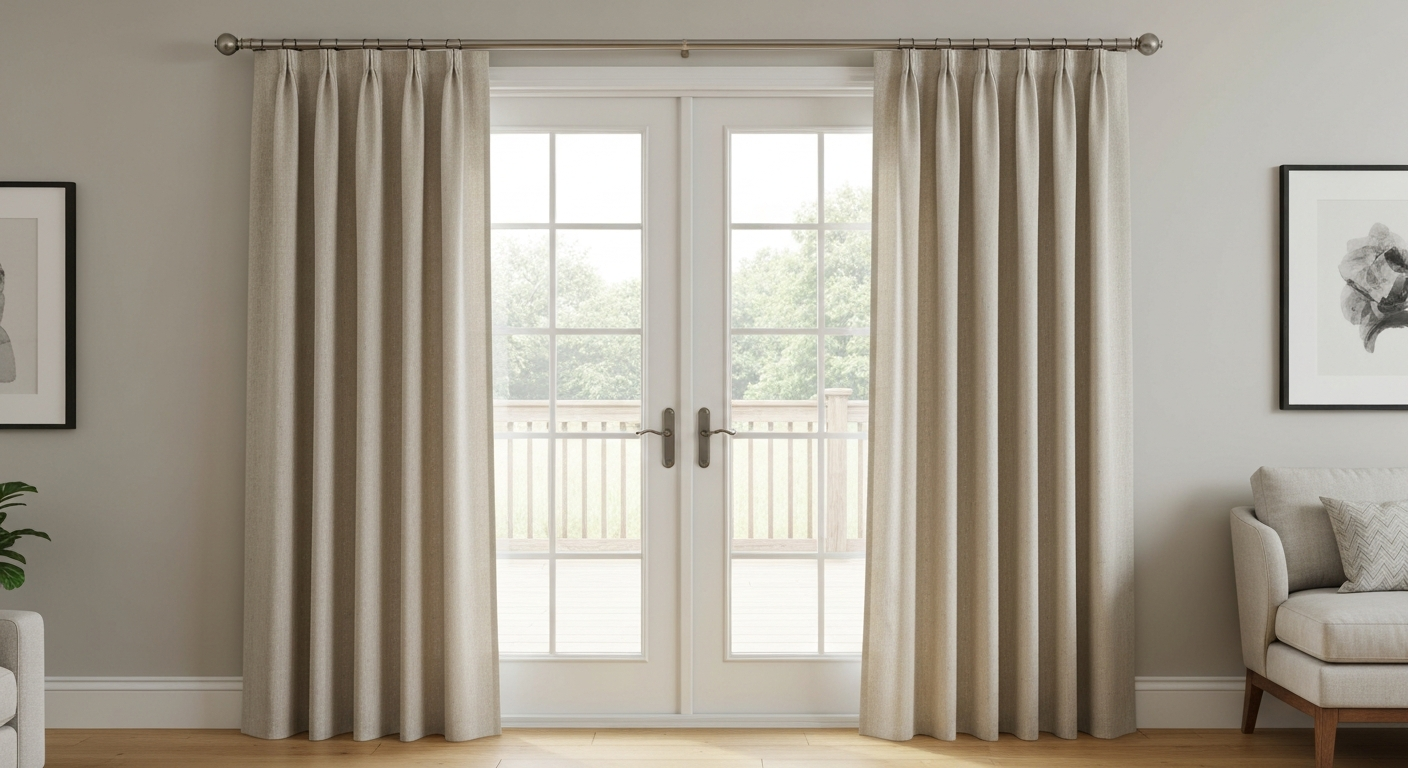
| Pinch / Pencil Pleat | Medium (needs rings or hooks) | French, formal spaces | 2×–2.5× (3× for formal) | Requires hooks, rings, or track; more expensive to source |
| Bypass Track / Glider | High (nylon or roller gliders) | Sliding patio doors, heavy panels | 2×–2.5× | Higher upfront hardware cost; less decorative rod look |
The honest recommendation: if your sliding patio door gets daily use, a bypass track system or grommet-top panels on a smooth 1-inch rod will serve you far better than tab tops. Grommet panels in thermal and blackout versions are widely available at every price point and genuinely outperform tab tops on a busy sliding door. If you are choosing between tab top and grommet for a French patio door that gets opened once or twice a day, either works well, though grommets give you a slightly more finished look and lower friction for the same price. Rod-pocket panels are really only suitable as stationary side panels or sheer under-layers, not as the working panel on a patio door.
Which heading style fits which door type
Sliding patio doors
A sliding door needs panels that stack off the glass completely when the door is open and slide back easily when closed for privacy. Tab tops can work if you mount the rod well beyond the frame (at least 8 inches on each side, ideally more) and use a lightweight to medium-weight fabric. For heavier insulated or blackout panels on a 72 or 96-inch sliding door, I'd push you toward a bypass track system or grommet top instead. The friction from tab loops on a 96-inch span with four heavyweight panels adds up fast, and after a few months it becomes an excuse not to open your curtains at all.
French patio doors
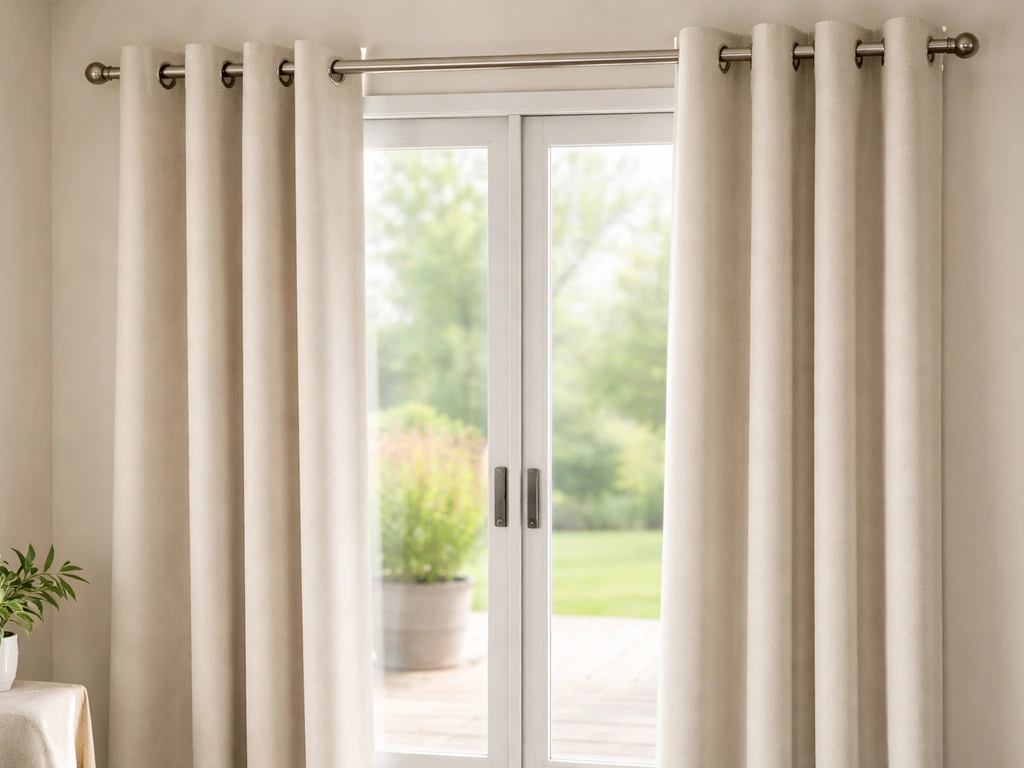
French doors are the sweet spot for tab tops. Because each door panel is narrower (usually 24 to 30 inches per leaf) and you're typically mounting a separate small rod or tension rod on each door, tab tops work beautifully. The fabric loops look intentional against the traditional styling of French doors, and since each panel is short and lightweight, friction is a non-issue. You can mount a small rod directly on each door leaf using door-mount brackets, so the curtain swings with the door and never blocks the opening. This is one of my favorite setups for a back door leading to a deck.
Bifold patio doors
Bifold doors fold accordion-style to one or both sides, so you need a curtain that either pockets entirely to one side or is treated as a stationary decorative layer. Tab tops mounted on a fixed wall-to-wall rod can work if the panels stack completely clear of the folding zone. More practically, a bypass track that runs above the entire opening and stacks panels well to the side (or into a pocket) is the more functional solution for a wide bifold opening. If you do use tab tops on a bifold, plan for a rod extension of at least 12 to 15 inches beyond each side of the opening to accommodate the full stack depth.
How to measure for tab-top patio door curtains
Measuring for patio door curtains trips up a lot of people because they measure the glass or the frame, then wonder why their panels look too narrow or too short. Measure the rod span, not the door. Here's the exact process I follow.
- Install or position your rod first. For an outside mount, place the rod 4 to 8 inches above the door frame and extend it 8 to 10 inches beyond the frame on each side. A 72-inch door frame with 8-inch extensions on each side gives you a finished rod span of about 88 inches. This overhang is critical for stack clearance and light control.
- Measure the finished rod span from bracket to bracket (or end to end of the usable rod). This is your total width to cover.
- Choose your fullness multiplier: 1.5× for a relaxed tab-top look, 2× for a fuller, more standard appearance. Multiply the rod span by your fullness factor to get total fabric width needed. For an 88-inch rod at 2× fullness: 88 × 2 = 176 inches of total fabric.
- Divide total fabric width by the finished width of your chosen panel. Standard retail panels run 42 to 54 inches wide. Using 54-inch panels: 176 ÷ 54 = 3.26, which rounds up to 4 panels.
- Measure height from the rod (the point where the panel hangs, which for tab tops is the bottom of the rod, since the tab sits above it) down to your chosen finish point: sill, floor hover, or floor with a slight break. Add the tab height (typically 3 to 4 inches) to this measurement, because the tab sits above the rod and effectively uses up some of the panel's listed length.
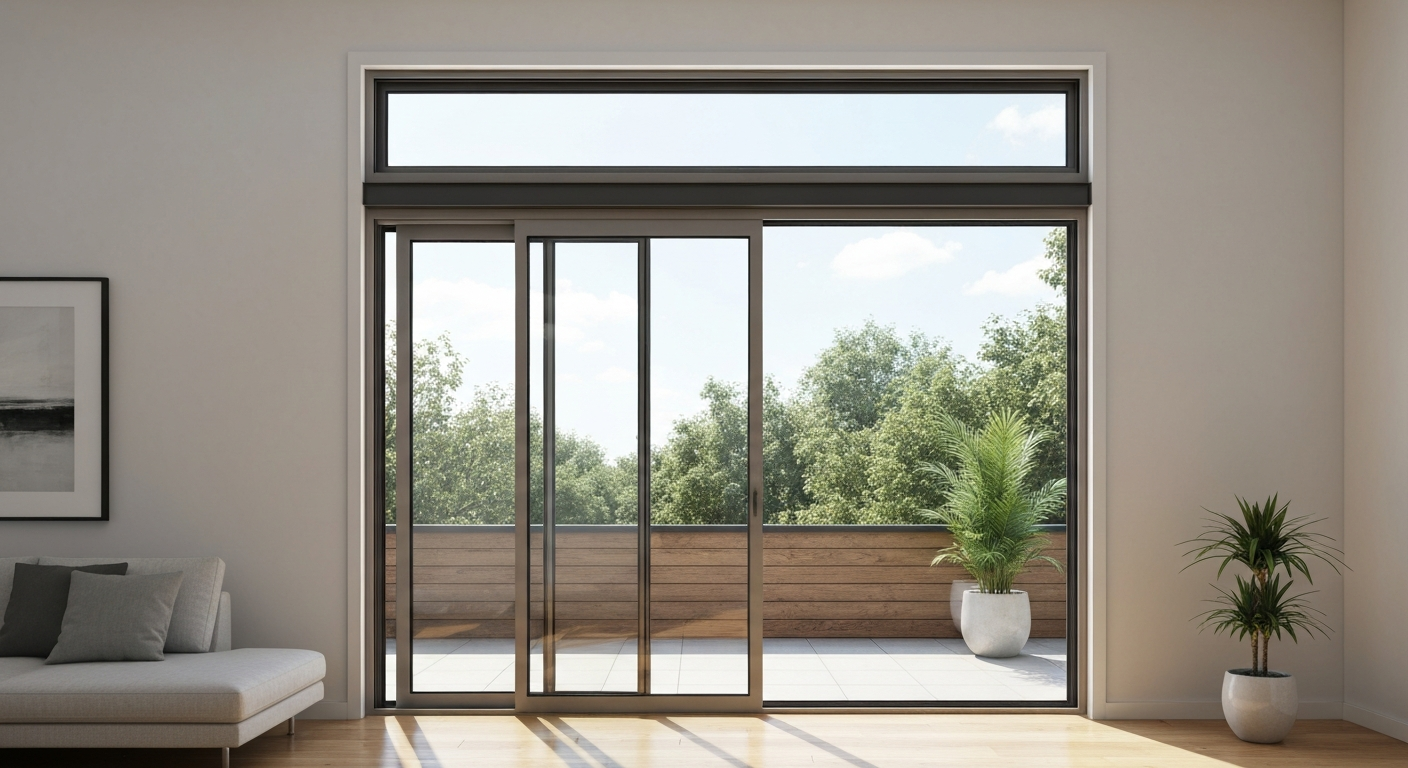
- For patio doors with a top window or transom, mount the rod above the transom frame by at least 3 to 4 inches (or higher if you want to make the opening read taller). Measure height from that new rod position all the way to the floor. You may need 108-inch or 120-inch panels rather than the standard 84-inch panels typically used for 80-inch doors.
- Common finished lengths available off the shelf are 63, 84, 96, 108, and 120 inches. Pick the next size up from your measured drop, then hem to the exact length if needed.
Sizing table for common patio door widths
This table uses standard U.S. patio door widths (60, 72, and 96 inches) with an 80-inch standard door height, an 8-inch rod extension on each side, and 2× fullness using 54-inch retail panels. For taller 96-inch doors, the panel length column reflects the stock jump to 108 or 120 inches.
| Door Width | Rod Span (+ 8" each side) | Total Fabric at 2× Fullness | 54" Panels Needed | 50" Panels Needed | Recommended Panel Length (80" door) | Recommended Panel Length (96" door) |
|---|---|---|---|---|---|---|
| 60" (5 ft) | 76" | 152" | 3 panels | 4 panels | 84" or 96" | 108" or 120" |
| 72" (6 ft) | 88" | 176" | 4 panels | 4 panels | 84" or 96" | 108" or 120" |
| 96" (8 ft) | 112" | 224" | 5 panels | 5 panels | 84" or 96" | 108" or 120" |
A quick note on panel count: four panels on a 72-inch door using 54-inch widths gives you 216 inches of total fabric across an 88-inch rod span, which works out to about 2. Workrooms and online calculators use the numerical panel‑count formula: Panels required = CEILING((finished rod/track width × desired fullness) ÷ single‑panel finished width) Measurement Guide — DWCN Home (commercial measurement / fullness guidance). 5× fullness. That's slightly more than you need for a tab-top look, but it's better to be slightly full than slightly sparse. You can always adjust to 1.75× and use three wider panels if budget is a constraint, though three panels on a two-panel sliding door can make it awkward to stack them symmetrically.
Should patio door curtains touch the floor?
For most patio doors, floor-length panels that skim or hover just above the floor (within half an inch) look the most intentional and finished. Panels that stop 2 to 4 inches above the floor look like a measuring mistake, not a style choice. Here are the standard break options and what each one means in practice for a patio door. For more on whether curtains should touch the floor, see Should patio door curtains touch the floor.
- Apron length: hem hits the window sill. Rarely used on patio doors because there's no sill to reference; it tends to look unfinished on a full-height door panel.
- Hover / floor length: hem skims within 0.5 inch of the floor. The most practical choice for a patio door because it avoids trips, keeps fabric out of foot traffic, and is easy to open and close. This is what I recommend for most sliding doors.
- Trouser break: add about 1 inch past the floor measurement. The panel forms a small, subtle break at the bottom, similar to dress trousers. It looks intentional and slightly more luxurious than a precise floor hover.
- Puddle: add 3 to 6 inches past the floor. Looks dramatic and romantic in formal spaces, but on a working patio door it collects dirt, gets caught underfoot, and creates a tripping hazard near the threshold. Not recommended for active patio doors.
- Accessibility and pet/child safety: if the door is used by young children or pets, hover length is the clear winner. Puddle or even trouser breaks can catch on feet or paws. Also make sure the panels stack fully clear of the door hardware when open, so there's no obstruction to the door's operation.
One more practical note specific to sliding doors: some thresholds have a raised track or seal along the bottom of the door frame, typically 0.5 to 1 inch above the interior floor surface. If your panels hover to the floor level but the threshold is raised, the fabric can catch on it as you pull the panel back. I've had this happen on a 96-inch door with a slightly raised weatherstrip. The fix is easy: hem the panels 0.5 to 1 inch above the floor rather than right at it, or adjust after installation once you know exactly where the bottom of the panel falls relative to that track.
Hardware specs: rods, tracks, brackets, and weight limits
The hardware you choose matters just as much as the panels, especially for a wide patio door opening. Here's what to know before you buy a rod or a bracket.
Rod diameter
Tab tops work on thinner rods because the fabric loop can be sized to any opening, but a rod that's too thin will bow under the weight of long, heavy panels. For a standard patio door with four panels of medium-weight fabric, a 1-inch diameter rod is the minimum I'd recommend. Economy brackets sold at big-box stores are often sized for 5/8-inch or 3/4-inch rods and have weight capacities of just 2 to 3 kilograms per bracket at those diameters. For heavier insulated or blackout panels on spans of 88 inches or more, step up to a 1-inch to 1.5-inch rod with heavy-duty brackets rated for the cumulative panel weight, and add a center support bracket for any span over 48 inches.
Bracket placement and anchoring
Bracket placement is where most DIY installs go wrong on patio doors. The wall above a patio door frame often has a header or beam, and the studs may not land exactly where you want your end brackets. Always check for studs or the header before drilling. End brackets should go into studs or the door header, not just drywall. Add a center support bracket for rod spans longer than 48 inches, which covers nearly every patio door configuration. For really wide 96-inch doors with a 112-inch rod span, two center supports are wise, especially with heavier fabric.
Bypass track hardware specs
If you decide on a bypass or glider track system instead of (or in addition to) tab tops, the key specs to verify before ordering are: track channel depth and profile (affects how close the panel sits to the wall or door), glider type (nylon gliders for smooth lightweight operation, roller gliders for heavier panels), carriers per linear foot (more carriers mean better support for heavy panels), end stops to prevent panels from running off the track, and return or overlap fittings at each end to close the gap against the wall. Anchor the track into the header or studs, not drywall, especially for runs of 88 inches or more. Manufacturer installation sheets from companies like Silent Gliss or Kirsch specify the exact clearance requirements and carrier spacing for each track model.
Stack-back clearance planning
Stack-back is the depth of fabric that bunches to the side of the door when the panels are fully open. For a bypass track system with wave-style gliders, manufacturers publish specific stack-back dimensions based on track length and wave repeat. A practical rule of thumb for standard flat or tab-top panels: allow 25 to 33 percent of the total fabric width as stack depth per side. On a 72-inch door with four 54-inch panels totaling 216 inches of fabric, that's roughly 27 to 36 inches of stack per side if you split panels evenly. This is exactly why extending the rod 8 to 10 inches beyond each side of the frame (or more for wider doors) is essential, not optional.
Mounting and installation tips
Standard outside-mount clearance
Mount the rod 4 to 8 inches above the top of the door frame for a standard patio door without a transom. This gives the brackets clearance above the frame hardware, makes the door opening read taller visually, and ensures the panels clear the door handle and locking mechanism when stacked open. The rod should extend 8 to 10 inches beyond the frame on each side, and in some cases (very wide doors or heavy panels with significant stack depth) extending to 12 or 15 inches makes sense.
Patio doors with a top window or transom
If your patio door has a transom window above it, mount the rod above the transom frame, not between the door and the transom. For specific guidance on curtains for a patio door with top window, refer to the section on mounting above a transom. Home Depot's measuring guidance (How to Measure Curtains, The Home Depot (mounting high & wide guidance)) recommends mounting the rod outside and high, above the transom assembly where present, to improve stacking, light control, and to allow anchoring into the header or studs blank" rel="noopener noreferrer">How to Measure Curtains — The Home Depot (mounting high & wide guidance). Mounting the rod above the full assembly makes the glazing read as one tall, unified window wall rather than a segmented opening. Add at least 3 to 4 inches of clearance above the transom frame before the bracket, and anchor into the wall header above the transom, not into the transom frame itself. This will require panels longer than the standard 84 inches used for 80-inch doors: measure from the new rod position to the floor and choose the next stock size up, typically 108 or 120 inches. The tab height (3 to 4 inches above the rod) will add to your effective panel length, so factor that in when calculating the drop.
Leveling and avoiding sag
Use a level when installing brackets. Even a 1/4-inch drop across a 90-inch rod becomes visually obvious when the panels are hanging. Mark both bracket positions before drilling either one. If the bracket holes land in hollow drywall with no stud behind them, use toggle bolts or heavy-duty drywall anchors rated for at least 30 to 40 pounds per anchor, and still add that center support for any span over 48 inches. A sagging rod mid-span not only looks bad but causes tab-top panels to bunch in the middle.
Bypass and pocket door considerations
For pocket doors or doors with a surface-mounted bypass track in the wall, the curtain rod or track must clear the door's overhead hardware without snagging. This often means mounting higher than you'd ideally prefer. Check the depth of the door's bypass hardware (the roller system that lets the door slide into the wall) before choosing a bracket projection. Deep-projection brackets (2 to 4 inches of wall clearance) are commonly needed to clear the door's overhead track hardware and let the curtain panel pass freely in front of it.
Thermal, blackout, and layered options
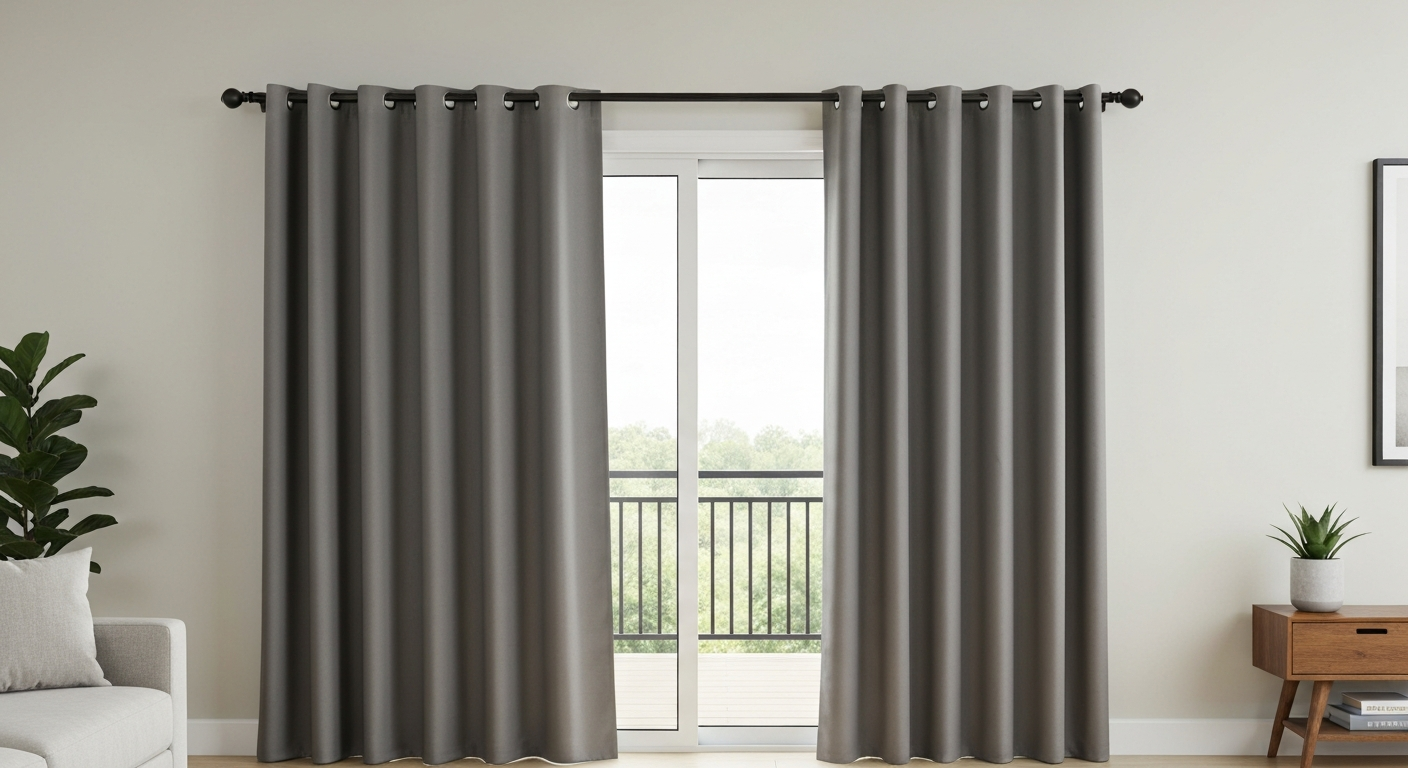
Thermal and blackout linings are where tab-top curtains start to show their limitations most clearly. A thermal lining adds meaningful weight and stiffness to a panel, which increases rod friction and makes tab-top panels noticeably harder to slide. For purely decorative or privacy use, tab tops with a thermal lining are workable on a French or hinged door that you open slowly and deliberately. On a sliding door that gets regular use, I'd steer you toward grommet-top thermal or blackout panels, which are widely available in the same size ranges and operate much more smoothly. For an affordable, ready-made option, consider the Wayfair Basics Thermal Blackout Grommet Sliding Patio Door Curtain Panel. For lower-friction thermal and blackout performance, consider grommet top insulated patio door curtains as a smooth-operating, well-insulated alternative. Thermal grommet sliding door panels from retailers provide blackout and insulating benefits without the friction penalty of tab tops.
Layered setups, where a sheer panel sits closest to the glass for daytime privacy and a heavier blackout or thermal panel hangs in front for night or heat/cold control, work well on patio doors. The most practical approach is a double rod bracket that holds two rods at different projections from the wall. The sheer inner rod holds lightweight rod-pocket or tab-top sheers (fixed open or lightly gathered); the outer rod holds your working grommet or tab-top panels. This gives you flexibility for every season and time of day without having to choose between privacy and light.
Privacy, security, and child and pet safety
Curtains on a patio door are a genuine security layer in one specific sense: closed panels prevent casual visual access to your interior from outside at night when interior lights are on. They don't physically secure the door, but they remove the visual invitation. For real security, pair curtains with proper door locks and consider that floor-length panels also obscure whether the door is locked or unlocked from outside.
For homes with young children or pets, avoid rod-pocket and tab-top panels in areas where kids or dogs can grab and pull the fabric. Tab tops are particularly vulnerable to being yanked off the rod since the loops simply slip off if pulled hard enough. Secure the rod ends firmly with finials that screw onto threaded ends rather than push-on decorative caps. Keep cords (if using motorized or tracked systems) out of reach, and make sure floor-length panels are hemmed to hover length, not puddle length, to reduce tripping and pulling hazards.
Maintenance and cleaning
Patio door curtains take more abuse than bedroom curtains: they're opened and closed constantly, they sit near threshold drafts that pull in dust and pollen, and they're touched by everyone who uses the door. Tab-top panels are relatively easy to remove since you just slide the loops off the rod (much easier than unthreading rod-pocket panels). Most ready-made polyester or polyester-blend panels are machine washable on a gentle cycle in cold water. Remove them before they're visibly dirty because dark dust accumulation is much harder to fully wash out of white or light-colored panels.
Thermal-lined or blackout-lined panels often carry a label warning against machine washing because the lining can separate or delaminate in a hot or agitated wash cycle. Check the care label before the first wash. Many thermal-lined panels are spot-clean only, or dry-clean recommended. If machine washing is allowed, use a gentle cycle, cold water, and tumble dry low. Lay the panels flat or hang them immediately after the spin cycle to prevent wrinkle-set in the heading area, which is thick and slow to dry.
Typical costs and what to expect at each price point
Ready-made tab-top patio door curtain panels (single panel, standard 54-inch width, 84 to 96 inches long) typically run from about $15 to $50 per panel at mass-market retailers. Thermal or blackout-lined tab-top panels in the same size range run $25 to $70 per panel. For a 72-inch sliding door requiring four panels, budget $60 to $200 for panels alone at those price points. Semi-custom or designer tab-top panels from specialty curtain retailers range from $50 to $150 per panel or more. Custom-made drapery with a tab-top heading from a workroom or interior designer typically starts around $100 to $200 per panel and rises quickly with fabric cost.
Rod and bracket hardware for a standard patio door setup (one rod, three or four brackets, two finials) runs $20 to $80 for economy to mid-range options and $80 to $200 or more for heavy-duty or designer rods with the diameter and weight rating you actually need for a 90-inch span with heavy panels. Don't cheap out on the rod and brackets: a sagging or failed rod on a 96-inch span with four panels full of heavy blackout fabric is a much worse outcome than spending an extra $40 on hardware upfront.
Troubleshooting common problems
- Panels snag when sliding: Tab loops gripping the rod is the most common complaint. Rub a small amount of beeswax or clear furniture wax along the rod surface, or switch to a rod with a smoother finish. If the problem persists with heavy panels, consider switching to grommet-top panels or adding ring clips to the tabs.
- Panels drift open on a sliding door: If the door's airflow or draft pulls the curtain open when the door slides, add a few curtain tiebacks or magnetic closures to hold the panel in place at the center. Some homeowners add a small decorative clip or hook at the center panel overlap.
- Uneven hems after hanging: Freshly hung panels often need 24 to 48 hours to relax and even out. Steaming the hem area helps. If the unevenness persists, check whether the rod is perfectly level and whether the floor is flat at the base of the door (minor floor variations can make panels appear uneven even when the hem is perfectly straight).
- Panels not stacking clear of the door: The rod isn't extending far enough beyond the frame. Either move the brackets out or replace the rod with a longer one. Panels need a clear stack zone to pocket off the glass entirely when the door is open.
- Rod sagging in the middle: Add a center support bracket. If one is already installed, check whether it's anchored into the stud or header, not just drywall. A center support in drywall alone will gradually pull forward under continuous load.
- Thermal lining bunching or separating: This is a washability issue. If the lining has delaminated after washing, the panel typically cannot be repaired and must be replaced. Prevent this by following care label instructions and using cold water and a gentle cycle only.
Your buying and installation checklist
Before you order anything, run through this checklist. It covers every measurement and decision point in order.
- Identify your patio door type: sliding, French, or bifold. This determines whether tab tops are the right heading style at all.
- Decide on inside or outside mount. For patio doors, outside mount is almost always the right answer for light control and visual width.
- Measure your door frame width and height. Note whether there is a transom or top window above the door.
- Plan your rod position: 4 to 8 inches above the frame (or above the transom if applicable) and 8 to 10 inches beyond the frame on each side. Write down the finished rod span.
- Choose your fullness: 1.5× for casual, 2× for standard tab-top fullness.
- Calculate total fabric width needed (rod span × fullness multiplier).
- Divide total fabric width by your chosen panel width (42 or 54 inches are common retail sizes) and round up to the next whole number for panel count.
- Measure panel length from the rod (bottom of rod for tab tops) to the floor, subtract 0.5 inch for hover length, and add the tab height (3 to 4 inches) to your measurement to find the actual panel length you need. Choose the next available stock size up.
- Choose your lining: unlined for decorative/sheer, thermal for insulation, blackout for light blocking. Note that thermal and blackout linings increase weight and friction.
- Select rod diameter: 1 inch minimum for standard patio door spans, 1.5 inch for heavy panels or spans over 88 inches.
- Confirm bracket type: heavy-duty for spans over 48 inches, add center support(s) for spans over 48 inches, anchor into studs or the door header.
- Check that all components (rod, brackets, finials, any center supports) are from the same product line or are confirmed compatible for diameter and projection.
- After installation, check rod level before hanging panels. Hang panels and allow 24 to 48 hours for fabric to relax before hemming to final length.
FAQ
What primary dimensional standards and manufacturer tables should I collect to build an accurate patio‑door curtain sizing table?
Collect maker/industry size references for sliding and hinged patio doors: standard stock widths (60", 72", 96") and heights (80", 96", plus 6'8", 6'10", 8', 9', 10') from window/door manufacturers (Andersen, Pella, others). Include rough‑opening and frame dimensions, transom heights, and multi‑panel (2/3/4 panel) layouts. Source: Andersen gliding sizing PDF, Pella Architectural Design Manuals, plus a reputable patio‑door sizing summary (e.g., Infinity by Marvin). These let you map finished rod/track spans to common door units for a ready‑made panel table.
What retail product specification data for ready‑made curtain panels is required?
Gather finished panel widths and lengths commonly sold: widths typically ~40–54" (common retail: 42", 50–54"), lengths 63", 84", 96", 108", 120". Record fabric weights (oz/yd²), listed fullness recommendations, any listed lining type (thermal/insulated, blackout), and retail product names/examples for patio use (thermal grommet sliding panels, blackout grommet panels). Source: big‑box retail product pages and measuring guides (Home Depot and manufacturer product pages).
Which exact measuring rules and formulas must be included verbatim?
Include: measure the finished rod/track span (not just the glass); extend rod 8–10" beyond the frame each side for stacking; measure length from the rod/track hanging point (hook/grommet top) to the chosen finish (sill, floor, puddle); curtain 'break' definitions—apron (sill), hover/skim (floorskimming), trouser/tailored (~+1"), puddle (+3"–6"). Provide the panel‑count formula: Panels required = CEILING((finished span × desired fullness) ÷ single‑panel finished width). Source: Home Depot measuring guide and DWCN measurement guide.
What fullness multipliers and heading‑style rules should I specify?
Specify standard fullness by heading: tab‑top/grommet/casual — 1.5×–2×; ready‑made grommet/rod installs — ~2×; pleated/pinch — 2.0×–2.5×; sheers — 2.0×–3×. Note that tab‑top increases visual height but reduces sliding ease with heavy/insulated panels; grommet/eyelet requires larger rod diameters and slides better; pleated needs hooks/track and more fabric. Source: Homes & Gardens and retail workroom guidance.
What rod, bracket and load specifications are needed for patio doors?
Collect recommended rod diameters by heading: tab‑top/back‑tab — 5/8"–3/4" acceptable; grommet/eyelet — 1"–1.5" preferred (to let rings sit/slide). Note bracket/rod load ratings from product pages; require center supports for spans >4 ft (or per product spec) and anchor into header/stud for heavy/insulated panels. Record bracket projection (clearance) so curtains clear door handles/screens. Source: retailer product pages and spec Q&A (e.g., Home Depot listings).
What track and bypass system specifications must be listed?
List track profile & depth, carrier (glider) type (nylon roller, roller/glide, wave carriers), carriers per linear foot, end stops, overlap/return fittings, minimum mounting clearance above transom, and recommended fasteners/anchor spacing. Include manufacturer stack‑back specs for wave/bypass systems (to calculate how far panels clear glass when stacked). Cite Silent Gliss/Kirsch or similar manufacturer installation sheets for precise clearances and carrier spacing.