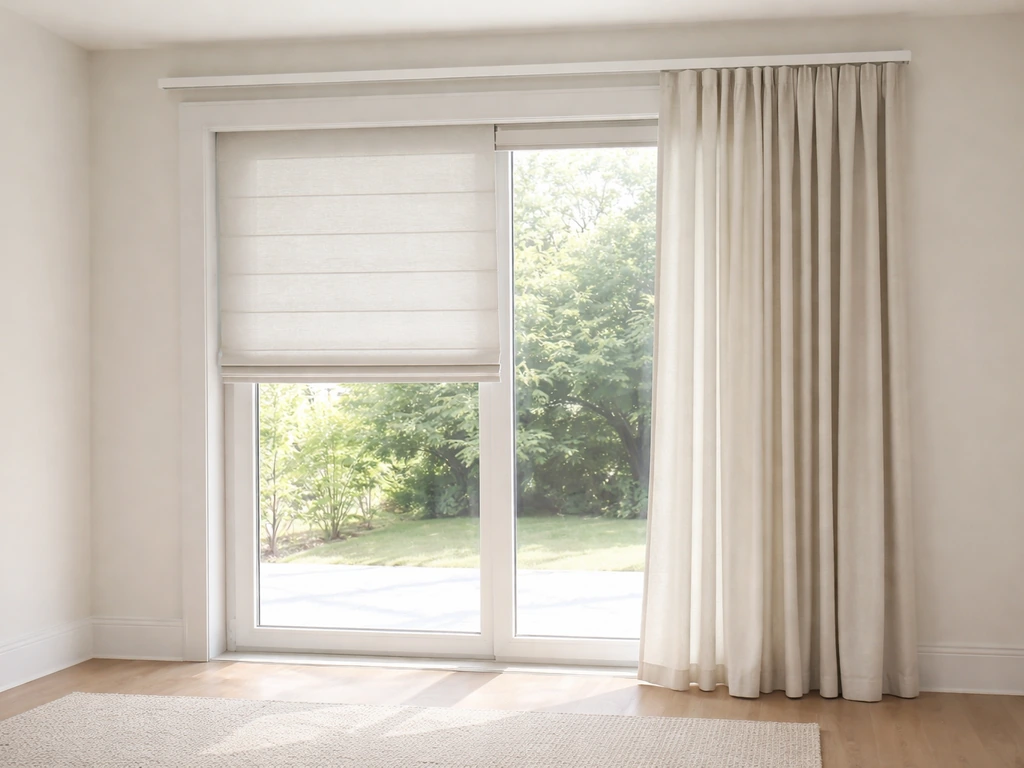
Yes, you can absolutely put blinds on sliding patio doors, and there are more options than most people expect. The key is choosing a treatment that travels side-to-side rather than up-and-down, measures correctly for the wide opening, and clears the door handle and track. Vertical blinds, panel-track systems, roller shades, cellular shades, and integrated Perfect Fit frames all work well on sliders when you pick the right one for your door and mount it properly.
Can You Put Blinds on Sliding Patio Doors? Guide & Options

Owen Delaney
4 Aug 2026
The best blind types for sliding patio doors
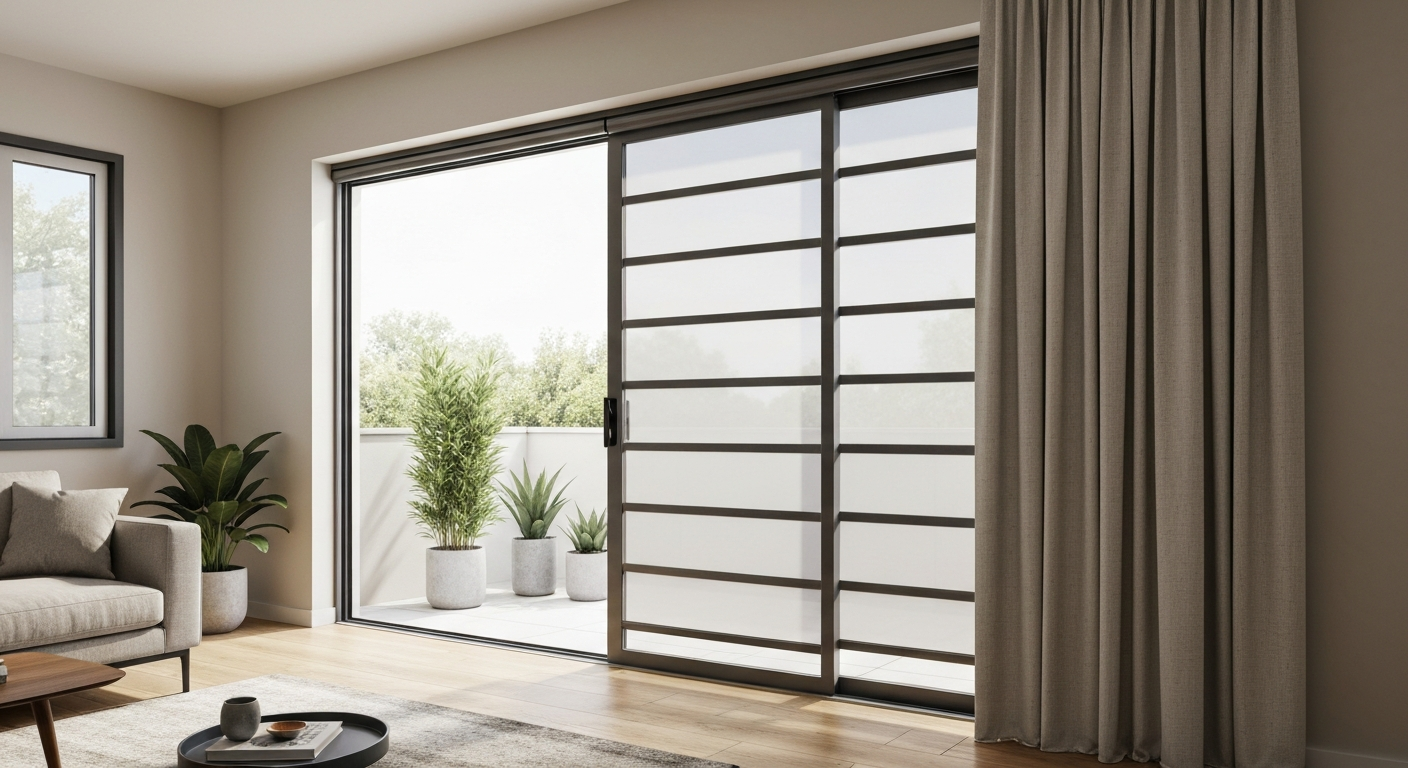
Not every blind translates well to a wide sliding door. Standard horizontal slatted blinds designed for windows can technically span a patio door opening, but they are unwieldy, sag in the middle, and get in the way every time you want to step outside. The options below are all built (or adaptable) for the side-to-side demands of a slider.
Vertical blinds
Vertical vane blinds are probably the most common sight on sliding doors in North America, and for good reason. Individual fabric or PVC vanes hang from a headrail and traverse left or right, which is a perfect match for how a slider opens. Standard vane widths run 3.5 to 5 inches, so the full stack when all vanes are drawn to one side equals the number of vanes multiplied by that width. For a typical 72-inch wide door with 3.5-inch vanes you are looking at roughly 14 to 16 inches of stack space on whichever side you want the vanes to park. That is worth planning for before you order.
Panel-track blinds
Panel-track systems use wide fabric panels (typically around 23 inches each) that glide along an overhead track, overlapping like sliding doors themselves. They look cleaner and more contemporary than verticals, and the wider panels mean less stack space per panel. A three-panel setup on a standard patio door stacks roughly 23 inches when fully open. Ready-made panel track kits from major home improvement retailers start around $100 to $300, while large custom multi-panel tracks in premium fabrics can run $500 to over $1,900. DIY installation is very manageable since most kits include a top track you screw directly to the header or ceiling.
Roller shades
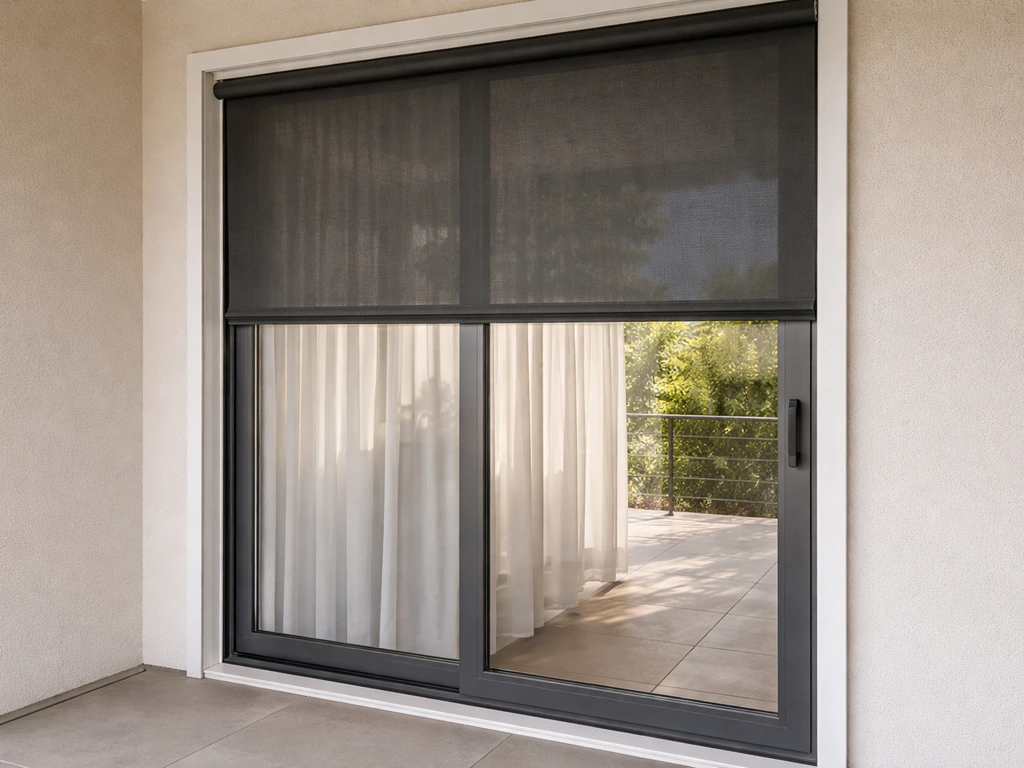
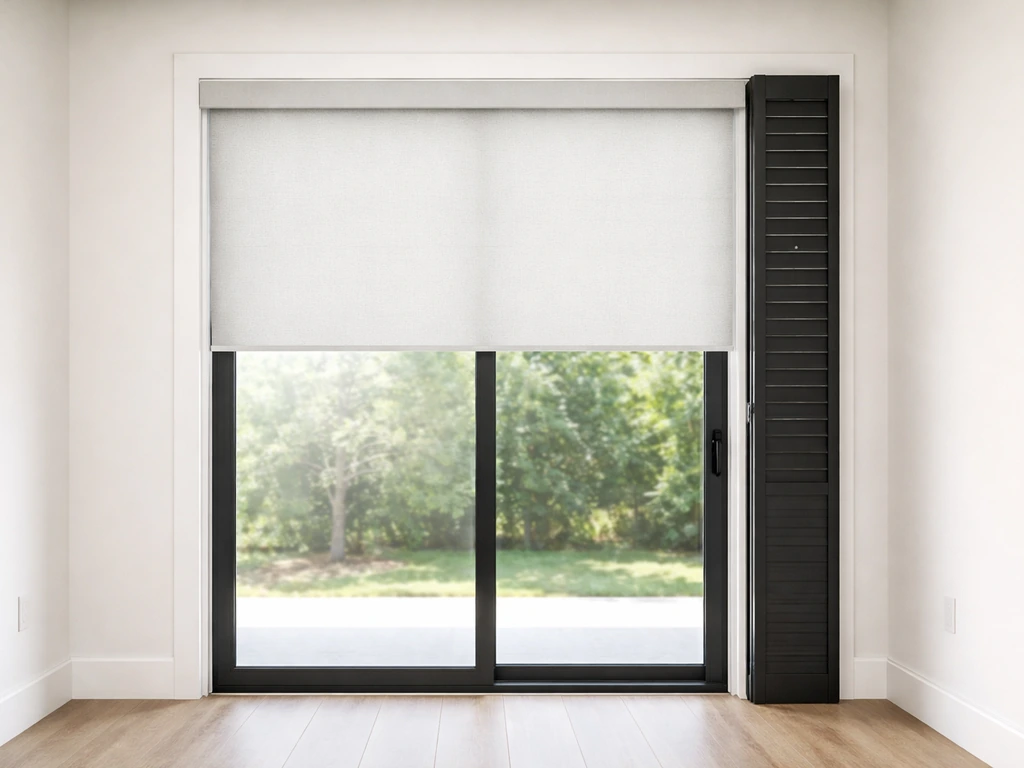
A standard roller shade rolls up onto a tube, which makes it less intuitive on a patio door at first glance. The workaround is an outside mount positioned above the entire door frame with the shade wide enough to overlap the frame on both sides. Retailer listings (e.g., Roller Shades for Patio Doors – Wayfair) show roller shades sized for patio doors and advise outside‑mount or headrail clearance to avoid interference Retailer listings (e.g., Roller Shades for Patio Doors – Wayfair) show roller shades sized for patio doors and advise outside‑mount or headrail clearance to avoid interference.. This works well for light filtering or solar mesh shades when you want to diffuse glare without blocking the door. The main caveat is clearance: the shade hangs flat and will brush the door handle if the headrail sits too close to the glass. Mounting the rail so there is at least 2 to 3 inches of clearance in front of the door panel, or using side channels to keep the shade flat and clear of the handle, solves this.
Cellular (honeycomb) shades configured for sliders
Hunter Douglas's Duette Vertiglide is the most well-known purpose-built version: honeycomb cells oriented vertically that traverse side-to-side along a headrail, just like a vertical blind but with the insulating pockets of a cellular shade. Other manufacturers sell similar products under names like VertiCell. Because the honeycomb structure traps air, these shades provide noticeably better insulation than flat fabric vanes, which matters a lot on a large glass door that bleeds heat in summer and cold in winter. They also produce tighter light control when ordered with a split-stack configuration or side channels.
Venetian blinds (horizontal slats)
Full-width horizontal Venetians are not a great choice for a standard 6- or 8-foot slider because the wide span causes the rails to flex and sag. That said, some homeowners use a split-blind approach: two narrower Venetians side by side, each covering roughly half the opening. This can work if you measure precisely and allow a center overlap (more on that in the measuring section). Mini-blind versions in 1-inch or 2-inch aluminum slats are the most manageable, but honestly, if you want the slatted look, vertical vanes or panel-track systems do the same job with far fewer headaches on a wide door.
Perfect Fit and integrated in-frame systems
Perfect Fit blinds snap into a frame that clips directly onto the glazing bead of the door, requiring zero drilling and zero hardware on the wall. They are very common on UPVC and aluminum-frame sliding doors, especially in UK and European markets. Roller, pleated, and cellular blind cassettes all come in Perfect Fit versions. Because the blind is attached to the door itself, it moves with the door panel when you open or close it, which eliminates the problem of a blind flapping or bunching in the gap. Bracket sizes typically accommodate bead depths of around 10 to 44 mm, so you need to measure your glazing bead before ordering.
How Perfect Fit and integrated systems actually work
A Perfect Fit system has three main parts: a top clip bracket, a bottom clip bracket, and a side frame that snaps around the blind cassette. You press the top bracket onto the glazing bead, align the bottom, and the whole assembly clicks in without a single screw going into the door frame or wall. The blind then operates inside this sealed frame, which means minimal light gap around the edges and no cords dangling near the door edge where they can catch on the handle or door frame.
When should you choose a Perfect Fit system? It makes the most sense if you have a modern UPVC or aluminum sliding door with an accessible glazing bead of the right depth, if you rent and cannot drill, if you want the blind to travel with the door panel rather than stay fixed to the wall, or if you are fitting a treatment to each individual door panel rather than spanning the entire opening. The limitation is that they only cover the glass panel they are clipped to. If you want a single treatment that spans the whole opening including the fixed panel and frame, a wall-mounted headrail system is a better fit.
Integrated in-glass systems go a step further: the blind sits inside a sealed double-glazed unit and is operated by a small magnet or switch. These are typically specified at the time of door purchase and add $200 to $600 or more to the door cost, but they require zero maintenance, never accumulate dust, and cannot be damaged by curious kids or pets. If you are already replacing your patio door and live in a high-glare or high-heat climate, it is worth pricing this option with your door supplier.
Pros, cons, and a quick comparison
| Treatment type | Best for | Pros | Cons | Approx. cost range |
|---|---|---|---|---|
| Vertical blinds | Budget installs, rental homes | Affordable, easy DIY, wide fabric choice | Can look dated, vanes can tangle | $50–$300 |
| Panel-track | Modern decor, wide openings | Clean look, good fabric range, manageable stack | Panels can swing in drafts, pricier custom | $100–$1,900+ |
| Roller shade (outside mount) | Light filtering, solar/UV control | Sleek, easy to raise fully, good solar options | Handle clearance issues, no side-to-side traverse | $80–$400 |
| Cellular/Vertiglide | Energy efficiency, tight light control | Best insulation, neat stack, motorizable | Higher cost, specific ordering needed | $250–$800+ |
| Venetian (split pair) | Slatted look, privacy + light tilt | Familiar operation, precise light angle control | Can sag on wide spans, awkward to operate | $60–$400 per blind |
| Perfect Fit / in-frame | UPVC/aluminum doors, no-drill | Travels with door, no drilling, neat edges | Covers individual panel only, bead depth limits | $80–$350 per panel |
| Integrated in-glass | New door installs, low-maintenance | Dust-free, childproof, elegant | Must order with door, highest cost | $200–$600+ added to door cost |
Measuring your sliding patio door the right way
Measuring a sliding door is where most DIY installs go wrong. The opening is wide, there is a center stile (the vertical frame piece where the fixed and sliding panels meet), and you have to decide whether you are mounting inside the frame or outside it before you take a single measurement. Measurement best practices for sliding doors are to measure height at several vertical points and use the smallest width, and for outside mounts allow about 3"–6" extra overall (roughly 1½"–3" per side) to ensure sufficient overlap and minimize light gaps. Get this wrong and you either end up with a blind that will not fit in the frame or one that leaves obvious light gaps.
Inside mount vs. outside mount
An inside mount sits within the door frame recess. It looks cleaner but requires at least 2 to 3 inches of flat frame depth for the headrail brackets. Many sliding door frames are too shallow for this with a wide spanning blind, which is why outside mounts are more common. An outside mount goes on the wall above the frame or on the face of the frame itself. You control how far it extends beyond the door on each side, which is where your overlap and light-gap control comes from.
Measurement checklist
- Measure width at the top, middle, and bottom of the opening. Use the smallest measurement for inside mount.
- For outside mount, add 3 to 6 inches total (1.5 to 3 inches per side) beyond the frame to reduce side light gaps.
- Measure height at the left, center, and right. Use the smallest for inside mount; for outside mount add 2 to 4 inches above the frame for headrail and valance clearance.
- If using a split-blind (two blinds side by side), measure each half separately and add roughly 2 inches of center overlap per blind (4 inches total) to close the light gap at the meeting stile.
- Note the door handle position and how far it protrudes from the door face — this determines whether you need spacer blocks or extension brackets.
- Check the depth of the glazing bead if considering a Perfect Fit system. Brackets typically fit beads from 10 to 44 mm; measure yours with a ruler before ordering.
- Confirm headrail clearance: the finished headrail or track must clear any top rollers, door hardware, or top track housing.
Write every measurement down twice before you order. I have made the mistake of trusting a single measurement on a door that was slightly out-of-square, and the blind ended up 3/4 inch too wide for the inside mount. That is an expensive redo on a custom blind. Measure twice, order once.
Mounting options, headrail placement, stacking, and track clearance
Once you have your measurements, the next decision is where the headrail goes and which side the blind stacks to. For a sliding door where the movable panel slides to the left, you almost always want the blind to stack to the left too, so that when you push the door open the blind clears the opening along with it. If you stack to the wrong side, the blind covers the opening even when the door is open.
For panel-track systems, the headrail screws directly to the ceiling or to a board mounted above the frame. Most track kits give you enough adjustable bracket positions that you can get it level even if the ceiling has minor variation. Allow at least 2 to 3 inches of clearance between the face of the door and the face of the hanging panels so the door slides without brushing the panels. With a wall mount outside the frame, you create this clearance naturally by mounting the brackets far enough forward.
Vertical blinds typically mount to the wall or the door head jamb. The headrail should sit 2 to 4 inches above the door opening when outside-mounted, giving the vanes enough drop to reach the floor with minimal gap underneath. The vanes should hang about half an inch above the floor or sill to prevent dragging. For the track itself, make sure the mounting screws go into solid wood or use appropriate drywall anchors rated for the weight of the full blind. A 6-foot wide vertical blind with fabric vanes can weigh 8 to 15 pounds, and that weight is all on the headrail brackets.
Stack-back space is often underestimated. A panel track with three 23-inch panels stacks about 23 inches when fully open (since the panels overlap each other). A vertical blind with sixteen 3.5-inch vanes stacks around 12 to 14 inches. If you have furniture, a baseboard heater, or a light switch within that stack zone, plan to relocate the stack side or reduce the view opening accordingly.
Dealing with handles, sills, and track interference
The door handle is the most common installation headache. Most residential sliding door handles extend 2 to 4 inches from the door face. If your headrail is mounted directly against the wall or frame above the door, the vanes or panels will catch on the handle every time you slide the door. Here are the practical solutions:
- Extension brackets and spacer blocks: most major brands (including Hunter Douglas for their Vertiglide line) supply these. Spacer blocks sit between the mounting bracket and the wall, projecting the headrail forward until it clears the handle depth. Use the longer screws provided or specified in the manual when stacking brackets.
- Inside-mount adaptors with cutout: if you ordered the blind with a handle cutout, you typically also need inside-mount adaptors from the same manufacturer. The cutout in the headrail aligns with the handle position so the rail can sit close to the frame without pressing against the handle hardware.
- Repositioning the headrail: for outside-mount installs, simply moving the headrail up and out until the hanging panels clear the handle by at least half an inch solves most interference problems without any additional hardware.
- Stationary bottom rail: on Vertiglide and similar systems, a stationary bottom rail can be anchored to the floor or baseboard to keep the bottom of the blind stable. This also prevents the vanes from swinging in drafts.
- Notches and cutouts for baseboards: if a baseboard runs across the bottom of the door frame, the bottom rail may need a factory or field cutout to fit flat. Hunter Douglas documents this specifically for Vertiglide installs.
- Split panels for the fixed and sliding sections: ordering two separate treatments sized to each panel (fixed and movable) eliminates most handle and track conflicts entirely, since each blind only spans one panel and parks clear of the other.
Vinyl and UPVC door frames need extra care. Drilling into a hollow vinyl frame without proper anchors can crack the frame or strip the hole immediately. If you are mounting into a vinyl frame, use manufacturer-supplied hardware designed for the frame material, choose a Perfect Fit in-bead system that avoids drilling entirely, or mount the headrail to the wall studs above the door rather than into the frame itself.
Privacy, light control, energy savings, and security
A large sliding patio door is essentially a glass wall, and the treatment you choose has real consequences for privacy, heat gain, energy bills, and even home security. Here is what the different systems actually deliver.
Privacy
Vertical blinds and panel-track systems both offer good daytime and nighttime privacy when closed, but the gaps between vanes or panel edges let through thin lines of light and visibility. Cellular Vertiglide-type systems with side channels close those edge gaps much more effectively. For complete blackout, a roller shade in a blackout fabric on an outside mount is the most reliable option, especially when combined with side channels that prevent light from sneaking around the edges. Perfect Fit systems have built-in frame seals that eliminate edge light almost entirely, which makes them a great choice if your bedroom or media room opens onto a patio.
Light control
Vertical vanes and panel-track fabrics come in light-filtering and room-darkening options. You can also tilt the vanes on verticals to modulate light without fully closing them, similar to a Venetian blind. Panel-track fabrics are fixed and do not tilt, so you control light by how far you open the panels. Roller shades give you the cleanest light-filtering effect and pair well with solar mesh fabrics that reduce glare while preserving the view. Cellular systems add a diffusing quality to the light that many people find pleasant.
Energy efficiency
A large unshaded glass door can account for a significant portion of a room's heat gain in summer or heat loss in winter. Cellular/honeycomb systems like Vertiglide are the clear winner here because the honeycomb pockets trap air and create an insulating buffer between the glass and the room. For a door facing west or south in a hot climate, the difference between an unshaded door and a closed cellular shade on a sunny afternoon is noticeable on both comfort and the AC bill. Standard vertical vanes and flat panel fabrics provide modest thermal benefit by blocking direct solar radiation but do not insulate the air layer the way cellular shades do. Roller solar shades in a 3 to 5 percent openness factor are a middle ground: they cut UV and glare significantly while maintaining some view.
Security and child safety
Blinds do not add structural security to a sliding door, but closing them at night does prevent passersby from seeing into your home and assessing what is worth taking. From a practical standpoint, integrated in-glass blinds eliminate cords entirely and are the safest option for homes with young children. For wall-mounted systems, look for cordless lift mechanisms or motorized options (Hunter Douglas PowerView, for example) that remove dangling cords from the equation. Industry and safety organizations consistently recommend cordless or motorized treatments in any room used by children under six. Wand-operated vertical blinds are another cord-free option for families with young kids.
DIY vs. professional installation: an honest take
Most standard vertical blinds and panel-track kits on a straightforward sliding door are genuine DIY territory. A single competent person can typically install a prefab vertical blind or a ready-made panel track in 30 to 90 minutes with a drill, a level, and the hardware included in the box. The job gets harder when the door is out of square, when the headrail needs to span an unusually wide opening (over 10 feet), when you are running motorized systems that require wiring, or when you have a complex multi-panel track on a high ceiling. For those situations, two people and possibly a professional installer is the sensible choice, both for a quality result and to protect the warranty on premium custom blinds. Most custom blind brands will void their installation warranty if the product is damaged during a botched solo install on a large span.
Maintenance and a few troubleshooting notes
Vertical vanes and panel-track fabrics attract dust on the face that faces the room interior. A quick vacuum with an upholstery brush attachment once a month keeps them looking clean. Fabric vanes that have yellowed or stiffened from sun exposure can sometimes be spot-cleaned but are generally inexpensive enough to replace individually. PVC/vinyl vanes can be wiped down with a damp cloth. Panel-track fabrics are typically not washable, so keeping them off the floor (that half-inch clearance matters) prevents them from wicking up floor grime.
The most common operating problem with vertical blinds is a vane that detaches from the stem or rotates out of sync. Most vertical headrail carriers are replaceable and cost just a few dollars each. Panel-track panels that swing or gap in the middle usually need the carrier clips tightened or the top panel weight adjusted. Roller shades that creep down after being raised are typically a spring tension issue: unroll the shade fully by hand and reroll it manually two or three times to reset the spring mechanism. For cellular Vertiglide systems, a shade that does not traverse smoothly often has a cord or wand that has jumped its guide channel, which you can usually reseat by hand following the manufacturer's instruction.
Your next steps
If you are still deciding between treatment styles, it helps to think about the window treatment choice alongside the broader question of how you are using and finishing the door space. A sliding patio door is both a functional element and a design feature in the room, and the covering you choose affects both. The covering options explored here connect naturally to wider questions about how to dress patio doors to suit your interior style and what the full range of patio door covering options looks like beyond blinds alone. For more ideas on styling and the full range of coverings, see our guide on how to dress patio doors. If you want a quick overview of options, see our guide on what can I use to cover my patio doors for a broader list of coverings beyond blinds. If you'd like alternatives to curtains, see how to dress patio doors without curtains for ideas like blinds, shutters, and decorative screens. For step-by-step ideas and styling tips, see our guide on how to decorate sliding patio doors. For a focused comparison to help you decide, read our guide to the best window treatment for patio doors.
- Measure your door opening using the checklist above, noting handle depth, frame material, glazing bead depth (if considering Perfect Fit), and available stack space on your preferred stack side.
- Decide inside or outside mount based on your frame depth and whether you want the treatment to travel with the door panel or span the whole opening.
- Choose your treatment type based on your priorities: budget (verticals or basic panel track), energy efficiency (cellular Vertiglide), clean modern look (panel track or roller), no-drill convenience (Perfect Fit), or maximum integration (in-glass blind with a new door).
- Get at least two quotes for custom blinds: prices vary significantly between big-box retailers, specialty blind retailers, and online custom blind vendors for the same basic product.
- Decide on cord vs. cordless vs. motorized based on who uses the room and whether you want smart home integration.
- Install as a DIY project for standard prefab products, or book a professional for custom wide-span or motorized installs to protect your investment and the product warranty.
FAQ
Can you put blinds on sliding patio doors?
Yes. Sliding patio doors can be fitted with many blind and shade types designed to traverse side‑to‑side rather than up‑and‑down. Common solutions include vertical blinds, panel‑track (sliding panels), side‑traversing cellular/Vertiglide systems, roller shades with side channels, horizontal Venetian systems built for sliders, shutters, and integrated/Perfect Fit frames.
Which blind types work best for sliding patio doors and why?
Options and strengths: - Vertical blinds: inexpensive, wide widths, easy side‑to‑side operation but less insulating. - Panel‑track (sliding panels): modern look, good for very wide openings, easily configurable panel widths and stacks. - Side‑traversing cellular (e.g., Duette® Vertiglide™): excellent insulation, good light control, designed for sliding operation and available with motorization. - Roller shades/solar screens: sleek, good for sun control; best when outside‑mounted or used with side channels/tensioning. - Vertical cellular/VertiCell: combines honeycomb insulation with side traverse. - Integrated/Perfect Fit (in‑frame) systems: no drilling, minimal light gaps, fits into glazing bead for clean look. Choose by priorities: insulation and light control → cellular/Vertiglide; budget and adjustability → verticals/panel track; aesthetic and low profile → roller/Perfect Fit.
What is a Perfect Fit / integrated system and when is it suitable?
Perfect Fit (in‑frame) systems are snap‑in frames or brackets that mount the blind/shade directly into the window/door glazing bead without drilling. They minimize edge light gaps, reduce movement when doors open, and give a tidy, built‑in look. They’re suitable when the door’s bead depth and profile match vendor bracket specs (manufacturers publish compatible bead depth ranges). They work best for vinyl/aluminum frames and when you want a no‑drill install and improved seal; they’re less suitable if bead depth or profile is incompatible or if large cutouts for handles are required and the vendor doesn’t support them.
How should I measure a sliding patio door for blinds? (measurement checklist)
Measurement checklist: 1) Decide inside‑mount vs outside‑mount. 2) For inside‑mount width: measure width at top, middle and bottom; record the smallest width. 3) For inside‑mount height: measure from head jamb to sill/floor at left, center and right; record the smallest height. 4) For outside‑mount: measure the full glass/opening and add recommended overlap (typically 1½"–3" per side; total 3"–6") to reduce light gaps. 5) Note obstructions: door handle, tracks, trim, baseboard, crown; measure handle protrusion and distance from edge. 6) Measure headroom (clearance above door) to ensure the headrail/valance fits. 7) For split/blind‑per‑door orders: plan center overlap (commonly ~2" per blind) to eliminate meeting‑stile light gaps. 8) Record substrate (wood, drywall, aluminum, vinyl) for anchor selection. Take all measurements in inches, to the nearest 1/8" if possible, and repeat each measurement.
What mounting options exist and how do I choose one?
Mounting options: - Inside‑mount: brackets attach inside the frame for a cleaner look; requires sufficient headroom and correct frame depth. - Outside‑mount: headrail mounted on wall/jamb above frame; allows full coverage and avoids handle conflicts. - In‑frame/Perfect Fit: snap‑in, no drilling, sits inside glazing bead. - Spacer/extension brackets: used with inside‑mount to clear handles or moulding. Choose inside‑mount for clean sightlines if headroom and bead depth permit; choose outside‑mount or use spacer brackets when handles/trim obstruct; choose Perfect Fit when compatible and you want no‑drill installation.
How do I handle stacking and clearance (stack‑back and handle interference)?
Stack‑back considerations: - Panel track stack equals total width of stacked panels (e.g., 23" panels use ~23" stack), so plan stack location to avoid blocking entry. - Vertical vanes stack by vane width (3.5"–5") times number stacked. - Split‑stack (two shades meeting in middle) requires planning for center overlap. Handle/clearance solutions: - Use outside‑mount headrail or spacer/extension brackets to clear handles. - Order cutouts or notches if manufacturer supports baseboard/handle cutouts. - Use side channels or tensioning systems so shade clears the handle and door travel without catching.