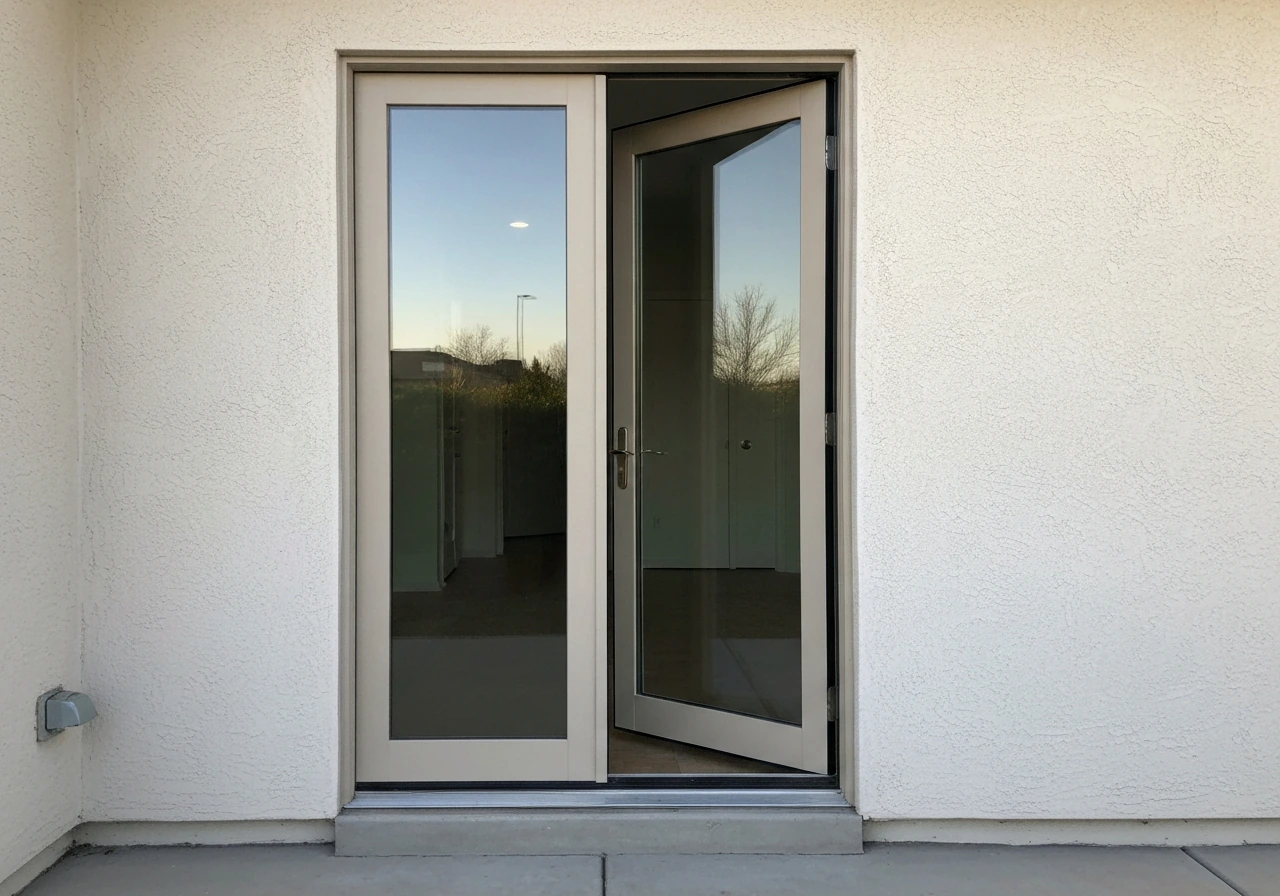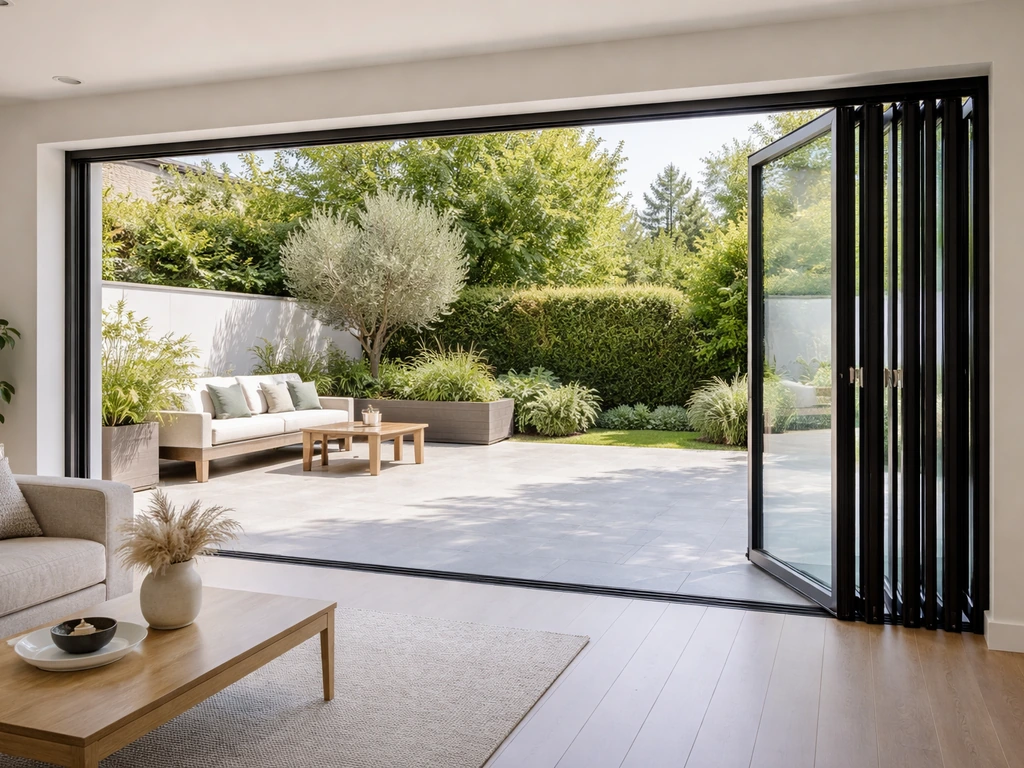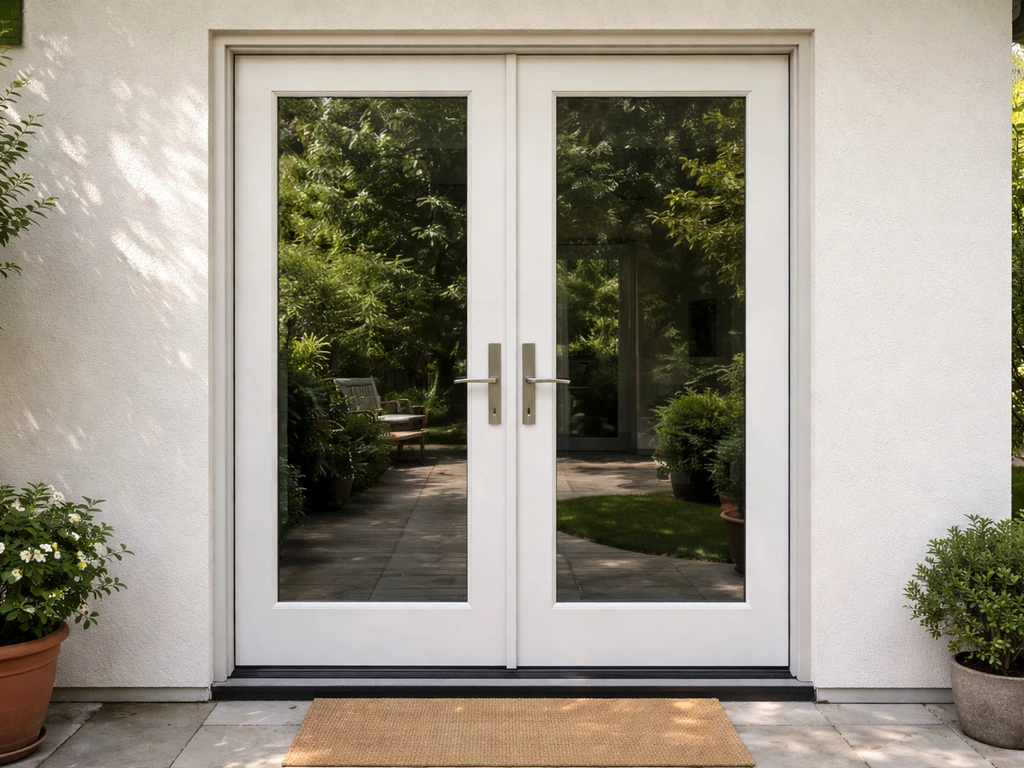
Yes, you can replace patio doors with bifold doors in most homes, and it's one of the most dramatic upgrades you can make to a rear-facing wall. The catch is that it's rarely a straight swap. Whether the project is straightforward or turns into a full structural job depends on whether you're keeping the same rough opening size or enlarging it, what your wall is carrying above that opening, and how much header work is already in place. Get those three things right upfront and the rest of the project falls into a logical sequence.
Can You Replace Patio Doors with Bifold Doors? Guide for Homeowners

Owen Delaney
28 Jul 2026
Can you actually do this? The honest feasibility check
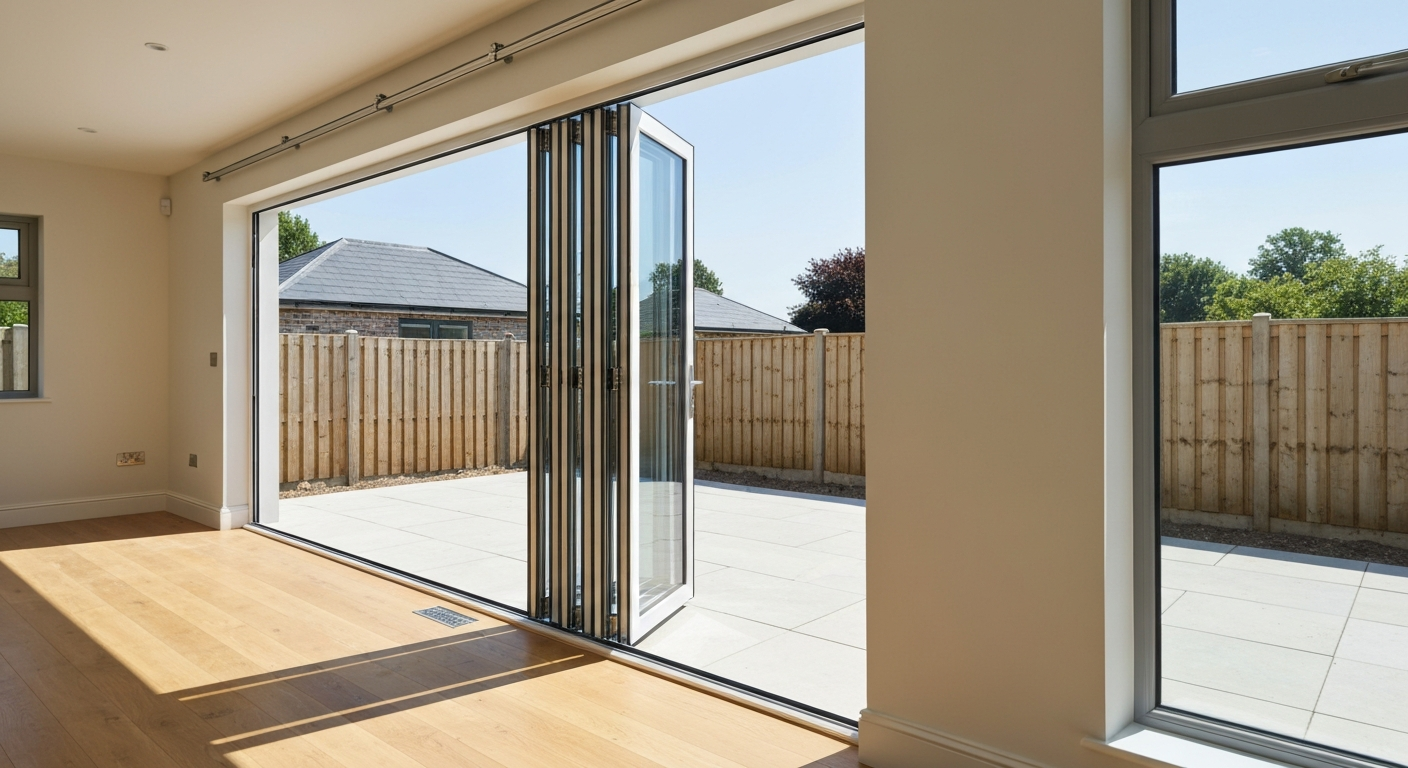
For most single-story homes with a rear exterior wall, replacing an existing sliding patio door or French door with a bifold system is entirely doable. I've seen it done in a weekend by experienced contractors and I've also seen it turn into a three-week project when the structural situation was messier than expected. The honest answer is that feasibility splits into two very different scenarios.
Scenario one: you keep the same rough opening. If your existing patio door is, say, a 96-inch wide by 80-inch tall slider and you want a bifold that fits in the same hole, many jurisdictions treat that as a like-for-like replacement. Some cities (San Diego, Camas, and San Antonio are examples) offer streamlined or over-the-counter permit processes for this kind of swap, or exempt it from full plan review entirely. You're not touching the structural header, you're not changing the load path, and the scope is essentially: remove old door, prep sill, install new door.
Scenario two: you want to go wider or taller. This is where things get genuinely complicated. Enlarging the opening almost always means modifying or replacing the header above it, which triggers IRC R602.7 requirements for header sizing in exterior bearing walls. That means a permit, likely a plan review, and possibly an engineer of record depending on your jurisdiction and the span involved. Don't skip this step. I've seen homeowners try to shortcut it and end up with doors that rack and bind because the header above was undersized and deflecting under load.
Site constraints and what your wall is actually doing
Before you even pull up product specs, walk around the outside of the wall you're targeting and think about what's above it. Is there a second floor, a roof load, or a deck ledger bearing on that wall? Is the wall in question an exterior bearing wall? In almost all rear-facing exterior walls, the answer is yes, it's bearing. That means the header spanning your door opening is structural, and its size is governed by the span tables in IRC R602.7 and Table R602.7(1).
The panel count you choose for your bifold door directly determines the minimum opening width you need, and that width determines the required header size. A four-panel bifold might need a rough opening around 120 inches wide. A six-panel system could push 180 inches or more. At those spans, a doubled 2x10 or 2x12 lumber header is often not sufficient, and manufacturers like LaCantina and Marvin explicitly call for engineered lumber (LVL) or steel headers. LaCantina, for instance, requires that header deflection under load not exceed the lesser of L/720 or 1/4 inch, which is a tighter standard than many basic lumber headers can meet at large spans. Factor in the cost of that engineered header early in your budget planning.
Beyond the header, check what's happening at the sill. Bifold doors, especially top-hung systems, need a flat, level, and rigid sill pan with a rear dam to manage water. If your existing patio door sill is sloped outward for drainage or made from a material that won't support a sill pan flashing detail, that's additional scope. Also check ceiling height above the opening: most residential bifold systems need a minimum of about 80 to 82 inches of clear height for the door panels plus the track hardware, and some premium systems need more headroom for the top track profile.
Essential measurements to take before you decide
Measure the rough opening, not the old door unit. Remove the interior casing trim and measure the actual framed opening: width between the king studs (or at minimum between the trimmer/jack studs), height from the rough sill to the underside of the header, and depth of the wall framing. Also measure the finished opening, which is the visible hole after drywall returns. You'll need both numbers. Origin's surveying guidance recommends taking the finished opening dimension and subtracting approximately 1/4 inch on all four sides to calculate the ordered door size, accounting for fitting tolerances. Every manufacturer has its own tolerance spec, so pull the installation guide for the specific system you're considering before you finalize dimensions.
- Rough opening width: inside face of one trimmer stud to inside face of the other
- Rough opening height: top of rough sill to underside of header
- Finished opening width and height: after drywall returns are accounted for
- Wall depth/thickness: typically 4.5 inches for 2x4 framing, 6.5 inches for 2x6
- Headroom clearance: from finished floor to finished ceiling above the opening
- Sill condition and slope: note any existing slope or damage
- Exterior overhang: how much shelter the soffit or eave provides above the door
Step-by-step measurement and scope-of-work guidance
Once you're confident about feasibility, work through the scope in this order. Skipping steps here is how projects go sideways.
- Remove interior casing and measure the actual rough opening width, height, and wall depth. Take three width measurements (top, middle, bottom) and use the smallest. Same for height (left, center, right). Note any out-of-square conditions, which affect which panel configuration is even possible.
- Confirm load path and header condition. Look for any visible sagging, cracking at the header corners, or door-frame racking in the existing unit. If any of those signs exist, bring in a structural engineer before ordering anything.
- Determine your target door size. Decide how many panels you want and what the total unit width will be. Cross-check that width against your rough opening. If they match within tolerance, you may be able to do a like-for-like swap. If you want to go wider, document the delta and get a permit application started.
- Get the permit situation sorted. Contact your local building department before demolition starts. If it's a like-for-like swap with no structural change, ask specifically whether a permit is required or if there's a streamlined path. Document their answer in writing (email is fine).
- Specify the sill pan and flashing detail. Manufacturers like LaCantina require a sill pan with a rear leg (back dam). If your existing rough sill is in good shape, a site-fabricated or pre-formed pan flashing can be installed. If the framing is rotted or damaged, add rough sill replacement to the scope before the new door goes in.
- Order the door with correct fitting tolerances. Give the manufacturer or dealer your confirmed rough opening or finished opening dimensions and ask them to confirm the ordered unit size based on their installation guide tolerances. Get this in writing.
- Prepare the opening. Remove the old door unit completely. Inspect and repair the rough framing as needed. Install the sill pan with proper back dam and flashing laps per the manufacturer's instructions. Verify the rough opening is plumb, level, and square before the new unit arrives.
- Install per the manufacturer's specific installation manual. Top-hung bifold systems have different plumb/level tolerance requirements than bottom-guided systems. Follow the hardware adjustment sequence exactly, because top-hung systems depend on the track being perfectly level for the panels to operate and seal correctly.
- Flash and seal the exterior perimeter. Apply flexible flashing tape at the jambs and head, lapping correctly over the sill pan. Apply backer rod and sealant at the exterior perimeter per the manufacturer's spec.
- Test operation, weather seals, and locks before finishing the interior. Adjust panel hangers and bottom guides as needed. Verify multipoint locks engage cleanly on all panels.
Bifold door sizing standards and common panel configurations
Bifold doors for exterior use are sold as complete systems sized to a specified unit or rough opening width. For help comparing models and specs, see our guide to the best folding patio doors. Typical residential unit widths run from about 72 inches (a modest two-panel unit) up to 240 inches or more for large six- or eight-panel configurations. Panel widths matter too: Origin, as one example, publishes minimum panel widths of approximately 28 inches for even-leaf sets and about 15.75 inches for odd-leaf sets. Going too narrow on individual panels makes the system feel flimsy and can cause operational problems with the hardware.
Panel count also determines the stack direction and how much of the opening is truly clear when the doors are folded back. A four-panel system (two pairs folding to one side) with a 96-inch unit width gives you roughly 88 to 90 inches of clear opening. A six-panel system of the same width folding 3-3 to both sides gives you a very wide clear span but leaves a center post. If you want the clearest possible view and passage, talk to your dealer about traffic door configurations where one panel is hinged independently for everyday use without unfolding the whole system.
| Panel Count | Typical Unit Width Range | Approx. Clear Opening | Common Fold Config | Notes |
|---|---|---|---|---|
| 2-panel | 72–84 in | ~64–76 in | 1-1 or 2-0 | Smallest practical exterior bifold; limited to protected locations |
| 3-panel | 84–108 in | ~75–98 in | 2-1 or 3-0 | Odd leaf; one side stacks deeper |
| 4-panel | 96–144 in | ~88–132 in | 2-2 or 4-0 | Most popular residential config; stacks both sides or one |
| 5-panel | 120–180 in | ~110–166 in | 3-2 or 5-0 | Odd leaf; asymmetric stack |
| 6-panel | 144–216 in | ~132–200 in | 3-3 or 6-0 | Large openings; engineered header almost always required |
| 8-panel | 192–288 in | ~176–268 in | 4-4 | Very large openings; steel header typically required |
Heights for exterior residential systems most commonly run from 80 inches to 108 inches, with some manufacturers offering custom heights up to 120 inches or beyond. Standard 80-inch height units (matching typical patio door rough openings) are the easiest like-for-like scenario. Going taller usually means more glass, more panel weight, more demand on the top track and header, and a higher price per panel.
The structural and framing work you should actually budget for
This is the part of the project where surprises live, and where I always tell homeowners to build a contingency into their budget. Even a like-for-like swap can reveal rotted king studs, a compromised rough sill, or a header that was undersized from the original construction. Here's what the scope commonly includes.
Header upgrades
If you're enlarging the opening, the header almost certainly needs to be upgraded. IRC R602.7 span tables govern header sizing for bearing walls, and the allowable span decreases if the header isn't laterally braced to the diaphragm above. A Hawai‘i County building handout quoting IRC R602.7 and header span rules explains that the IRC header span tables govern sizing for bearing walls and explicitly reduce allowable spans when headers are not laterally braced to the diaphragm above. For openings over roughly 120 to 144 inches in a typical single-story bearing wall, you're typically looking at engineered lumber (LVL beam) or a steel lintel. LaCantina's published guidance calls for a maximum header deflection of L/720 or 1/4 inch, whichever is less. Budget at least $800 to $2,500 or more for a custom LVL header installation including labor, depending on span and wall configuration.
Trimmer and king studs
Wider openings mean more trimmer (jack) studs per side, as specified in the IRC header span tables. If your original opening had one trimmer stud per side and you're upgrading to a span that requires two, that framing work adds time and cost. It also means temporarily supporting the load above while the existing framing is modified, which typically requires hiring a contractor with shoring equipment.
Sill pan and flashing
A proper sill pan is non-negotiable for an exterior bifold door. LaCantina and most other manufacturers require a sill pan with a rear leg (back dam) to prevent water from wicking back into the wall cavity. The sill pan needs to be integrated with the wall's water-resistive barrier (housewrap or building paper), and the jamb flashing needs to lap correctly over the top of the sill pan. If the existing rough sill is rotted or if the previous installer skipped proper flashing, budget for sill repair and a new flashing assembly. This is a $300 to $800 add-on at minimum when it's needed.
Threshold and ADA considerations
Exterior bifold systems typically come with a threshold that creates a small step or raised sill at the door. The ADA Accessibility Guidelines cap threshold height at 1/2 inch for new construction (with beveling required above 1/4 inch), with a 3/4-inch exception for existing or altered thresholds in some conditions. Many manufacturers offer flush or low-profile threshold options, but these come with trade-offs on water resistance and sometimes on warranty coverage. If accessibility matters in your home, ask specifically about flush threshold options and whether they maintain the water performance rating.
When replacing your patio door with a bifold isn't the right move
Bifold doors are genuinely impressive, but they're not the right answer for every situation. Here are the scenarios where I'd steer a homeowner toward a different option.
- Exposed, high-wind locations: bifold door systems rely on continuous perimeter seals and panel interlock gaskets that can be challenged by sustained wind-driven rain. Unless you're specifying a system with strong ASTM E331/E1105 water penetration test ratings and an adequate soffit overhang (manufacturers generally recommend at least 24 to 36 inches), an exposed coastal or high-wind location can defeat even good-quality bifold seals over time.
- Very tight budgets: bifold systems cost significantly more than sliding patio doors at equivalent widths. A quality four-panel exterior bifold system from a mid-tier manufacturer typically starts around $4,000 to $6,000 for the unit alone, before installation or structural work. If budget is a hard constraint, a three-panel sliding door or a French door may deliver better value.
- Minimal rough opening with complex bearing wall: if your existing opening is already at the maximum size your wall framing can accommodate without major structural work, the cost of enlarging it may not justify the upgrade. Get a structural engineer's assessment before committing.
- High-traffic rental or commercial properties: the folding hardware and multipoint locking mechanisms on bifold doors require more user understanding and more regular maintenance than a sliding door. In settings where occupants may not operate the door correctly or maintain it, a sliding door is more forgiving.
- Very cold climates with extreme infiltration requirements: while high-end bifold systems can achieve good air infiltration ratings (tested per ASTM E283), the multiple panel joints and meeting stiles in a bifold create more potential leak paths than a single sliding unit. Triple-glazed sliding doors or high-performance swinging French doors may be a better fit for extreme cold climates.
Bifold vs sliding patio doors: which one actually makes sense for your project
I get this comparison question constantly, and the honest answer is that both door types are excellent when they're matched to the right application. The decision usually comes down to clear opening width, budget, structural constraints, and climate. Three-panel sliding doors are worth mentioning here too, because they offer a middle ground between a standard two-panel slider and a full bifold system in terms of opening size and cost. If you're specifically comparing options, consider the best 3 panel sliding patio door as a middle-ground choice (see 91ea7d15-590d-4ee8-9862-64743eec01df).
| Factor | Bifold Door | Sliding Patio Door (2-panel) | 3-Panel Sliding Door |
|---|---|---|---|
| Clear opening | Up to ~90% of unit width when fully open | ~50% of unit width | ~65–67% of unit width (two panels slide) |
| Typical unit width range | 72–288+ in | 60–144 in | 96–180 in |
| Structural header demand | High (engineered header often needed) | Moderate | Moderate to high |
| Unit cost (mid-range) | $4,000–$12,000+ | $1,500–$5,000 | $2,500–$7,000 |
| Installation complexity | High (hardware, tolerances, flashing) | Moderate | Moderate |
| Weather performance | Good to excellent (system dependent) | Very good | Good |
| Maintenance | More (hardware, seals, adjustments) | Low | Low to moderate |
| Best for | Large openings, indoor-outdoor living, protected locations | Everyday use, moderate openings, tight budgets | Wider openings without full bifold cost or complexity |
If your main goal is maximum opening and that indoor-outdoor connection for entertaining, bifold doors are hard to beat. If you're comparison shopping, see our guide to the best bifold patio doors for recommended manufacturers, sizing tips, and performance ratings. For help choosing, see our roundup of the best bi fold patio doors to compare performance, materials, and value. If you want a larger opening than a standard two-panel slider but don't need the full bifold experience or budget, a three-panel sliding door is a genuinely underrated option. And if you're considering a center-hinged patio door for a more classic look with good clear opening in a narrower space, that's worth exploring as a separate category with its own sizing and structural considerations. If you're considering a center-hinged option, see a guide to the best center hinged patio doors for comparisons, sizing guidance, and pros/cons for narrower openings.
Glass, materials, security, and weatherproofing choices
Frame material and glazing choices have a big effect on long-term performance, energy bills, and how much maintenance you'll be doing in five years. For exterior bifold doors, the most common frame materials are thermally broken aluminum, uPVC (vinyl), and wood-clad aluminum. Thermally broken aluminum is the industry standard for high-performance bifold systems: it's rigid enough to support large panels without deflection, handles the hardware loads well, and can be powder-coated in virtually any color. Industry test standards used to assess weather and structural performance of door systems include ASTM E283 (air infiltration), ASTM E331/E1105 (water penetration), ASTM E330 (structural wind loads), AAMA/WDMA/CSA 101 (NAFS) for fenestration performance, and AAMA 501 series for site testing/installation checks Contract specification excerpt listing AAMA/ASTM/NFRC test standards (gov contract attachment). uPVC systems are less expensive and have good thermal performance but are limited in panel size and can feel less premium. Wood-clad systems look beautiful but require more maintenance and are typically more expensive.
For glazing, the minimum you should consider for an exterior bifold in most U.S. climates is double-pane insulating glass with a Low-E coating and argon fill. This combination delivers a U-factor typically in the 0.28 to 0.35 range for the glazing alone, which is where most energy codes land for prescriptive compliance. Triple-pane glass reduces U-factor further (often to 0.18 to 0.22) but adds significant weight to each panel, which increases hardware wear and header demand. ENERGY STAR certification and NFRC ratings are your benchmarks here: compare U-factor and SHGC (solar heat gain coefficient) numbers across systems using NFRC labels to make an apples-to-apples comparison. ENERGY STAR-certified products may also qualify for federal tax credits, so confirm current program eligibility when you're shopping.
Building codes require safety glazing (tempered or laminated glass) in hazardous locations, and exterior door panels almost universally qualify as hazardous locations under IRC glazing provisions. Most manufacturer systems come standard with tempered glass. If security is a priority, ask specifically about laminated glass options: laminated glass holds together when broken (versus tempered, which shatters into granules) and provides significantly more resistance to forced entry and impact. Pair laminated glass with a multipoint locking system: bifold doors should never rely on a single-point latch. Multipoint locks engage at the top, bottom, and mid-points of the locking panel and are far more resistant to prying and spreading attacks than a single-point mechanism. Standards to look for include BHMA/ANSI A156 series compliance and, for British-sourced hardware, relevant EN multipoint lock ratings.
Screening, covering, and accessory considerations
This is the part that often catches homeowners off guard. Bifold doors, because of how the panels stack and fold, don't work with standard screen door setups. Your options are retractable screen systems that mount to one jamb and pull across the opening, or a separate screen door track parallel to the bifold system. Retractable screens are by far the most popular solution and are offered as accessories by most major manufacturers. They're not cheap (budget $800 to $2,000 for a quality retractable screen system on a 120-inch opening) but they solve the bug problem without compromising the aesthetics when the door is open. Some premium folding patio door systems also offer integrated shade or blind systems mounted within the frame, which can be worth considering if your opening gets significant afternoon sun.
DIY vs. professional installation: the honest trade-off
I'll be direct here: installing an exterior bifold door system is not a typical DIY project. It's possible for a very experienced DIYer who is comfortable with framing, flashing, and hardware adjustment, but the margin for error is small. Bifold door panels are heavy (a single aluminum-framed panel with double-pane glass can weigh 80 to 120 pounds or more), the top track must be perfectly level to within very tight tolerances, and the sill flashing detail is critical to preventing water damage. A mistake in the flashing or a header that's slightly undersize can lead to leaks, binding panels, and warranty voidance. Most manufacturers' warranties are also conditioned on installation by a qualified installer following the specific installation manual.
Professional installation typically runs $1,500 to $4,000 for the labor portion of a standard four-panel bifold replacement, not including structural work or permits. If structural modifications are needed, add another $2,000 to $6,000 or more depending on scope. Get at least three quotes, and make sure each contractor is quoting the same scope: ask specifically whether the sill pan flashing, perimeter sealing, and hardware adjustment are included, because some installers quote door-unit-only installation and bill those items separately.
Your decision checklist before you commit
Before you finalize anything, work through this checklist. It captures the most common decision points that separate a smooth project from a painful one.
- Confirm whether the target wall is load-bearing and inspect the existing header condition.
- Measure the actual rough opening (not the old door unit) and note whether you need to enlarge it.
- Contact your local building department and confirm the permit requirement for your specific scope.
- Choose your panel count and configuration, and verify the ordered unit dimensions fit within your rough opening with correct tolerances.
- Confirm your sill and rough framing are in good condition and suitable for a sill pan flashing detail.
- Get manufacturer-specific header deflection requirements and compare them against what your framing can provide.
- Select frame material, glazing (U-factor, SHGC, safety glass type), and confirm NFRC ratings.
- Specify multipoint locking and confirm glazing meets your security requirements.
- Plan for screening (retractable screen or other solution) as part of the overall budget.
- Decide on DIY vs. professional installation and get itemized quotes that include flashing, hardware adjustment, and perimeter sealing.
- Build in a 15 to 20 percent contingency for structural surprises, especially if the existing framing is original to an older home.
FAQ
Can I replace my existing patio doors with bifold (folding) doors?
In most cases yes — replacing sliding or French patio doors with bifold doors is commonly feasible. A like‑for‑like swap that fits the existing rough opening and does not alter load‑carrying members is the simplest route. If the change enlarges the opening, removes or modifies a structural header, or alters load paths, you’ll need a structural assessment and (very likely) a building permit and engineered header.
What measurements do I need before deciding or ordering bifold doors?
Measure and record: 1) Finished opening width and height (interior trim to trim); 2) Rough opening width and height (framing-to-framing) if accessible; 3) Headroom clearance above opening and floor clearance/sill conditions; 4) Wall depth and finish thickness to confirm jamb depth; 5) Sill/threshold profile and drainage/weep availability; 6) Check for obstructions where panels stack or fold (interior furniture, exterior deck/steps); 7) Note existing header construction (size, material) and whether the wall is load‑bearing. Manufacturers typically request finished and rough sizes and allow small installation tolerances (Origin recommends ~1/4" clearance allowances).
What structural/frame work is commonly needed?
If you keep the same opening size and header, work is usually limited to removing the old unit, prepping a sill pan and flashing, and installing the new frame. If you enlarge the opening or remove a bearing header, you’ll need to install a properly sized header per code or an engineered steel header, add trimmer/jack studs, and ensure lateral bracing. Heavy, top‑hung bifold systems often require a rigid, low‑deflection header; manufacturers (LaCantina, Origin) recommend engineered headers for large spans and limit allowable deflection (e.g., L/720). A structural engineer or qualified contractor should design header/trimmer work.
How are bifold doors sized and what panel configurations are available?
Bifold systems are ordered to fit an opening and come in multiple panel counts and stacking arrangements. Common configurations: 2‑panel (1‑1), 3‑panel (2‑1 or 1‑2), 4‑panel (2‑2, 3‑1), and larger multi‑leaf sets. Panel widths and minimums depend on manufacturer (example: Origin lists minimum widths around 15.75" for some odd‑leaf panels and ~28" for even‑leaf sets). Panel height choices match common door heights but check maximum widths/heights per product. Decide on stacking side, handedness, whether you want an active/traffic door, and whether panels fold inward or outward. Consult a Patio Door Sizes Guide or manufacturer configuration chart when planning.
How do bifold doors compare to sliding, French, and center‑hinged doors?
- Sliding: sliding doors have a smaller unobstructed opening and less header/sill demand but are often better for tight headroom. Bifold doors open the whole aperture for maximum flow but require space for folding panels and stronger headers. - French (in‑swing/out‑swing): French doors provide a simple pair of doors with good weather seals and simpler thresholds but smaller clear openings and limited span capability without center mullions. - Center‑hinged (lift‑and‑slide/center opening): center‑opening systems provide wide clear openings with fewer moving parts and excellent weather ratings (lift‑and‑slide often better for wet climates). Tradeoffs: bifolds maximize clear opening and sightlines; lift‑and‑slide often wins on long‑term weather performance and easier sealing; sliding is compact and economical.
What material and glazing choices should I consider?
Materials: aluminum (slim sightlines, high strength, corrosion resistant), wood (warmth, thermal mass, higher maintenance unless clad), fiberglass/thermally broken aluminum (good thermal performance). Glazing: double or triple IGUs, Low‑E coatings, and gas fills (argon/krypton) improve energy efficiency (NFRC U‑factor/SHGC ratings). Safety glazing: tempered or laminated glass is often required in door hazard locations. For security and forced‑entry resistance choose laminated/attack‑resistant glazing and heavy multipoint locking systems.