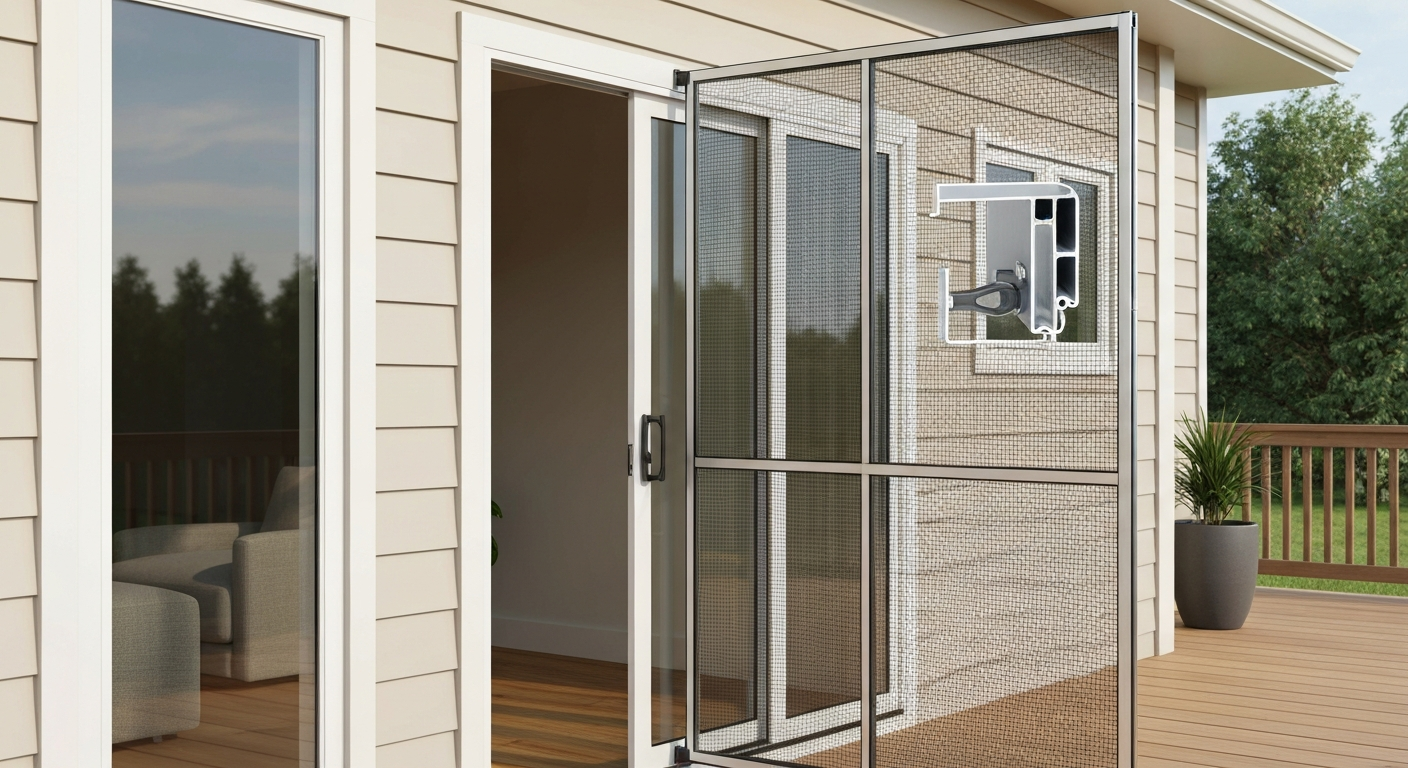
Window and door screen shops, local handymen, and big-box-savvy homeowners all rescreen patio doors regularly. If you just need a simple replacement, a patio door bug screen is an inexpensive DIY fix available in standard sizes. The job typically costs anywhere from under $10 in DIY materials to $25–$300 per panel when you hire a professional, and the right choice depends on your door style, the type of screen mesh you need, and how comfortable you are with a spline roller and a utility knife.
Who Rescreens Patio Doors: DIY, Pros, Costs & Checklist

Owen Delaney
19 Jul 2026
Who typically rescreens patio doors
There are four realistic options, and none of them is wrong, they just suit different situations.
Specialized screen repair companies
These are the people who do nothing but screens all day. Search any contractor directory and you will find shops that list patio and slider rescreening as a core service, covering mesh replacement, spline, rollers, and full frame repair. Angi, Screen Repair company listings (Westminster, CA) shows specialized screen-repair companies listing patio/slider rescreening, including mesh, spline, rollers, and frame repair, as a core service Angi — Screen Repair company listings (Westminster, CA). They carry every mesh type in the van, finish the job in an hour, and usually guarantee the work. For standard sliding patio door panels, most quote $50–$150 per panel including labor. They are the fastest, most reliable option if you have multiple damaged screens or specialty mesh (solar, pet-resistant, heavy-duty).
General handymen
A competent handyman can rescreen a standard sliding door panel in 30–45 minutes. Rates vary by market, but expect $40–$100 per hour including a basic markup on materials. The risk is that a generalist may not stock specialty mesh and may not know the compatibility quirks of retractable or top-hung screen systems. For a straightforward fiberglass mesh swap on an aluminum frame, though, a handyman is a perfectly sensible call.
Window and door replacement services
Companies like Pella, Andersen, Milgard, and JELD-WEN all maintain parts and authorized service channels. If your door is under warranty or uses a proprietary retractable screen system (Andersen's LuminAire is one example), going back to the manufacturer's service network is often the smartest move. Authorized dealers stock OEM parts, know the exact track configurations, and will not void your door warranty. Expect higher labor rates, $100–$300 per panel is realistic, but the compatibility headaches disappear.
Homeowners doing it themselves
I have rescreened a few sliding door panels myself and it is genuinely one of the more approachable home repair jobs. A roll of Phifer fiberglass mesh (72 in. x 50 ft.) costs under $50 at Home Depot, a spline roller runs about $5–$8, and the only other thing you need is the right diameter spline and a utility knife. Total material cost for one standard panel: $10–$30. That said, DIY works best on groove-and-spline aluminum frames. Retractable cassette screens, bifold screens, and large enclosure panels are a different story.
Enclosure and screen-room specialists
If you have a screened lanai, pool enclosure, or sunroom, the scale of the job puts it firmly in professional territory. Enclosure companies like local screen builders handle full rescreens of large framed structures, replacing individual panels or the entire mesh field. For example, Sanford Screen Builders, Pool, Patio & Lanai Enclosures (rescreen & enclosure services) advertises full rescreen, panel replacement, and enclosure repairs for pool and lanai structures Sanford Screen Builders — Pool, Patio & Lanai Enclosures (rescreen & enclosure services). Prices for full enclosure rescreens can run from several hundred to several thousand dollars depending on square footage, mesh type, and frame condition. This is not a weekend DIY project.
DIY or hire a pro? Run through this checklist first
Before you grab a spline roller or pick up the phone, run through these decision points. They cover cost, skill, and compatibility, the three things that actually determine which route makes sense.
| Decision factor | Lean DIY | Lean pro |
|---|---|---|
| Frame type | Standard aluminum groove-and-spline frame | Retractable cassette, top-hung, or proprietary system |
| Door style | Single sliding panel | Bifold, French multi-panel, or pocket door |
| Mesh type needed | Standard fiberglass or charcoal insect screen | Solar/privacy, pet-resistant, or heavy-duty TuffScreen |
| Number of panels | 1–2 panels | 3 or more panels, or full enclosure |
| Frame condition | Frame is straight, corners are tight | Bent frame, broken corners, or damaged rollers |
| Warranty status | Door is out of warranty | Door is under manufacturer warranty |
| Your comfort level | Comfortable with basic tools and measuring | Limited DIY experience or no tools on hand |
| Cost sensitivity | Materials only: $10–$30 per panel | Budget allows $50–$300 per panel for labor + parts |
If most of your answers land in the DIY column, buy a mesh roll and get started. If two or more pro factors apply, the time and frustration savings from hiring out almost always justify the cost difference.
How your door style changes the rescreening job
Door style has a bigger impact on the rescreening process than most people expect. The track system, the way the screen panel attaches, and even whether a screen is possible at all varies significantly between door types.
Sliding patio doors
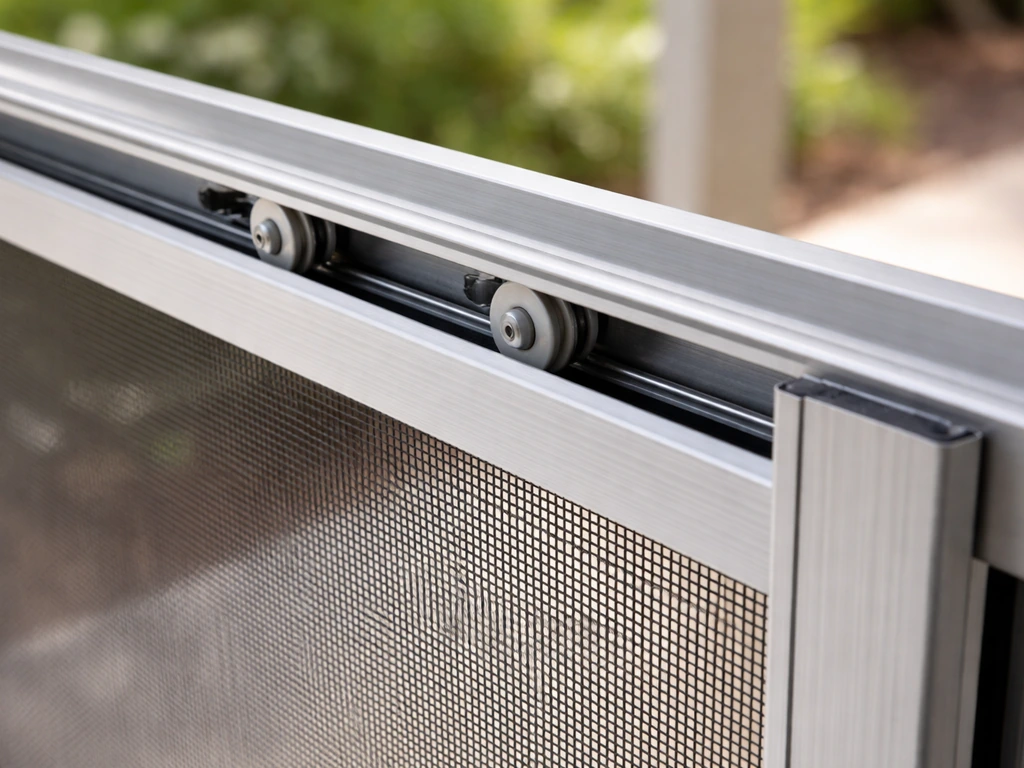
This is the easiest case. The screen panel rides in its own track alongside the door panel and lifts out with minimal effort, usually just tilt the bottom out and lift up. Most sliding screens use standard groove-and-spline frames that are completely DIY-friendly. Where it gets more involved is the top track. The screen needs a clean, functional top track to roll and seat properly. If your track is bent, filled with debris, or was never designed for a screen, you will need to assess it before worrying about the mesh itself. Milgard and other manufacturers publish detailed adjustment procedures for sliding screen doors that cover roller height, track alignment, and removal steps, worth reading before you start.
French patio doors
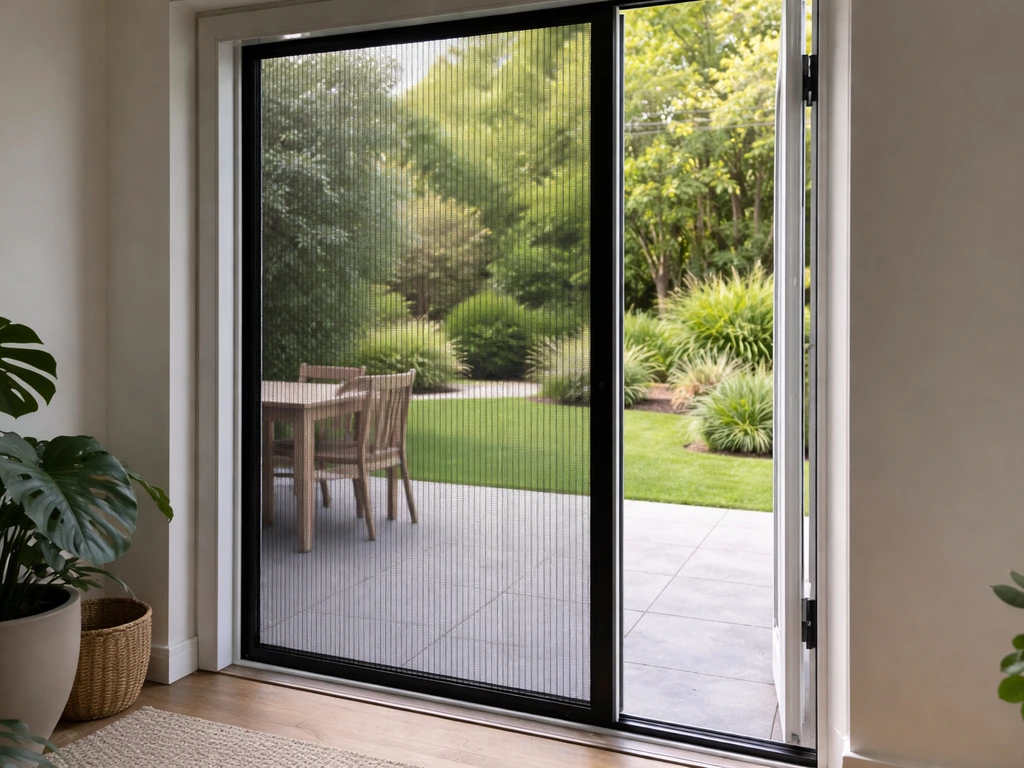
French doors swing open, which means a traditional sliding screen track does not work. Options here are retractable screens (which mount in a cassette at the side or top of the opening and pull across when needed), hinged screen panels that mirror the door swing, or magnetic snap-on screens. Retractable systems from brands like Phantom Screens are supplied and installed by authorized dealers, these are not off-the-shelf DIY kits. JELD-WEN's installation documentation for retractable patio door screens is explicit that the opening must be square and plumb to specific tolerances, and that certain accessory trim pieces can interfere with the cassette mount. If your French doors have decorative casing or sidelights, get a professional measurement before ordering anything.
Bifold and multi-panel doors
Bifold and stacking panel doors create wide openings that standard screen panels cannot span. The typical solution is a retractable screen system sized to the full opening width, or a separate sliding screen panel that parks to one side. Either way, this is custom work. The screens are generally supplied by specialized manufacturers and installed by dealers. Do not expect to find an off-the-shelf panel at a hardware store that fits a 12-foot bifold opening.
Pocket doors
Pocket sliding doors present the same basic track-and-panel setup as standard sliders but with tighter clearances because the door panel disappears into the wall cavity. Screen panel removal and reinstallation can be fussier, and a bent or misaligned frame is harder to fix in place. If the existing screen panel is damaged beyond mesh replacement (broken frame corners, damaged rollers), this is a job for a pro who can pull the panel and work on it properly.
Do patio doors come with screens? New door vs. retrofit options
Not always, and this catches a lot of buyers off guard. Some manufacturers include a screen panel standard with sliding patio doors; others list it as an optional add-on at extra cost. French, bifold, and pocket door configurations almost never include a screen as standard, the screen system is typically a separate purchase and often a separate installation. When buying a new door, always ask explicitly whether a screen is included and what type. For more details on which door styles include screens and retrofit options, see the guide do patio doors come with screens. If you are retrofitting a screen onto an existing door, your options depend on the frame design: some older aluminum sliding doors have no provision for a screen track at all and require a separate surface-mounted track kit to add one.
Screen types worth knowing about
The mesh you choose matters more than most people realize, it affects visibility, airflow, durability, and how well it handles your specific climate and household. For recommendations on specific products and mesh types, see our guide to the best fly screen for patio doors. For help selecting the best screen for patio door, see our detailed buyer’s guide on screen types and performance. Phifer is the dominant mesh manufacturer in North America and their product lines cover every realistic use case.
| Screen type | Best for | Key features | Relative cost |
|---|---|---|---|
| Standard fiberglass (Phiferglass) | General insect control | Flexible, easy to work with spline, won't crease like aluminum | Lowest ($0.50–$1/sq ft) |
| Aluminum insect mesh | Durability in low-pet, low-impact applications | More rigid than fiberglass, prone to creasing | Low |
| PetScreen (Phifer) | Homes with dogs or cats | 7x stronger than standard fiberglass, resists claws and impact | Moderate ($1.50–$3/sq ft) |
| TuffScreen (Phifer) | High-traffic areas, enclosures | Heavy-duty coated polyester, very tear-resistant | Moderate-high |
| SunTex 80/90 solar screen (Phifer) | Sun and heat control, privacy | Blocks 80–90% of solar heat, reduces glare, limits outward visibility | High ($3–$6/sq ft) |
| Retractable screen (Phantom, LuminAire) | French and bifold doors, clean aesthetics | Rolls into cassette when not in use, custom-fit, pro-installed | Highest (custom pricing) |
| Walk-through/magnetic screen | High-traffic doorways | Opens with a push, closes by magnets, hands-free use | Low-moderate |
Which screen type fits your climate and home situation
Matching the screen to your actual conditions saves you from replacing it again in two years. Here is how I think about it by situation:
- Hot and sunny climates (Southwest, Southeast, Texas): SunTex 80 or SunTex 90 solar screen is worth the extra cost. It blocks a meaningful portion of solar heat gain through the door opening, reduces glare inside the house, and provides useful daytime privacy. The trade-off is reduced outward visibility and slightly less airflow than standard mesh.
- Coastal regions (salt air, high humidity): Fiberglass mesh outperforms aluminum here because it does not corrode. Phiferglass is a reliable, budget-friendly pick. For frames, check that your screen frame is aluminum or vinyl — galvanized steel frames rust quickly near salt water.
- High-insect areas (Gulf Coast, lake country, anywhere with mosquito pressure): Standard 18x16 fiberglass or aluminum insect mesh is the baseline. If no-see-ums are the problem, upgrade to 20x20 or finer mesh to block smaller insects. Airflow drops a little but the pest control is worth it.
- Homes with pets: PetScreen from Phifer is the default recommendation. Standard fiberglass lasts months with an active dog; PetScreen lasts years. It is thicker, stiffer to work with during installation, but completely worth the upgrade if you have a screen-scratching animal.
- High foot traffic (families with kids, frequent indoor-outdoor entertaining): Walk-through magnetic screen panels work well for doorways that see constant movement and where opening and closing a traditional screen becomes annoying. For something more permanent and higher-quality, a retractable screen retracts completely out of the way when not needed.
How to rescreen a patio door: a practical overview
This covers the standard groove-and-spline aluminum screen frame that comes on most sliding patio doors. For a step-by-step walk through screens for patio doors, see our detailed guide. If you have a retractable or proprietary system, follow the manufacturer's instructions specifically, the general steps below do not apply.
What you will need
- Replacement mesh roll (buy more than you think you need — at least 6 inches wider and longer than the frame)
- Spline (match the diameter to the existing groove — measure with calipers or bring the old spline to the store; common sizes are 0.140 in., 0.160 in., and 0.175 in.)
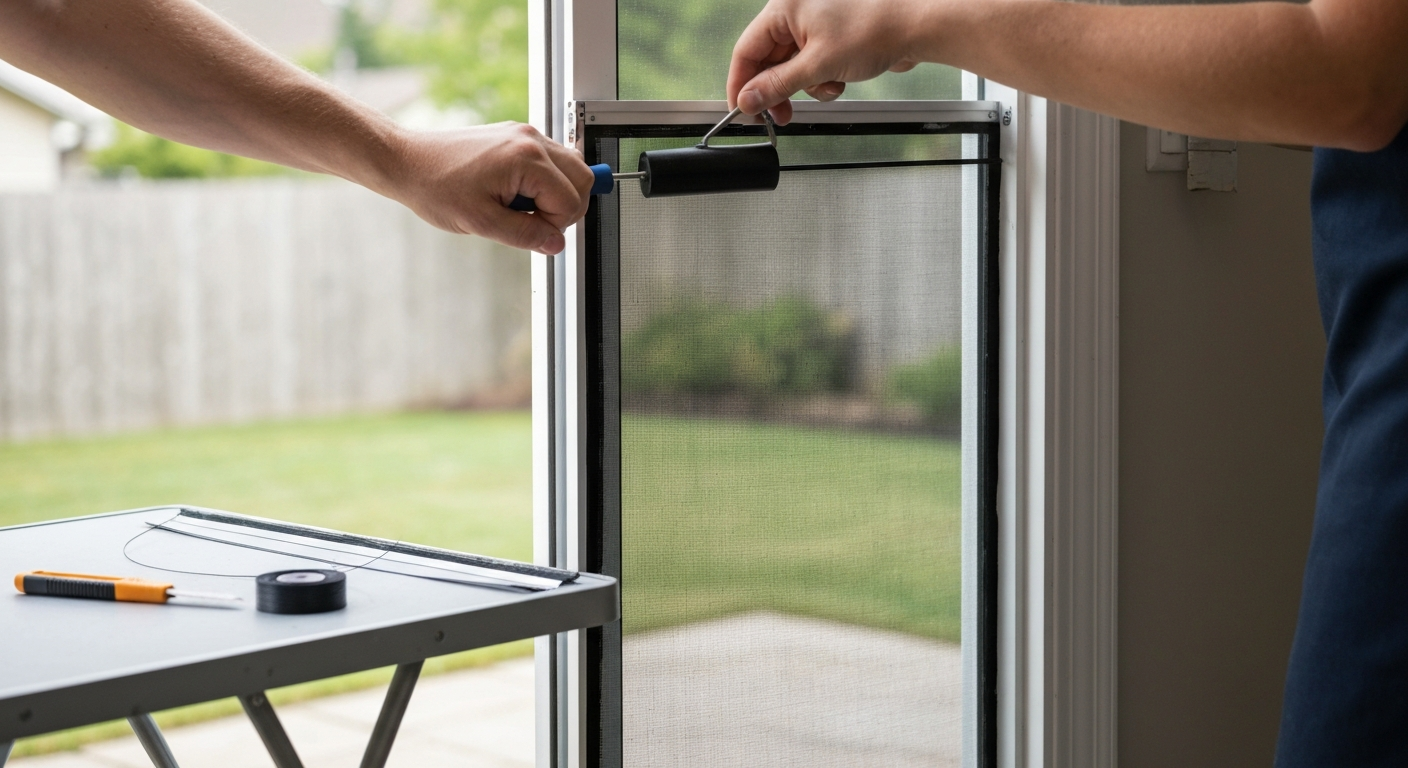
- Spline roller (concave wheel for pressing spline in, convex wheel for pushing mesh into groove first)
- Utility knife and fresh blade
- Flat-head screwdriver
- Tape measure
- Flat work surface (a folding table works; the floor works in a pinch)
Measuring the frame correctly
Measure the outside dimensions of the screen frame, not the door opening. Write down width and height. Your mesh cut should be at least 2–3 inches larger in each direction, you will trim after the spline is set. For the spline, measure the groove depth and width precisely: the spline needs to compress the mesh into the groove and hold it without popping out. Going one size too small is the most common mistake beginners make, the spline will not hold and the mesh will push out under tension.
Step-by-step process
- Remove the screen panel from the door. On most sliding doors, push the panel toward the center of the track to disengage the wheel stop, tilt the bottom outward, and lift up to clear the top track. Set it on your work surface.
- Remove the old spline. Use a flat-head screwdriver to pry up one corner of the spline and pull it out of the groove all the way around. Discard old spline — reusing it is not worth the risk of it failing.
- Pull out the damaged mesh and clean the frame groove with a dry cloth. Any debris in the groove will cause the new spline to sit unevenly.
- Lay the new mesh over the frame with at least 2 inches of overhang on each side. The mesh weave should run square to the frame — eyeball it before you start pressing.
- Starting at one corner, use the convex wheel of the spline roller to press the mesh into the groove along one long side. Work from corner to corner without pulling the mesh tight — just seat it in the groove.
- Do the opposite long side next, applying light tension to keep the mesh flat, then do the two short sides. Avoid over-tensioning — fiberglass mesh will distort and show ripples if you pull too hard.
- Roll the spline into the groove over the mesh using the concave wheel, starting at a corner and working continuously. Overlap the starting point by about 1 inch when you complete the loop.
- Trim the excess mesh as close to the outer edge of the spline as possible using a sharp utility knife. Run the blade at a slight angle toward the frame to get a clean cut without fraying.
- Rehang the panel by seating the top into the upper track first, then lowering the bottom wheels into the lower track. Test the roll and adjust the wheel height if needed.
Common pitfalls to avoid
- Using the wrong spline diameter: too thin and the mesh will pop out, too thick and the spline will not seat fully in the groove. If in doubt, buy two sizes and test-press a short section before doing the whole frame.
- Cutting mesh before the spline is fully set: always finish the entire perimeter before trimming.
- Working on an uneven surface: even a slight bow in your work surface transfers into the frame and creates mesh ripples you cannot fix after the spline is in.
- Skipping the corner check: press the mesh into the frame corners cleanly before running the spline — bunched mesh in a corner is the number one cause of a loose, saggy screen after installation.
- Reusing old spline from a frame with a different mesh thickness: if you switch from aluminum mesh to fiberglass, the spline size that held the old mesh may not hold the new one.
What rescreening actually costs in 2026
To give you a realistic picture, here are the cost ranges across the main options. These are national estimates, local labor markets and mesh choices will move the numbers, but the relationships between options hold.
| Approach | Typical cost per panel | Notes |
|---|---|---|
| DIY — standard fiberglass mesh | $10–$25 | Materials only; mesh roll + spline + roller tool (one-time) |
| DIY — pet-resistant or solar mesh | $25–$60 | Higher mesh cost; same labor as standard |
| Handyman — standard rescreen | $50–$120 | Labor + materials; rates vary by market |
| Screen repair specialist | $50–$150 | Per sliding panel; faster turnaround, wider mesh inventory |
| Manufacturer/authorized service | $100–$300 | Proprietary or retractable systems; OEM parts |
| Full enclosure rescreen (pro) | $500–$3,000+ | Depends on enclosure size and mesh type; lanai/pool cage work |
For a single damaged sliding panel with standard mesh, DIY is almost always worth it, the materials cost under $25 and the job takes about 45 minutes once you have done it once. For retractable screens, specialty mesh, or anything involving French or bifold doors, the professional route delivers better results and avoids compatibility problems that cost more to fix later.
A few maintenance and security notes before you finish
Screens do not last forever even when properly installed. Standard fiberglass insect mesh typically holds up 5–10 years with normal use before it starts to sag or develop small holes. Pet screen and solar screen have similar or longer lifespans depending on exposure. Clean tracks twice a year, a debris-filled track is the single biggest cause of premature screen roller and frame damage. If you notice the screen panel is difficult to slide, check the rollers first: worn or flat rollers are inexpensive to replace and saving the frame is almost always cheaper than replacing the whole panel. On the security side, no standard screen mesh offers meaningful security, a patio door screen is a bug barrier, not a deterrent. If security is a concern for your patio door, that is a separate conversation about door locks, security bars, and door reinforcement rather than screen choice.
FAQ
Who rescreens patio doors?
Specialized screen repair companies and technicians, window & door installers (OEM dealers), authorized retractable‑screen dealers, and general handymen commonly rescreen patio doors. Homeowners can also rescreen themselves for standard groove‑and‑spline frames using retail mesh and spline kits. For large custom retractable systems or top‑hung heavy duty screens, manufacturers and authorized installers (e.g., Phantom Screens, Andersen, JELD‑WEN) typically supply and install the replacement.
Quick decision checklist: DIY vs professional rescreening — which should I choose?
Choose DIY when: frame panels are removable, damage is limited to mesh, you’re comfortable with basic tools, and the door is a standard groove‑and‑spline frame. Choose a handyman or local screen specialist when: you want faster, reliable results for sliding or French doors, need roller/spline/roller-assembly adjustments, or prefer not to handle materials. Choose a door/window installer or authorized dealer when: the screen is retractable, top‑hung, integrated with weather/security features, or still under manufacturer warranty. Choose a specialized enclosure company for large porch/sunroom or pool enclosure rescreens. (See manufacturer resources: Pella, Milgard, JELD‑WEN; pro retractable suppliers: Phantom Screens.)
Step‑by‑step overview to rescreen a standard sliding or hinged patio door (DIY)
1) Remove the screen panel: lift off bottom track or slide out from top/bottom depending on design. 2) Lay frame on a flat work surface and remove spline and old mesh using a screwdriver or pick. 3) Clean frame groove and check frame for damage; repair if needed. 4) Cut new mesh with 2–3 in. overlap on all sides. 5) Position mesh and seat spline into groove with a spline roller, keeping mesh taut but not overstretched. 6) Trim excess mesh flush with a utility knife. 7) Reinstall rollers/adjustments (if present) and test fit and operation in the door track. For manufacturer‑specific details, consult installation guides from Milgard and Pella.
Measuring tips before buying mesh or ordering pro service
Measure the removable screen panel on a flat surface: width (left‑to‑right) and height (top‑to‑bottom) of the visible frame opening. For non‑removable or built‑in systems, measure the door opening (width of jamb to jamb and height floor to header) and note track type (top‑hung vs bottom‑rolling). For retractable or custom systems, measure clear opening and note whether the screen mounts inside or outside the frame and whether the opening is square and plumb—these affect compatibility. When in doubt, photograph the whole door, tracks, and attachment points for pros. See Patio Door Sizes Guide for sizing templates and examples.
Tools & materials list for a DIY rescreen job
Essential tools: utility knife, spline roller (convex & concave if possible), flathead screwdriver/pick, tape measure, straightedge, scissors or snips, rubber mallet (optional), and cleaning supplies. Materials: replacement mesh (fiberglass Phiferglass, PetScreen, SunTex/solar, TuffScreen), appropriate diameter spline, replacement rollers or clips if needed, and a replacement frame panel if severely damaged. Big‑box retailers carry Phifer mesh rolls and spline kits for homeowner projects.
Cost ranges: DIY materials vs professional labor
DIY patch/repair kits: under $10–$30. Full mesh replacement materials: roughly $1–$8 per sq. ft. depending on mesh type and size (fiberglass at the low end; solar/pet/heavy‑duty higher). Professional repairs/replacements for a single sliding panel typically range from $25–$300; custom retractable or large‑opening installs can run hundreds to several thousand dollars. Labor often dominates for complex or large systems; parts are the larger share when ordering specialty meshes or custom retractables.