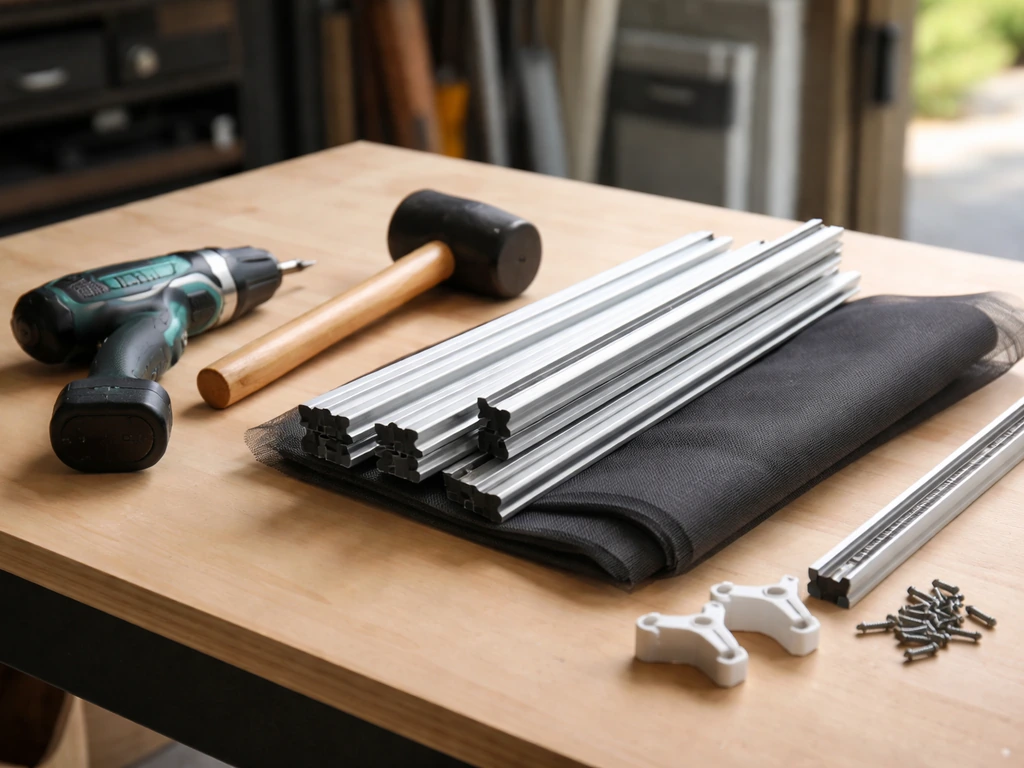
A walk-through screen for a patio door is a screen panel you can actually open and pass through, not a fixed mesh stapled across the frame. It lets you swing open your patio door and step outside without fighting a screen or leaving bugs a wide-open invitation. You can get this as a traditional framed aluminum swing door, a retractable cassette system that rolls out of sight, or a sliding screen panel depending on your door type.
Walk Through Screens for Patio Doors: Measure, Choose, Install

Owen Delaney
4 Jun 2026

If you want the top track for patio screen door performance, focus on the track style and fit for your specific patio door type sliding screen panel. The right choice depends on whether you have a sliding door, French doors, or a bifold setup, and getting that match correct before you measure or buy anything is the most important step.
If you also want the best screen for patio door comfort and fit, focus on matching the screen type to your specific door setup first.
What walk-through screens actually are (and which door types they fit)
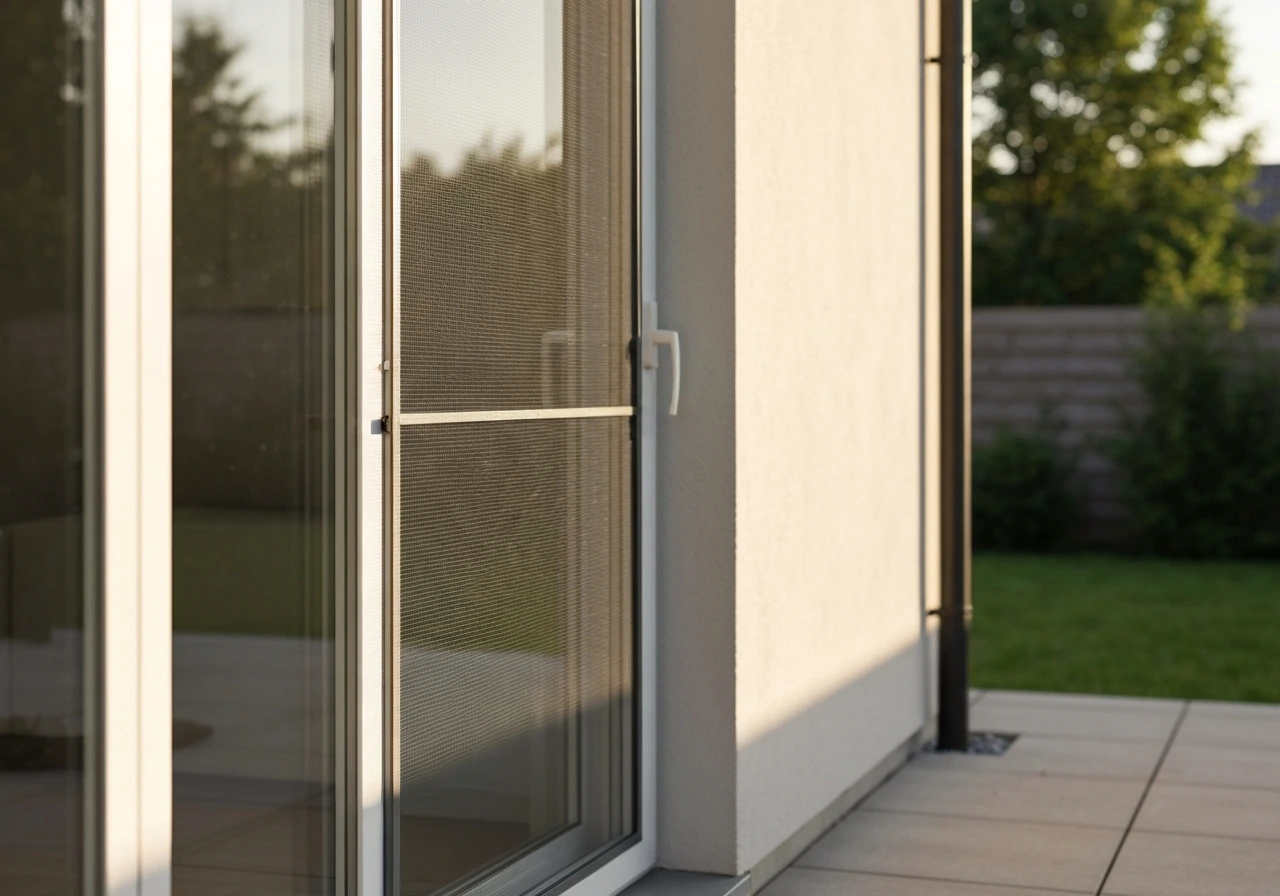
The term walk-through just means the screen itself opens for passage, the same way a storm door does on a front entry. There are three practical formats you'll encounter. First is the swinging screen door: an aluminum-framed panel hinged to one side of the door frame that opens outward or inward on a spring.
Second is the retractable screen: a housing cassette mounts to one side of the frame and the mesh pulls across on a track, then retracts when you're done. V-Track Screens describes retractable patio insect screens as using a housing or cassette and a track system that mechanically retains the mesh in extruded aluminum channels, system dependent a housing cassette mounts to one side of the frame and the mesh pulls across on a track.
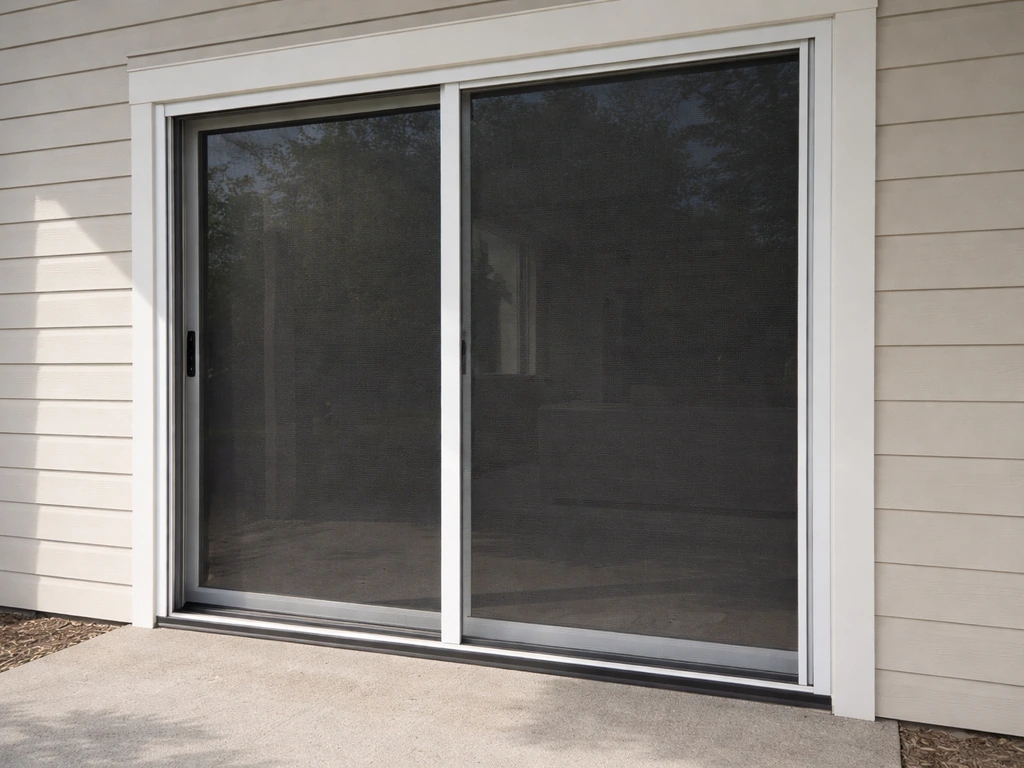
Third is the sliding screen panel, the most common option on sliding patio doors, where the screen rides in the same track as the door itself and slides to one side to open.
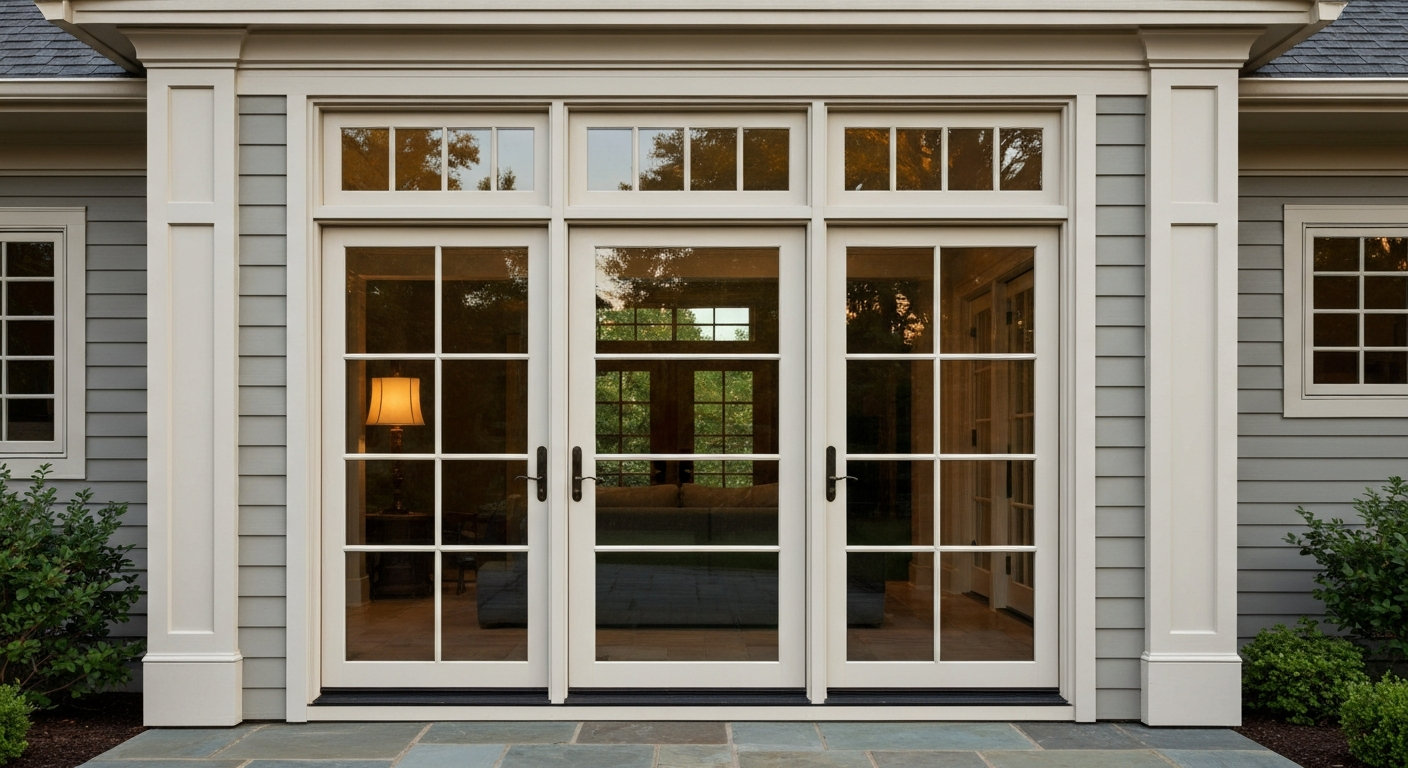
Sliding patio doors almost always use a sliding screen panel in the lower track. A patio door bug screen often uses a sliding screen panel so you can keep airflow while blocking insects. French doors and traditional hinged patio doors are where a swinging aluminum-framed screen door (mounted on the exterior or interior face of the frame) works best.
Bifold patio doors are the most complicated case because the entire door folds flat, which means a traditional swing or slide screen won't track with it. Retractable systems handle bifolds well because the mesh simply retracts into its cassette before you fold the door. For very wide openings, retractable systems can be spec'd as dual-screen configurations, where two cassettes meet in the middle.
| Door Type | Best Walk-Through Screen Format | Notes |
|---|---|---|
| Sliding patio door | Sliding screen panel (track-mounted) | Most common, often sold as a replacement panel |
| French / hinged patio door | Swinging aluminum-framed screen door | Mounts to door jamb, spring-loaded closure |
| Bifold patio door | Retractable cassette system | Retracts before panels fold; dual screens for wide openings |
| Wide openings (over 96 in.) | Dual retractable or dual sliding panels | Single panel sags and drags at large widths |
One thing worth flagging: retractable systems from major brands like Andersen are designed to fit their own door products. Andersen's SlideAway screen, for example, is compatible with their A-Series, 400 Series, and 200 Series gliding patio doors made from 1990 onward. If you have a different brand's door, that system may not drop in without modification. Always verify frame compatibility before ordering a retractable kit.
Measuring your patio door opening the right way
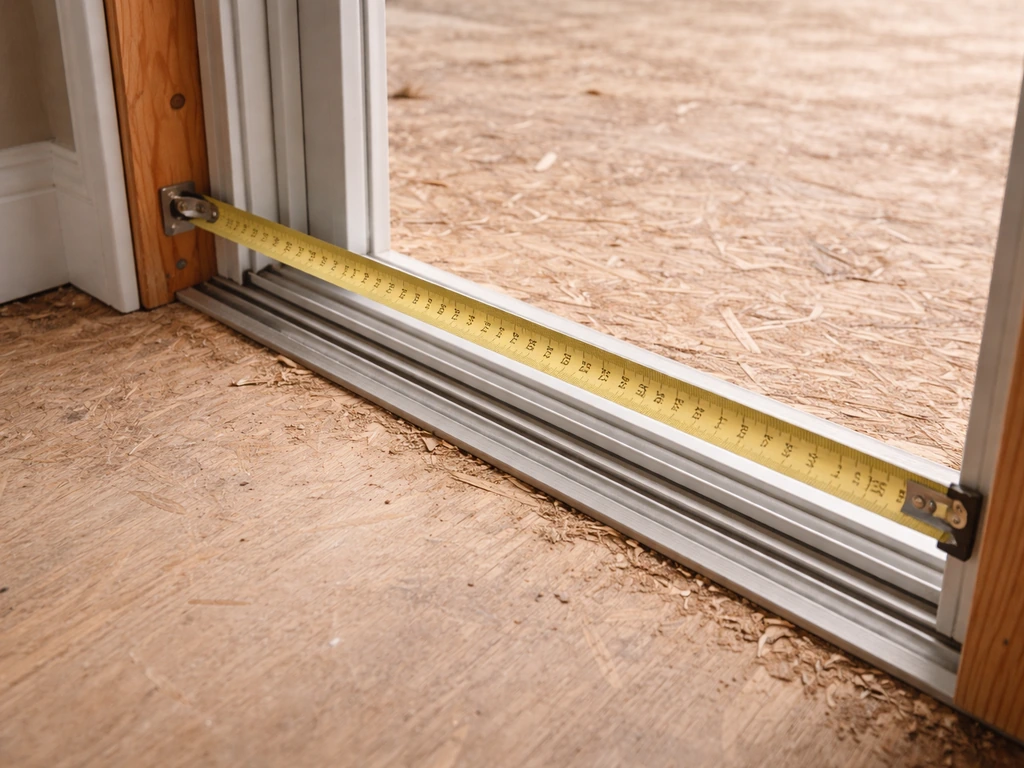
Measuring wrong is the number-one reason a screen comes back from the store and doesn't fit. Don't measure the door panel itself. Measure the rough opening, which is the actual clear space inside the frame where the screen will live. Take three width measurements (top, middle, bottom) and three height measurements (left, center, right), then use the smallest number from each set. Screens need a little clearance to operate, not a gap big enough to let in mosquitoes, so you want a screen that fills the opening tightly with just enough room for the hardware.
For a sliding screen on a standard sliding patio door, measure the track channel width and the track depth separately. The screen panel needs to fit inside the upper track without falling out and sit on the lower track without binding. Most replacement sliding screens have an adjustable roller at the bottom that you can raise or lower about 1/4 inch to fit the track height, but the width has no adjustment, so get that measurement exact.
For a swinging screen on French doors, measure the door frame's rough opening width and height, then note which side is the hinge side and which side has the main door handle. The screen door needs to hinge on the opposite side from the door's hinge so it doesn't block the door from swinging open. Also measure the frame reveal depth (the flat face of the jamb), because the screen door's hinge barrel has to sit flush and the Z-bar frame needs enough wood or aluminum to screw into.
- Width: measure inside the frame at top, middle, and bottom; use the smallest number
- Height: measure inside the frame at left, center, and right; use the smallest number
- Track depth (sliding doors): typically 3/4 in. to 1 in.; check your door spec sheet if you have it
- Frame reveal depth (swing-style): at least 1.5 in. needed for most hinge-mount systems
- Handle/latch clearance: confirm the screen latch won't conflict with the main door handle when both are in the closed position
- Hinge side: note which jamb the main door hinges on so the screen opens in the opposite direction
Choosing the right screen system: mesh, frames, hardware, and security
Not all screen mesh is the same, and picking the wrong one is an easy mistake that costs you a re-screen within a year. Standard fiberglass mesh (the gray stuff most screens ship with) is fine for most households and costs the least to replace. Pet-resistant mesh is heavier-gauge, usually polyester-coated, and resists claw punctures significantly better. If you have a large dog or a cat that likes to lean on doors, budget an extra $30 to $60 for the pet-resistant material. Solar or sun-blocking mesh reduces UV glare and heat gain but cuts visibility slightly, which matters if you want an unobstructed view of the backyard.
| Mesh Type | Best For | Durability | Approximate Upcharge |
|---|---|---|---|
| Standard fiberglass | Most households, basic bug protection | Moderate (3-5 years) | Baseline cost |
| Pet-resistant polyester | Homes with dogs or cats | High (5-8 years) | +$30–$60 for a single panel |
| Solar/sun-blocking | South or west-facing doors with heat gain | Moderate to high | +$40–$80 for a single panel |
| Stainless steel mesh | Security-focused or extreme pet damage | Very high | +$80–$150+ for a single panel |
For the frame, aluminum is the right call for most people. It's lightweight, won't rust, and the anodized or painted finish holds up for years without peeling. Vinyl-framed screens cost a bit less upfront but can warp in high heat or cold climates. Steel-framed units add weight but improve security, which some homeowners want for a ground-level patio door. To pick the best fly screen for patio doors, focus on the right door style and then match mesh type, frame material, and hardware to your needs.
Hardware matters more than most people expect. The latch should be a positive-catch style, meaning it clicks locked without you having to think about it, and ideally has a keyed or thumb-turn lock option if this is a primary entry point from the backyard. A pneumatic or spring-loaded closer keeps the screen from being left open by accident or blown open by wind. For retractable systems, look for a tension adjustment mechanism so you can tune how fast the screen retracts. Cheap retractable screens recoil too fast and damage the mesh over time.
DIY vs. hiring someone: how to decide
Installing a standard sliding screen panel replacement is genuinely easy DIY territory, probably 20 to 30 minutes with a screwdriver and a rubber mallet. You're just removing the old panel, adjusting the rollers on the new one, and dropping it into the track. A basic replacement sliding screen panel runs $40 to $120 at a home center depending on size.
A swinging aluminum screen door is a moderate DIY project. You need to plumb and level the Z-bar frame (the mounting frame that attaches to the jamb), hang the door, and adjust the spring or pneumatic closer. Budget two to three hours if you haven't done it before. Kits from home centers typically run $80 to $200 for the door plus hardware, and most include installation instructions. Mistakes to watch for: not shimming the frame plumb before screwing it in, and over-tightening the closer so the door slams.
Retractable screen systems are where a lot of DIYers hit a wall, particularly if the door frame needs to be prepped or if you're installing on a bifold setup. The cassette housing has to be perfectly level and the tracks have to be parallel or the screen will bind and fail to retract smoothly. If you're comfortable with a drill, a level, and reading installation diagrams closely, a single retractable unit is doable in about 90 minutes. If not, hiring a door and screen specialist typically costs $150 to $350 in labor on top of the system cost. For a bifold or a wide opening with dual screens, professional installation is worth it.
- DIY-friendly: sliding screen panel replacement, standard swing screen door on a French door
- Moderate DIY: swinging screen door with Z-bar frame, single retractable screen on a simple frame
- Hire a pro: retractable systems on bifold doors, dual-screen wide openings, any install where the existing frame is out of square
How to install a walk-through screen (and fix the most common problems)
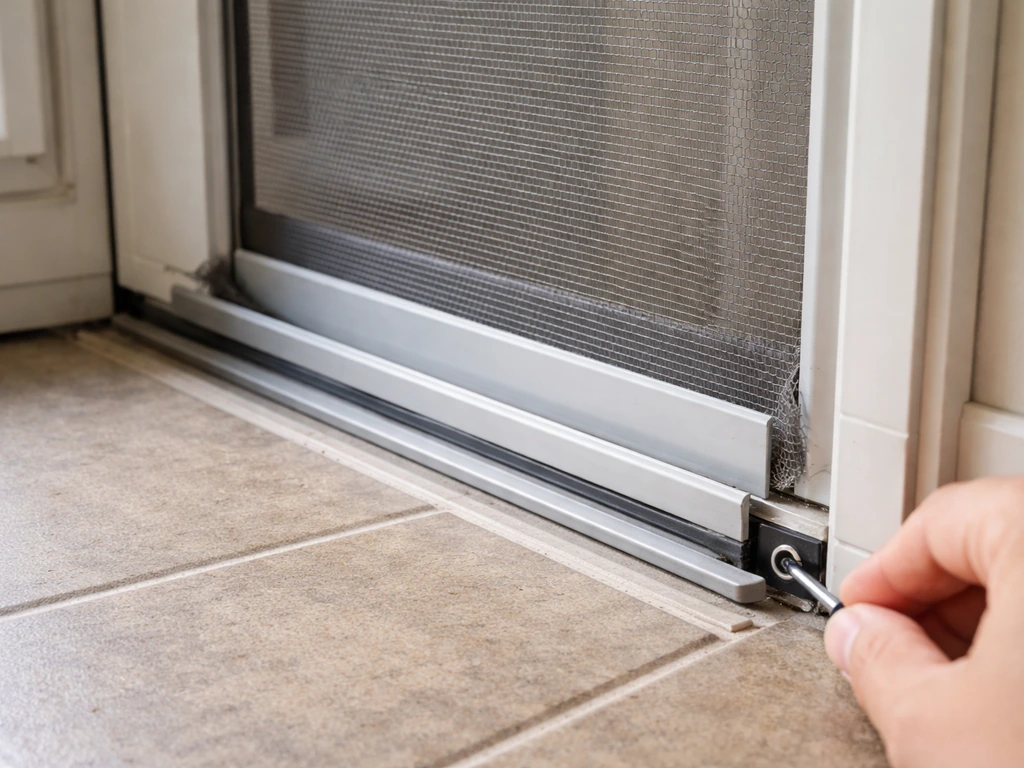
Installing a sliding screen panel

- Remove the old panel by lifting it up into the top track and swinging the bottom out, then lowering it free
- Adjust the new panel's bottom rollers to their lowest position using a Phillips screwdriver
- Tilt the new panel's top edge into the upper track at a slight angle, then press the bottom toward the track
- Raise the bottom rollers until the panel sits level and glides without dragging
- Test the latch: the screen should close and catch without forcing it
Installing a swinging screen door
- Hold the Z-bar frame against the door jamb and check for plumb with a level before drilling any holes
- Shim gaps between the Z-bar and jamb as needed so the frame sits flat
- Drill pilot holes and screw the hinge-side Z-bar in first, then attach the remaining frame pieces
- Hang the screen door on the hinge-side Z-bar and check that the door swings freely without binding
- Attach the latch strike plate on the latch-side Z-bar, aligned so the latch catches with light pressure
- Install the door closer and adjust the closing speed so the door closes firmly but doesn't slam
Common problems and how to fix them
Gap at the bottom of a sliding screen: the rollers need to be raised. Turn the adjustment screw clockwise to lift the panel. A gap at the top means the upper track is worn or the panel is the wrong height. A gap at the sides usually means the width is slightly too narrow, which means you need a wider panel or an edge pile seal (a brush-style strip that fills the gap and is available at hardware stores for a few dollars).
Screen rubbing on the frame: check that the frame is plumb and that the rollers are even on both sides. If one corner drags, adjust the roller on that corner upward in small increments until the panel rides level.
Latch not catching on a swing door: the most common cause is the strike plate is misaligned by even 1/8 inch. Loosen the strike plate screws, close the door slowly, and watch where the latch bolt contacts the plate. Mark it with a pencil and move the plate to match. If the latch barely reaches the plate, the door has sagged; tighten the top hinge screws first before adjusting the strike.
Draft or bug gaps around a retractable screen: the side track seals need to compress fully against the mesh. If there's a visible gap, the track may have shifted. Loosen the track mounting screws, press the track firmly against the door frame, and re-tighten. If the mesh itself isn't reaching the edge of the track, the tension mechanism needs adjustment. Most retractable systems have a small tension dial inside the cassette cap.
Keeping your screen working season after season
Screen mesh collects pollen, dust, and grime fast, especially in spring and fall. Clean it twice a year with a soft brush or the brush attachment on a vacuum, then wipe both sides with a damp cloth and mild dish soap. Avoid pressure washers on standard fiberglass mesh because the force separates the weave and creates micro-tears that bugs exploit. Pet-resistant mesh handles a gentle rinse from a garden hose better.
The aluminum frame and hardware need a quick wipe-down with a damp cloth and a light spray of silicone lubricant on the rollers and tracks once a season. Don't use WD-40 on screen tracks because it attracts grit and makes the rollers stick within a few months. Silicone spray stays clean much longer.
For retractable screens, retract and extend the mesh a few times each spring to make sure the tension is still correct. If the screen retracts sluggishly or creeps back open after you pull it across, the tension spring in the cassette has weakened. Most cassettes let you increase tension by re-winding the spring a quarter or half turn, following the manufacturer's instructions. If the screen snaps back too aggressively and you can hear it slapping the cassette, reduce tension the same way.
At the end of summer (or heading into a harsh winter), inspect the mesh for tears, bent frame corners, and worn weather pile. Small tears in fiberglass mesh can be patched with screen repair tape available at any hardware store for about $5. A tear longer than six inches or any puncture in a corner where the frame meets the mesh usually means it's time to rescreen or replace the panel.
Re-screening patio doors is usually the same basic process, just make sure you match the panel size and frame type time to rescreen or replace the panel. Re-screening a standard aluminum-framed panel costs $20 to $50 in materials and about 30 minutes if you do it yourself with a spline roller.
Where to source and how to confirm compatibility
For sliding screen panel replacements, big-box home centers (Home Depot, Lowe's) carry standard sizes from 28 to 96 inches wide, and many have in-store cutting services for custom widths. Bring your measurements written down and double-check the track style (some older sliding doors use a different profile). If you can't find an exact match, door and window specialty shops can order factory replacements matched to your door's original brand.
For brand-matched retractable systems, buy directly from the door manufacturer's website or an authorized dealer. Off-brand retractable kits exist in the $100 to $200 range, but the cassette tolerances and track quality vary wildly. A well-made retractable system from a name brand runs $300 to $600 installed for a single opening, but the hardware lasts a decade with basic maintenance rather than two or three years for a cheap import.
Before finalizing any purchase, get the model number off your door frame (usually on a sticker inside the frame edge or on the head jamb) and verify compatibility with the screen manufacturer's spec sheet. This is especially important for retractable systems, where the cassette mounting requires a specific frame depth and the track has to sit flush. Skipping this step and relying on rough measurements alone is the fastest way to end up with a system that technically fits but never works quite right.
FAQ
Can I use a walk-through screen on a patio door that already has a fixed insect screen?
Usually, yes only if the existing screen is a removable panel or storm-style insert. If it is a fixed mesh panel screwed or stapled into place, you generally need to remove it or replace the frame first so the walk-through hardware can mount to solid jamb material.
What clearance should I leave when I measure the rough opening for a walk-through screen?
Aim for a snug fit with the smallest workable gap, typically enough for the hardware to move freely without rubbing. As a practical check, if you can slide a thin business card feeler between the frame and where the screen will sit, you likely have enough room, but if you see daylight at the mesh edges you may need a different size or an edge pile seal.
If my sliding screen binds or drags, should I adjust rollers or replace the rollers?
Start by adjusting the bottom rollers in small increments until the panel rides level, and confirm the rollers are set evenly on both sides. Replace the rollers only if they are visibly worn, the wheels are cracked, or adjustment bottoms out and the panel still binds.
How do I know whether my patio door is French-style versus a hinged swing setup that needs a different screen?
French doors usually have two active hinged leafs, each with its own handle, and the door swing determines which way a screen must hinge. If your door swings both ways or uses a multipoint lock, treat it like a hinged assembly and check the hinge side and reveal depth before buying.
Do I need an edge pile seal for every sliding screen, or only when there are gaps?
Only when gaps persist after you confirm the correct width and roller height. If the screen height is correct and the panel sits evenly but you still see insect-sized openings at the sides, add an edge pile seal to fill the remaining space rather than trying to force a smaller panel.
Are pet-resistant screens worth it if my pets only scratch occasionally?
They are usually worth it if your pet leans, jumps, or repeatedly scrapes around the same height. If they only scratch once in a while, consider placing the screen where the behavior happens most, or add a temporary protective barrier while you train, because pet-resistant mesh is heavier and can be less forgiving if the frame is slightly out of level.
What’s the best way to clean walk-through screen mesh without damaging it?
Use a soft brush or vacuum brush attachment first, then wipe with a damp cloth and mild dish soap. Avoid wetting the frame joints excessively because trapped moisture can loosen splines or promote corrosion on steel hardware.
Why does my retractable screen sometimes retract slowly even when it seems level?
Check that the side track seals are compressing properly against the mesh, and confirm the track length is not shifted. Even small track misalignment can add drag, so loosen the track mounting screws, press firmly, and re-tighten rather than increasing tension as the first step.
Can I patch a small tear in fiberglass mesh or should I rescreen the whole panel?
Patch small tears only when the damage is near the center of the mesh area and the frame corners are still straight. If the tear is longer than about 6 inches or located near a corner where the mesh meets the frame, replacing the panel is typically more reliable because the tensioning at the frame can fail even after patching.
Will retractable systems work on bifold patio doors if I’m installing it myself?
Often, but it depends heavily on cassette clearance and how the folds collapse, which is why compatibility varies. If your bifold requires the screen to move out of the fold path, professional installation is safer, because misplacement of cassette level or track parallelism can cause binding during every cycle.
What model-number info matters most when verifying compatibility for brand-matched retractable screens?
The door frame depth and the head jamb or frame profile are usually the critical details, not just the rough opening dimensions. Use the model number from the frame sticker, then confirm the specified cassette mounting depth and track placement in the screen manufacturer’s spec.