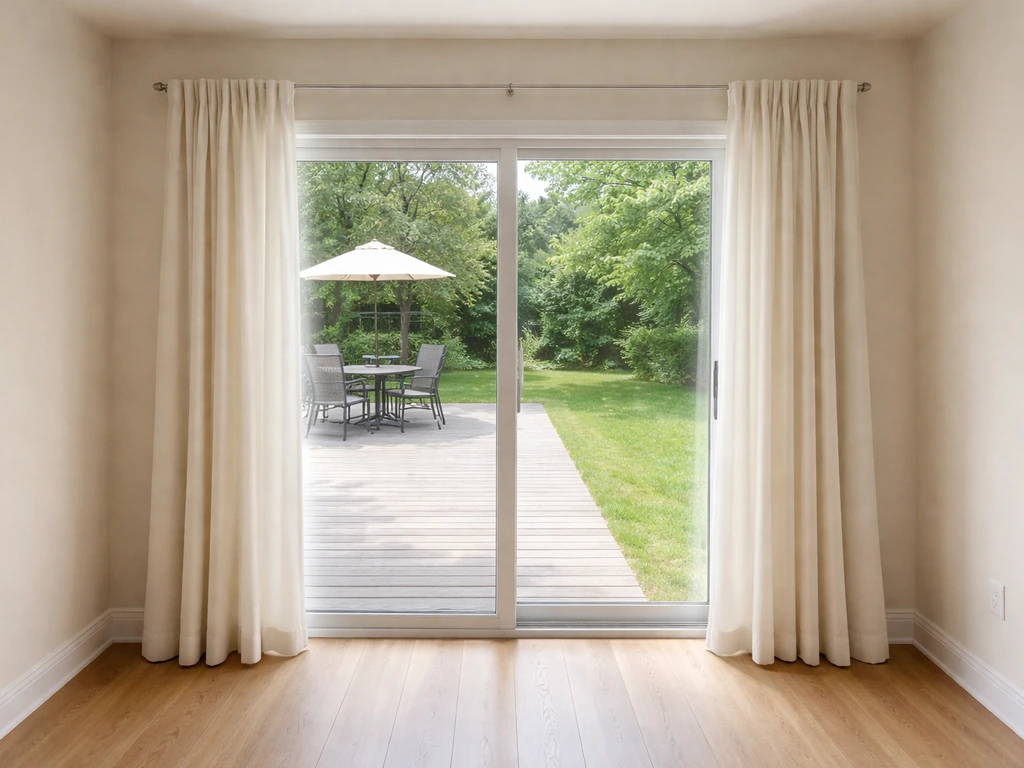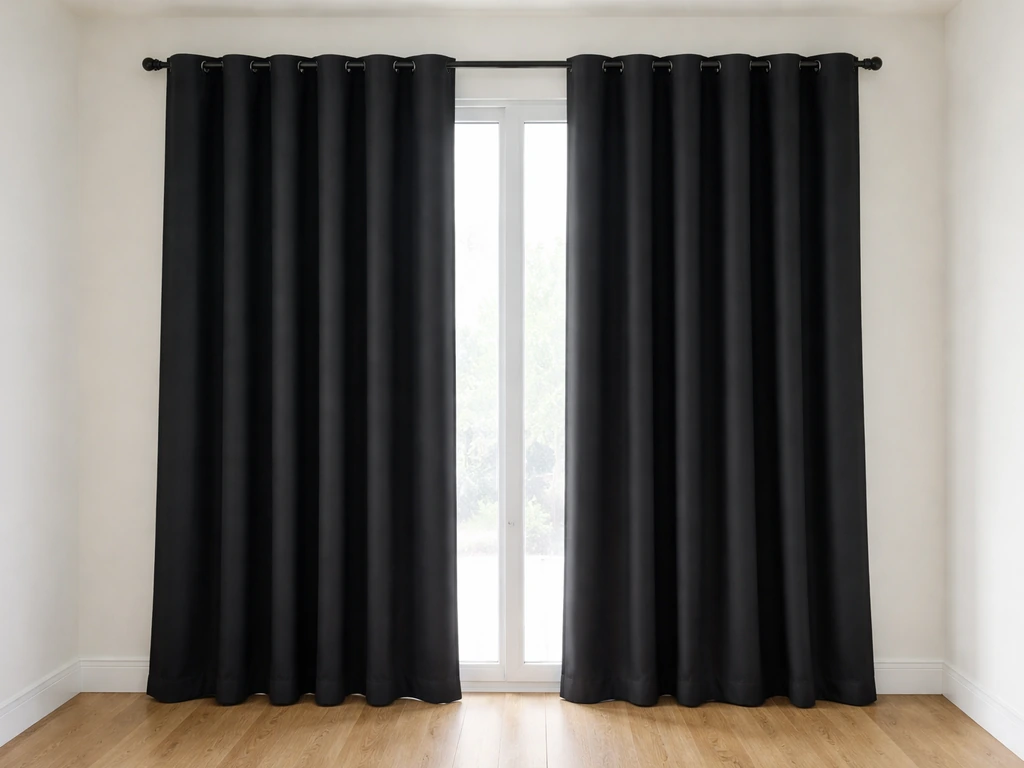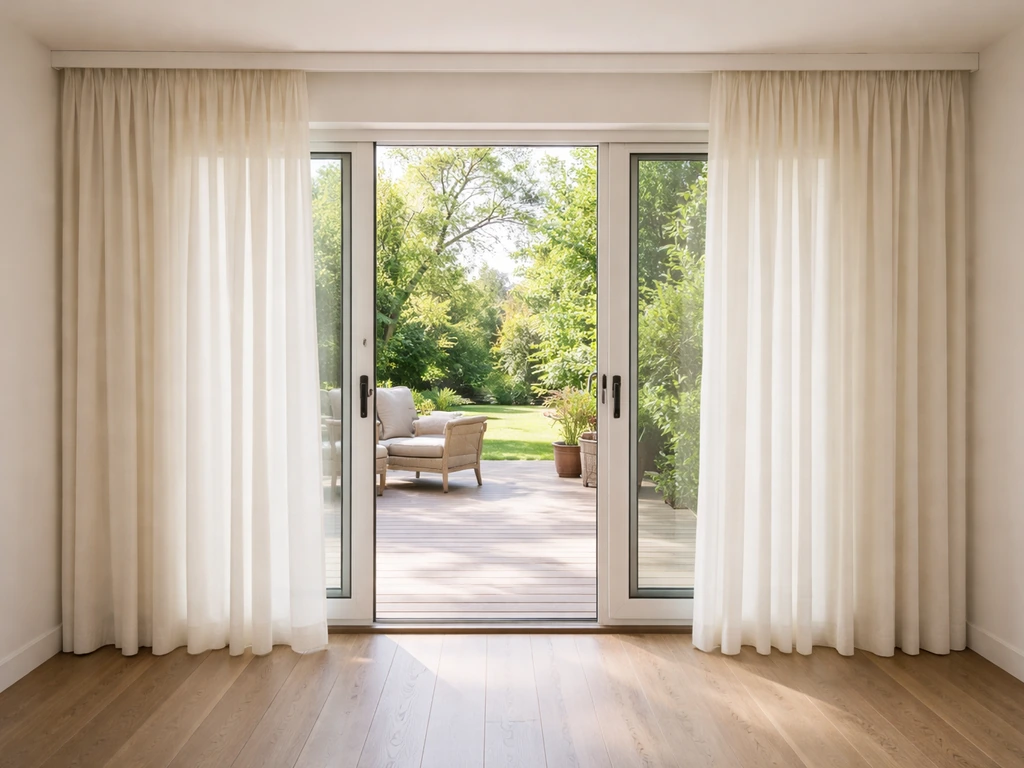
Thermal drapes for patio doors are one of the cheapest, fastest ways to cut drafts and trim your heating and cooling bills without touching the door itself. A well-chosen, properly hung pair of heavy thermal-lined panels can meaningfully reduce heat transfer through your glass, block sunlight in summer, trap warmth in winter, and make that corner of your home feel noticeably more comfortable year-round. The catch is that patio doors are big, they slide or swing in ways standard windows don't, and the wrong drapes hung the wrong way either block the door or do almost nothing for insulation. This guide walks through every decision you need to make: door type, fabric and lining, panel count, sizing, hardware, and installation.
Best Thermal Drapes for Patio Doors: Measure, Buy & Install.

Owen Delaney
20 Jul 2026
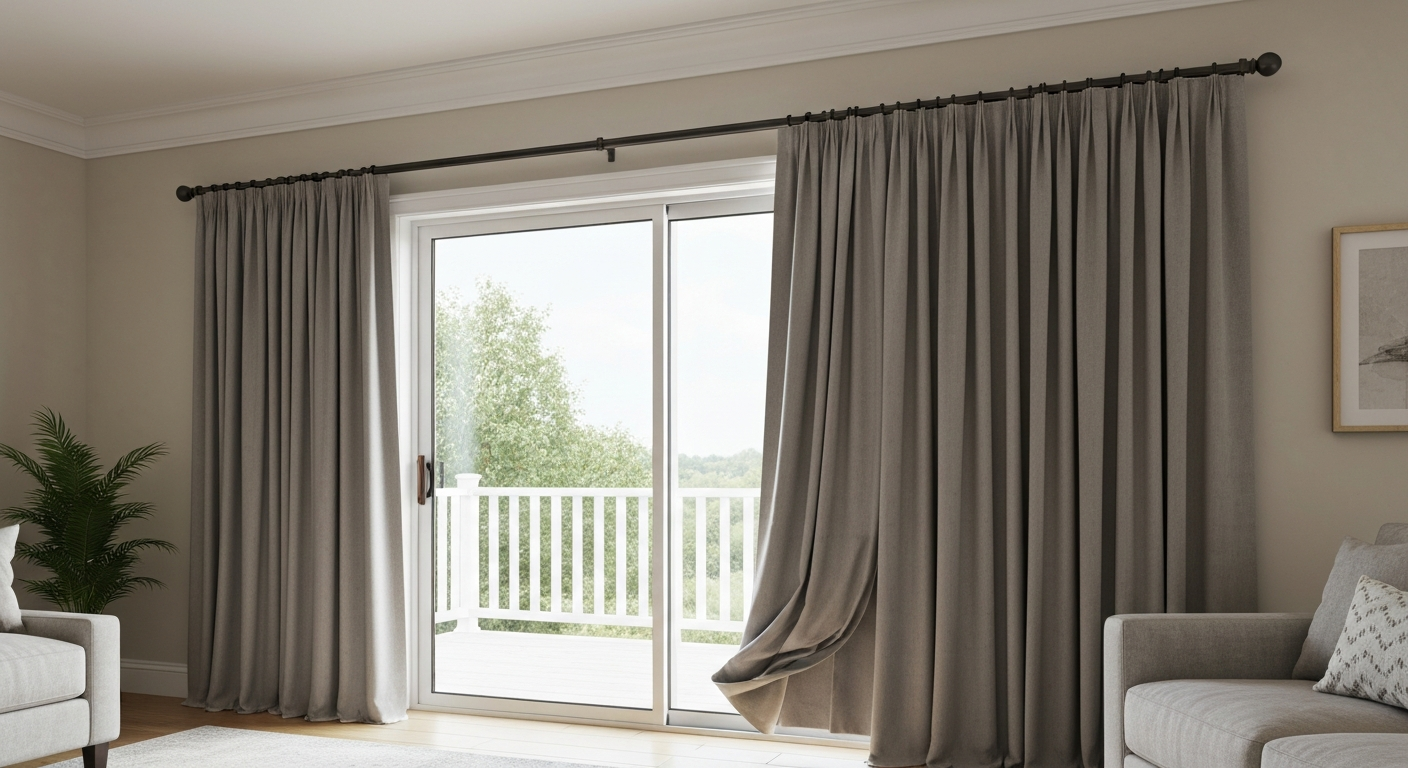
Why thermal drapes make sense for patio doors specifically
Patio doors are typically the largest glazed opening in a house. A standard two-panel sliding door runs 72 inches wide by 80 inches tall, and larger 96-inch and 8-foot configurations are common. All that glass is beautiful, but it's also a massive thermal weak point. Single or even double-pane glass has far lower insulating value than your insulated wall, and even a high-performing low-e door loses significantly more heat per square foot than the surrounding wall. According to modeling work published by Lawrence Berkeley National Laboratory for the U.S. Department of Energy, window attachments like lined drapes materially reduce whole-window U-factor values, especially when panels fit well and edges are sealed.
The practical payoff hits three areas at once. First, energy: thermal drapes create a still-air buffer between the cold glass and your living space, which is the same principle as double glazing, just applied on the room side. Second, comfort: radiant chill from a large glass panel on a January night makes the whole room feel cold even when the thermostat reads 70°F. Heavy lined drapes cut that radiant effect directly. Third, light control: patio doors often face south or west, meaning afternoon glare and solar heat gain are real problems in summer. A good thermal drape handles all three.
How your patio door type changes the drape setup
The single biggest variable isn't the fabric, it's the door type. The way your door opens determines what hardware you can use, how much clearance you need, and how the panels need to stack when open.
Sliding patio doors
Sliding doors are the most common configuration in U.S. homes. One panel is fixed, one slides. The biggest challenge here is stack-back: when you draw the drapes open, all that gathered fabric has to park somewhere, and it cannot park in front of the sliding panel's travel path. Trade guidance calls for extending the rod or track 6 to 12 inches past each side of the door frame so the stacked fabric clears the opening completely. If you have a tight wall return on one side, a bypass track or a one-way draw with a single large panel pulling to the wall side can work instead. Motorized traverse tracks are worth considering for very wide or very heavy thermal panels on sliding doors because you get consistent, hands-free operation and the fabric stacks evenly.
French patio doors
French doors swing open, so floor-length panels hung in front of them either have to part wide enough for both door leaves to swing clear, or you use door-mounted panels (tied-back or banded panels attached to each door leaf individually). The door-mounted approach looks clean but limits how well you can seal the edges. A rod mounted well above and wide of the frame, with panels that draw fully to each side wall, is the better thermal solution because you can overlap the center and return the edges.
Hinged/single-panel doors
A standard hinged patio door behaves like an oversized entry door. It's the simplest case: one curtain rod above the frame, panels that part or draw to one side. You still need enough stack-back clearance so the door can swing fully open without dragging fabric across the floor or catching on the hardware.
What to look for when buying thermal drapes
Retail listings use 'thermal' loosely, so you need to look past the label and check actual construction. Here are the criteria that matter.
- Thermal lining or backing: Look for panels that explicitly state a thermal foam backing, fleece lining, or multi-layer construction. A thin acrylic coating is not the same as a bonded foam or woven fleece layer.
- Fabric weight: Heavier fabric (typically polyester or poly-cotton blends in the 250–350 gsm range for thermal panels) holds its shape, hangs better, and insulates more effectively than lightweight sheers or thin decorative panels.
- Weave density and opacity: Tighter weaves reduce air infiltration through the fabric itself. Blackout-rated panels are typically tighter woven or coated, which also improves thermal performance.
- Panel width and number: A single narrow panel that barely covers the door does almost nothing thermally. You need full coverage plus overlap.
- Header type: Grommets, rod-pocket, back-tab, and pinch-pleat headers all affect how much fullness you get and how the panel hangs. Pinch-pleat and pencil-pleat headers give you more controlled fullness for a denser stack.
- R-value or equivalent thermal resistance: Some manufacturers publish an R-value or equivalent insulating value. A single-layer lined drape typically achieves roughly R-1 to R-2; multi-layer or foam-backed panels can reach R-3 to R-4 in laboratory conditions. These values assume close contact at edges and top.
- Certifications: Look for panels tested or rated by the Attachments Energy Rating Council (AERC) methodology if energy performance is your primary goal.
Understanding thermal performance claims: R-value, thermal backing, and multi-layer construction
When a product says 'thermal' on the label, it usually means one of three things, and they are not equivalent. A thermal backing is typically a thin layer of white or silver acrylic foam bonded to the back face of the decorative fabric. It adds minimal insulation on its own but does reduce air permeability and some radiant heat transfer. A thermal lining is a separate sewn-in or pinned layer, usually a brushed fleece or heavy interlined fabric. This is meaningfully better because the air gap between the decorative face fabric and the lining layer itself contributes to insulation. A multi-layer or interlining construction adds a third layer (often a thick wadding or bump interlining) between the face fabric and the lining. This is what drapery workrooms use for high-end energy-conserving installations and it can realistically reach R-3 or above.
R-value in curtains is not the same concept as wall insulation R-value, and it's not standardized the same way. Published R-values for drapes assume the panel is hanging flat, in contact with the window plane at edges and top, with no gaps. LBNL and AERC modeling consistently shows that edge sealing and top coverage are as important as the material itself. A panel with a moderate R-value but good side returns and a pelmet or valance above will outperform a higher-rated panel that has a 4-inch gap at the top and 3-inch gaps at each side.
Blackout vs. thermal curtains: what's different and when to pick each
Blackout and thermal are different properties that often overlap. Blackout refers to light blocking: a true blackout panel blocks 99 to 100 percent of incoming light and is typically achieved with a tightly woven or coated backing. Thermal refers to insulating performance. Many products are marketed as 'blackout thermal' because the same tight construction that blocks light also reduces heat transfer, but don't assume one automatically delivers the other at a useful level.
| Property | Blackout Curtains | Thermal Curtains | Blackout + Thermal (Combined) |
|---|---|---|---|
| Primary function | Block 99–100% of light | Reduce heat transfer and drafts | Both simultaneously |
| Typical construction | Tight weave or 3-pass coated backing | Foam backing, fleece/interlining, or multi-layer | 3-pass coating plus bonded foam or fleece layer |
| Insulating performance | Moderate (tight weave helps, but insulation not guaranteed) | R-1 to R-4 depending on layers | R-2 to R-4 typical for quality combined panels |
| Best use case | Bedrooms, home theaters, afternoon glare control | Cold climates, drafty glass, energy savings | South/west-facing patio doors, year-round comfort |
| Trade-off | Can look institutional; may feel stiff | May let in some light unless also blackout-rated | Usually heavier; requires sturdy hardware |
For a patio door, a combined blackout-thermal panel is usually the right answer if you want the full package. If your goal is purely energy savings in a living room where you don't mind some morning light, a thermal-only panel with a quality interlining is fine. If you're in a climate where summer heat gain through a west-facing door is the main problem, prioritizing blackout rating (to reflect solar radiation) is more important than a thick foam backing. Sibling topic coverage on blackout patio door curtains goes into greater detail on that specific use case. For product recommendations and comparisons, see our guide to the best blackout patio door curtains. See our guide to the best curtains for patio door for curated recommendations and sizing examples.
Fabrics, linings, and construction that actually improve insulation
The face fabric matters less than the lining for thermal performance, but it still plays a role in how well the panel hangs and seals. Here's how the main options compare in practice.
Face fabrics
Heavyweight polyester or poly-cotton blends in the 250 to 350 gsm range hang flat, resist wrinkling, and are the most practical for a working patio door. Velvet and velour are excellent for insulation because of their pile depth, which traps air, but they're heavy, expensive, and harder to clean. Linen and cotton look beautiful but tend to shrink and wrinkle and are harder to achieve good thermal performance with unless properly lined. For most homeowners with a patio door that gets daily use, a heavyweight polyester face with a separate thermal lining is the practical sweet spot.
Lining options
- Thermal foam backing: Thin bonded foam layer, usually white or silver. Lowest cost, adds light blocking and slight insulation. R-value is minimal (roughly R-0.5 to R-1). Adequate for mild climates or seasonal use.
- Sateen or cotton lining: Traditional sewn-in lining. Improves drape and protects face fabric but provides modest insulation on its own. The air gap between face fabric and lining is the main insulating mechanism.
- Fleece or thermal interlining: Brushed polyester or wool-blend fleece sewn between face fabric and lining. Meaningfully improves insulation, typically reaching R-2 to R-3. This is what most products labeled 'thermal' at mid-to-high price points use.
- Bump interlining: A thick woven cotton wadding layer used in workroom-made drapes. Excellent insulation and gives panels a luxurious padded appearance. Heavier hardware required.
- Multi-pass blackout coating: Three layers of acrylic bonded to lining fabric (3-pass coating). Blocks light almost completely and adds insulation. Often combined with a separate thermal interlining for maximum performance.
Hardware weight limits
Heavy thermal panels with foam or fleece linings are significantly heavier than standard decorative curtains. A large pair of multi-layer panels covering a 96-inch sliding door can weigh 15 to 25 pounds or more. Standard decorative rods rated for light curtains are not adequate. Use a reinforced steel or aluminum traverse track or a sturdy pole rated for the total panel weight. If you go motorized, check the spec sheet: Silent Gliss motorized units list motor capacity around 44 kg (about 97 lb) for some models; Somfy Glydea tracks specify up to 60 kg for a 10-meter two-way run. blank" rel="noopener noreferrer">Somfy Glydea WT specification lists a 60 kg curtain weight capacity for a 10 m two‑way straight track. These ratings sound high until you're hanging eight heavy panels on a wide multi-slide door.
Curtain length guidance for patio doors
Patio doors are typically 80 inches tall (6 feet 8 inches), though 8-foot (96-inch) doors are increasingly common in newer construction. That height, combined with the fact that you're mounting hardware above the frame to maximize coverage, means standard 84-inch panels are usually the minimum useful length, and 96-inch or 108-inch panels are often the better choice.
U.S. retailers commonly stock finished panel lengths of 63, 84, 95/96, 108, and 120 inches. For a standard 80-inch door with hardware mounted 4 to 6 inches above the door trim, you're looking at a floor-to-mount-point distance of around 88 to 92 inches. An 84-inch panel will likely float 2 to 4 inches above the floor from that mount height, which is too short for thermal purposes (it leaves a gap at the bottom). A 96-inch panel gives you workable floor clearance with room to adjust the mount point.
Floor clearance options
- Hover (1/2 inch above floor): The most practical option for a working patio door. Easy to clean under, no tripping risk, and panels look intentional. Measure from your chosen mount point to the floor, then subtract 1/2 inch to get your required panel length.
- Kiss (just touching the floor): A classic tailored look. Panels just graze the floor. Requires accurate measurement because even 1/2-inch variance causes the panel to hover or drag.
- Puddle (3 to 6 inches extra): A formal or romantic look. Not practical for a high-traffic patio door where panels get pushed aside repeatedly. Puddles collect dust and get stepped on.
- Practical tip: Measure your floor-to-mount-point distance at the left, center, and right of the opening. Use the shortest measurement to choose panel length so nothing drags on an uneven floor.
For a patio door that sees daily use, the hover clearance (1/2 inch above floor) is what I'd recommend every time. You don't want to be stepping over puddled fabric to get to the grill, and you don't want the bottom edge dragging across a dirty threshold. For more detail on length selection across different patio door configurations, the related topic on what length curtains for patio doors covers the sizing logic in depth.
How to measure for thermal drapes on a patio door: step by step
Don't assume your door is any standard size. Even if it was installed as a 'standard 72-inch door,' the finished frame width, trim, and drywall returns can all vary. Manufacturers like Pella and Andersen publish precise frame and rough-opening dimensions in their spec PDFs (to 1/8-inch tolerances on some product lines), which matters if you're measuring to fit a covering close to the glass. See A‑Series Gliding Patio Doors, Andersen sizing (technical PDF) for exact frame and rough‑opening dimensions and installation tolerances A‑Series Gliding Patio Doors — Andersen sizing (technical PDF). For curtain hardware mounted outside the frame, you're measuring the finished wall surface, not the door itself.
Width measurement
- Decide on your mount point. For maximum thermal coverage and a taller visual effect, mount 4 to 6 inches above the door trim (or at ceiling level for ceiling-mount tracks). Mark the wall or ceiling at your intended mount height.
- Measure the total span you want the rod or track to cover. This is not just the door width. Add 6 to 12 inches on each side beyond the outer edge of the door trim to allow for stack-back clearance. Example: a 72-inch door with 3-inch trim on each side plus 10 inches of stack-back per side = 72 + 6 (trim) + 20 (stack-back) = 98-inch rod/track span.
- This rod or track span is the number you use to calculate panel width, not the door width.
Height measurement
- Measure from the intended mount point (the underside of the rod bracket or the bottom of a ceiling-mount track) straight down to the floor.
- Take this measurement at the left side, center, and right side of the opening.
- Record the shortest of the three measurements. This is your usable drop.
- Subtract your chosen floor clearance (1/2 inch for hover) from the shortest drop. The result is your required finished panel length.
- Example: mount point to floor measures 91 inches left, 90.5 inches center, 91.5 inches right. Shortest = 90.5 inches. Subtract 0.5 inch for hover = 90 inches. The closest standard panel length is 96 inches, which you can hem up, or you order custom panels at exactly 90 inches.
Panel count and width calculation
This is where most people under-buy. A single standard 54-inch panel in front of a 72-inch door is not providing meaningful thermal coverage. For more detail on calculating how many curtain panels for a patio door, see the related guide on how many curtain panels for patio door. You need at least 1.5 times the rod span in total flat fabric width for a minimal modern look, and 2.0 to 2.5 times for proper fullness and insulating density. Pinch-pleat and pencil-pleat headers need closer to 2.0 to 2.5 times; eyelet/grommet headers work at 1.6 to 2.0 times; rod-pocket headers need 2.0 times minimum because the gathers are fixed. Related guidance on how many curtain panels for patio doors and what size curtain rod for patio door walks through the panel-count and hardware sizing logic in detail.
| Rod/Track Span | Fullness Ratio | Total Fabric Width Needed | Panels (at 54" each) | Panels (at 108" each) |
|---|---|---|---|---|
| 98 inches (72" door + stack-back) | 1.5× | 147 inches | 3 panels | 2 panels |
| 98 inches | 2.0× | 196 inches | 4 panels | 2 panels |
| 118 inches (96" door + stack-back) | 1.5× | 177 inches | 4 panels | 2 panels |
| 118 inches | 2.0× | 236 inches | 5 panels | 3 panels |
For a standard 72-inch two-panel sliding door with a rod extended 10 inches per side, a 2-panel set of 108-inch-wide panels gives you a 2.2× fullness ratio, which is good. Most retail 'patio door curtain sets' sold as 2-panel pairs are designed for exactly this configuration. The related topic on what size curtains do I need for standard patio doors provides additional measurement examples if you're working with a non-standard opening.
Ceiling-mount vs. wall-mount: which one is better thermally
Ceiling-mounted or recessed tracks seal the top gap almost entirely, which is where a significant amount of convective heat loss occurs with wall-mounted rods. If thermal performance is your primary goal and you're doing any kind of proper installation, ceiling-mount or close-to-ceiling wall-mount is the better option. Wall-mounted rods are easier to install (no ceiling anchors, no dealing with ceiling finishes), and for most homeowners they're the practical choice. If you go wall-mount, position the rod as high as possible while keeping brackets anchored into studs or with appropriate heavy-duty anchors. For drywall without studs, use toggle anchors or snaptoggle anchors rated for the shear load of your panel weight. Into masonry or concrete, use Tapcon concrete screws or sleeve anchors and follow the manufacturer's load tables.
Edge sealing and overlap: the detail that actually makes thermal drapes work
AERC and LBNL research consistently points to the same finding: it's not just the R-value of the fabric that matters, it's how well the panel seals at the edges, top, and bottom. A moderate-quality thermal panel that overlaps the jamb by 3 inches on each side and has a close-to-ceiling mount will outperform a premium panel with large gaps. The practical rule is to spec your panels to overlap the door frame by at least 2 to 4 inches on each side, beyond the trim edge, not just to the edge of the trim. At the center for a two-panel draw, allow a 2 to 4-inch overlap between panels rather than having them meet edge-to-edge. Side returns (a panel that wraps around to the wall face, like a theatrical return) are the best approach for maximum edge sealing, but they require a purpose-built curved track or a hardware solution that allows the panel to turn the corner.
Hardware overview: rods, traverse tracks, and motorized systems
The hardware category is easy to underspend on and then regret. Heavy thermal lined panels will destroy a lightweight decorative rod in months. The basic tiers are: a basic steel tension or fixed rod (fine only for very lightweight panels and small spans), a sturdy decorative pole with bracket-mounted rings (appropriate for moderate-weight panels up to about 15 pounds total), a reinforced steel or aluminum traverse track with sliding gliders (the correct choice for heavy thermal panels, wider spans, and regular operation), and a motorized traverse track (the premium option for wide or very heavy installations).
For a standard sliding patio door with two heavy thermal panels, a quality traverse track in the $50 to $150 range for the track itself (before installation) is a reasonable budget. Motorized systems from brands like Somfy or Silent Gliss run significantly more (often $300 to $800+ for track plus motor), but they're the right solution for very wide multi-slide doors or any situation where you want reliable consistent operation without wrestling with heavy fabric every day.
Combining thermal drapes with bug or fly curtains
Some homeowners want both thermal drapes and a bug/fly curtain screen for their patio door, especially in warmer months when you want airflow without insects. For recommendations, see our guide to the best fly curtains for patio doors. These are separate systems that can coexist on separate tracks or rods if you plan the mounting carefully. A ceiling-mount double track (one track closer to the glass for a bug curtain or sheer, one track outboard for the thermal drape) is the cleanest solution and allows each layer to operate independently. You'll need to account for additional depth projection from the ceiling or wall. Related coverage on bug curtains for patio provides detail on that specific layer.
Installation tips and what to expect
Installing a traverse track on a standard drywall wall above a patio door is a straightforward DIY project if you locate your studs and drive screws into them. The header area above a patio door typically has solid framing (rough opening framing and header), which makes stud-finding easier here than in many other locations. Use a stud finder, mark your bracket locations, and confirm you're hitting solid wood before committing to the screw pattern. If you're mounting into masonry (common in older homes with block or brick surrounds), use Tapcon screws or sleeve anchors rated for the load. Never use drywall anchors alone for heavy thermal panels on a patio door that gets daily use.
One installation note I always mention to people: hang the panels and then live with them for a day before hemming or making permanent adjustments. Thermal panels are heavy, and the weight will cause them to drop slightly after the first day of hanging as the fabric relaxes and the header header stretches. Mark your hem or trim line after they've settled, not immediately after hanging.
Care and maintenance
Most thermal-lined panels sold at retail are machine washable on a gentle cycle in cold water, but always check the care label. Foam-backed panels can delaminate in hot water or high-heat drying cycles. The foam or fleece lining is usually the first component to degrade; you'll see it as flaking on the reverse side of the panel, typically after several washes or years of UV exposure. Hanging panels in direct summer sun (which patio-door-adjacent panels often experience) accelerates UV degradation of both the face fabric and the lining. For panels in full-sun exposure, a quality UV-resistant face fabric (solution-dyed polyester or similar) extends useful life significantly.
For regular maintenance, vacuum the panels monthly with an upholstery attachment to remove dust accumulation, especially at the hem and pleats. Spot-clean promptly. Full washing once or twice a year is generally adequate for panels that aren't in a kitchen or high-humidity area. If the insulating lining starts to degrade before the face fabric, some workrooms can replace the interlining alone, which is worth doing if the face fabric is expensive.
Quick decision checklist before you buy
- Identify your door type (sliding, French, hinged) and confirm whether fabric can park fully clear of the door's travel path.
- Measure your rod/track span (door width plus 10–12 inches per side for stack-back), not just the door width.
- Measure floor-to-mount-point drop at three points and use the shortest. Subtract floor clearance to get required panel length.
- Calculate total fabric width needed (rod span × fullness ratio for your chosen header style) and divide by your panel width to get panel count.
- Choose lining type: thermal foam backing for mild climates/budget installs, fleece or interlining for cold climates and serious energy savings, multi-layer for maximum performance.
- Decide blackout vs. thermal vs. combined based on your climate, orientation, and light-control needs.
- Confirm your hardware is rated for the total panel weight. Use traverse track for anything heavier than lightweight panels or wider than 72 inches.
- Plan your mount point: ceiling or close-to-ceiling for best thermal performance; wall-mount into studs or appropriate anchors as the practical alternative.
- Allow 2–4 inches of overlap at the door jamb edges and 2–4 inches center overlap for thermal sealing.
- Check care instructions before buying, especially if foam backing is involved.
FAQ
What manufacturer dimensional data and technical PDFs should I collect before writing about thermal drapes for patio doors?
Get manufacturer sizing and specification PDFs for the specific patio‑door brands/models homeowners are likely to encounter (Pella, Andersen, Marvin, PGT, etc.). Look for: nominal and finished frame widths/heights, vent vs fixed panel dimensions, installation tolerances (± values), and recommended clearances. Use these docs to define precise mounting/clearance rules and to avoid recommending treatments that interfere with door operation.
What measurement practices and rules should I research and cite for measuring patio doors for curtains?
Document standard measuring steps: measure finished mounting plane (where rod/track will attach); take three vertical measurements (left/center/right) and three horizontal where applicable; record the smallest height to avoid dragging; measure across the full frame width including trim if outside‑mounting; measure with doors closed so overlap and stack‑back clear sliding paths. Cite manufacturer measuring guides (Pella/Andersen) and trade workroom measuring rules.
Which curtain length and floor‑clearance standards and common finished lengths should I list?
List commonly sold finished panel lengths: 63", 84", 96" (95" sometimes), 108", 120". Explain clearance options: 'hover' ≈ 1/2" above floor, 'kiss' = touching floor, 'puddle' = +3–6". Instruct measuring from final rod/track position to floor and using the shortest vertical measurement when the floor is uneven. Cite trade measuring guides.
What thermal performance metrics and standards must I research for thermal drapes?
Research metrics and terminology: R‑value or equivalent thermal resistance of attachment systems, U‑factor reductions for windows with treatments, emissivity of linings, and fabric thermal conductance. Reference authoritative methodology such as AERC attachment rating procedures (AERC‑1) and LBNL/DOE modeling ("Energy Savings from Window Attachments"). Use these sources to avoid overstating benefit and to provide climate‑specific expectations.
What authoritative energy‑performance studies or agencies should I reference?
Key authorities: Lawrence Berkeley National Laboratory (LBNL) DOE study "Energy Savings from Window Attachments" and the Attachments Energy Rating Council (AERC) procedures and ratings. These provide validated results, test protocols, and modeled energy savings by climate and attachment type.
What product specs for fabrics and linings need collection?
Collect manufacturer specs and trade data for fabric thermal properties (weave/denier, thickness), lining types (thermal acrylic foam, thermal interlining, blackout foam/foil-backed), emissivity, and light transmission. Note typical trade performance differences between blackout and thermal linings: blackout focuses on light control; thermal linings prioritize insulation and reduce radiant transfer. Use supplier data sheets rather than anecdote.